
Detail work

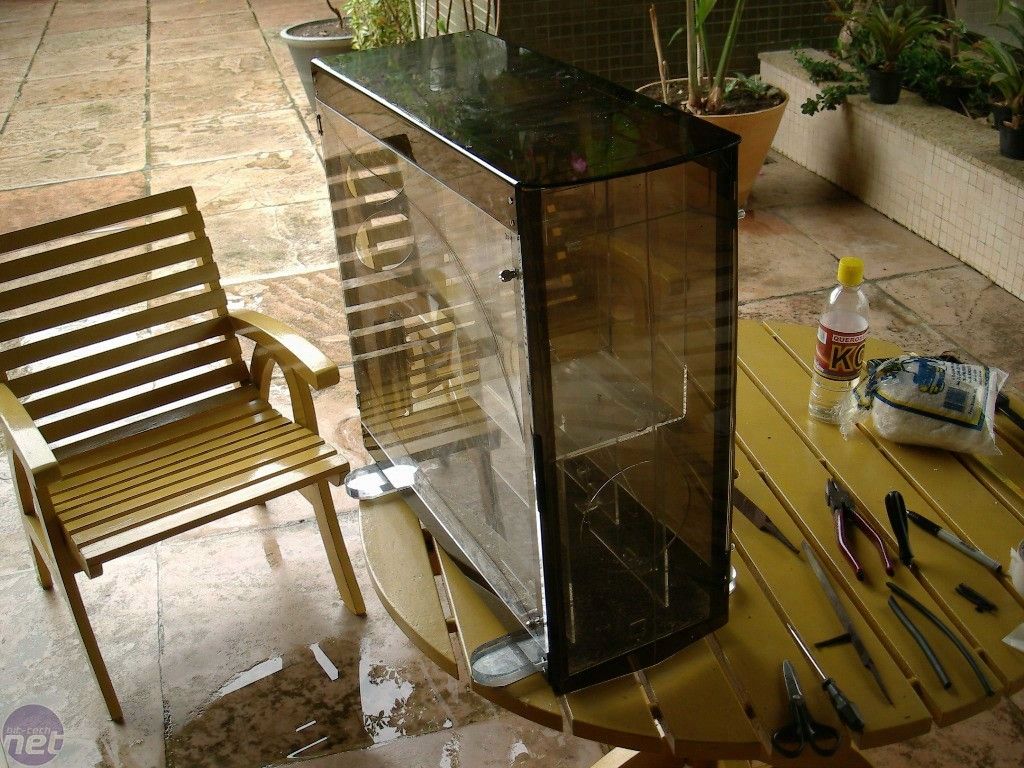
With the structural supports complete, all that was needed was to secure the top and to the supports and add the side panels. As you can see above, I countersunk the screws for the top into the acrylic in order to make a perfectly flush face. This was necessary for some detail work that I would add later, and for now it helped maintain a sleek look aside from the thumbscrews holding the side panels in place.
Speaking of the side panels, it's time I introduced what I was doing with them -- they are actually hinged doors, with each attached to the back of the case with a pair of hinges. Thumb screws on the front supports hold them closed, and when unscrewed they swing nearly 180 degrees, allowing a tremendous level of access to the internals.
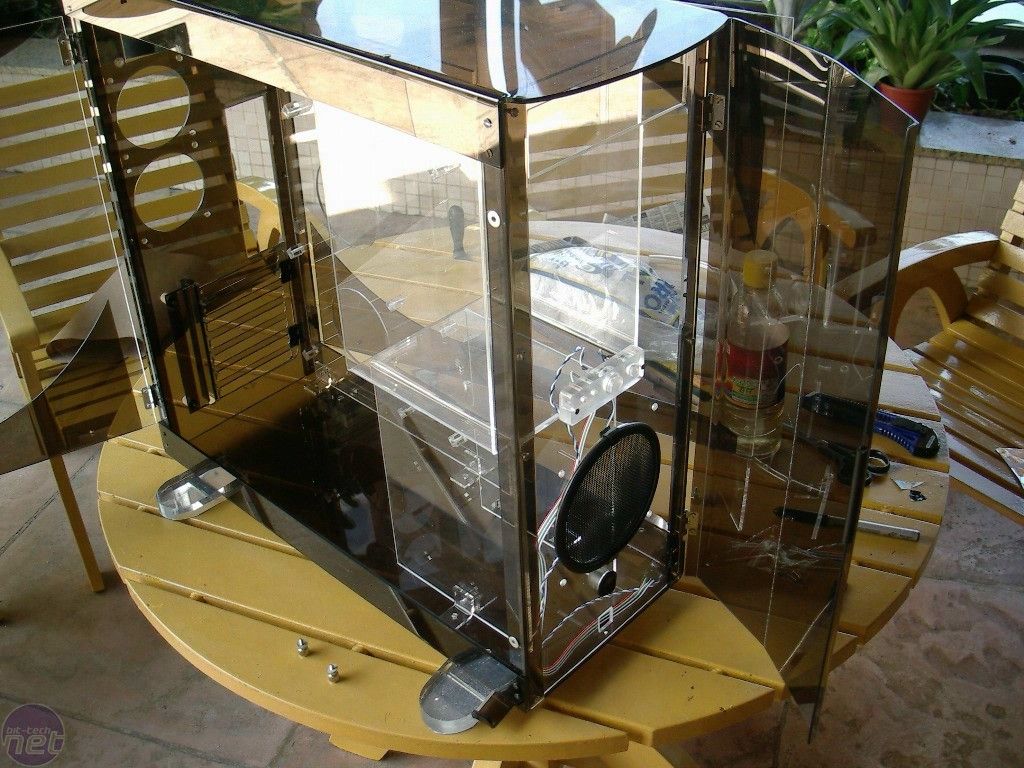
With the top fitted, there was one last pseudo-structural piece -- a hinged door on the front of the case. Because I wanted it bent precisely so that I could maintain that sleek, flush finish that I had with the doors, I had to ask that this piece be moulded at the factory. I did not have a strip heater that would allow me to make a bend that size.

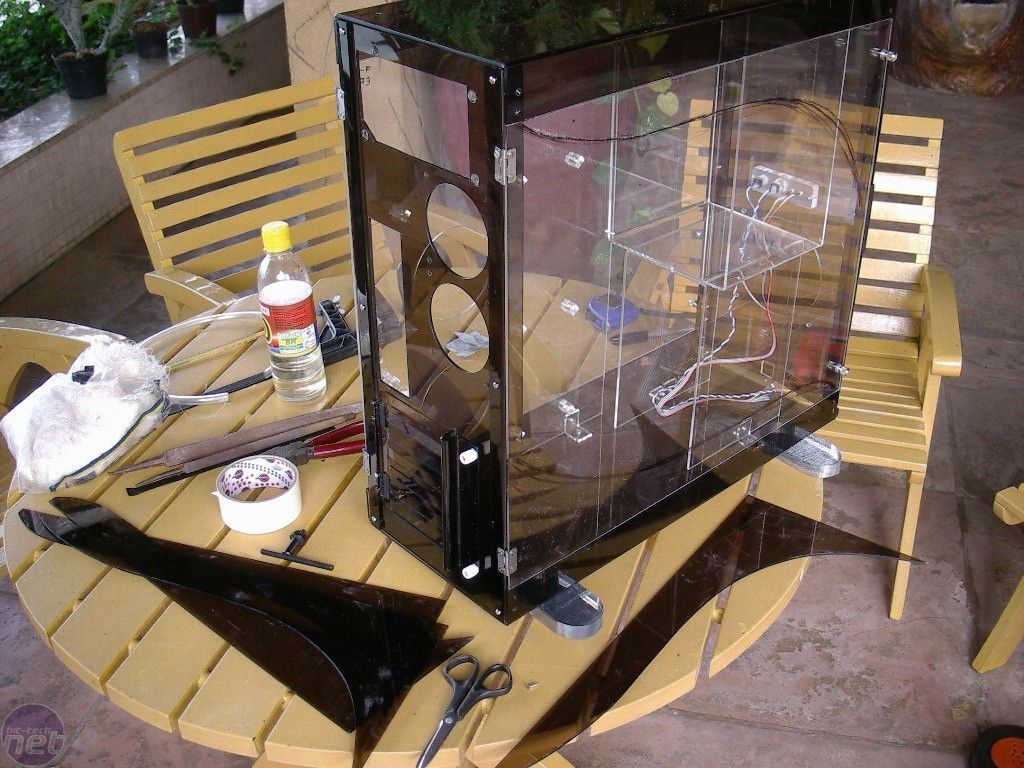
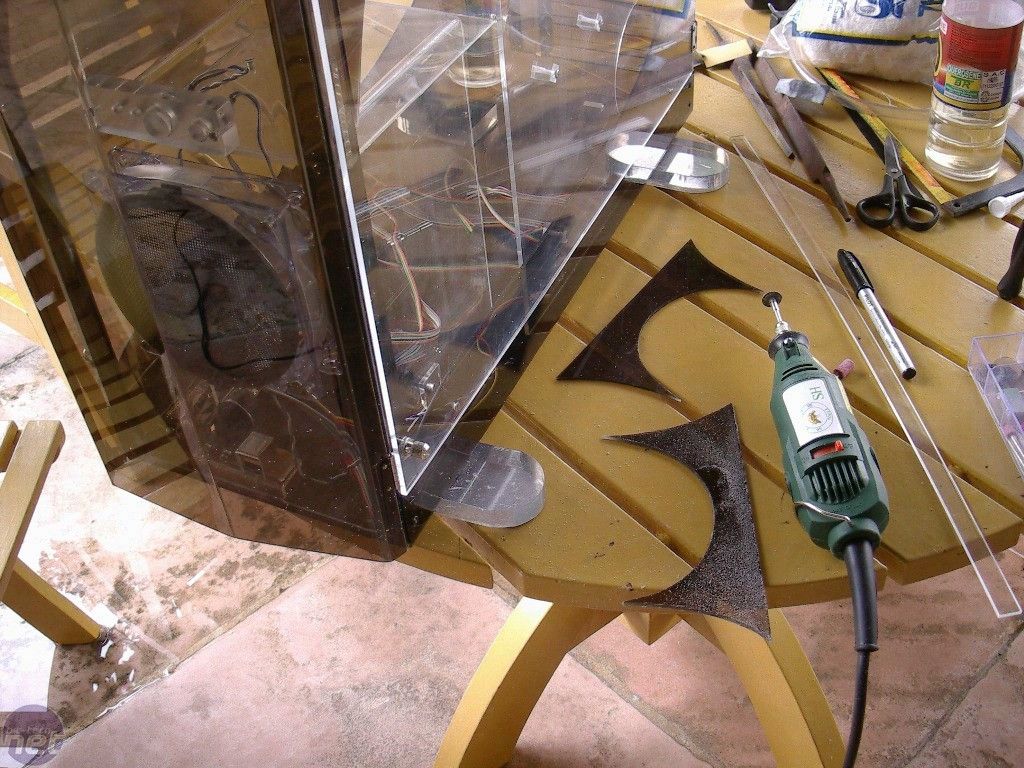
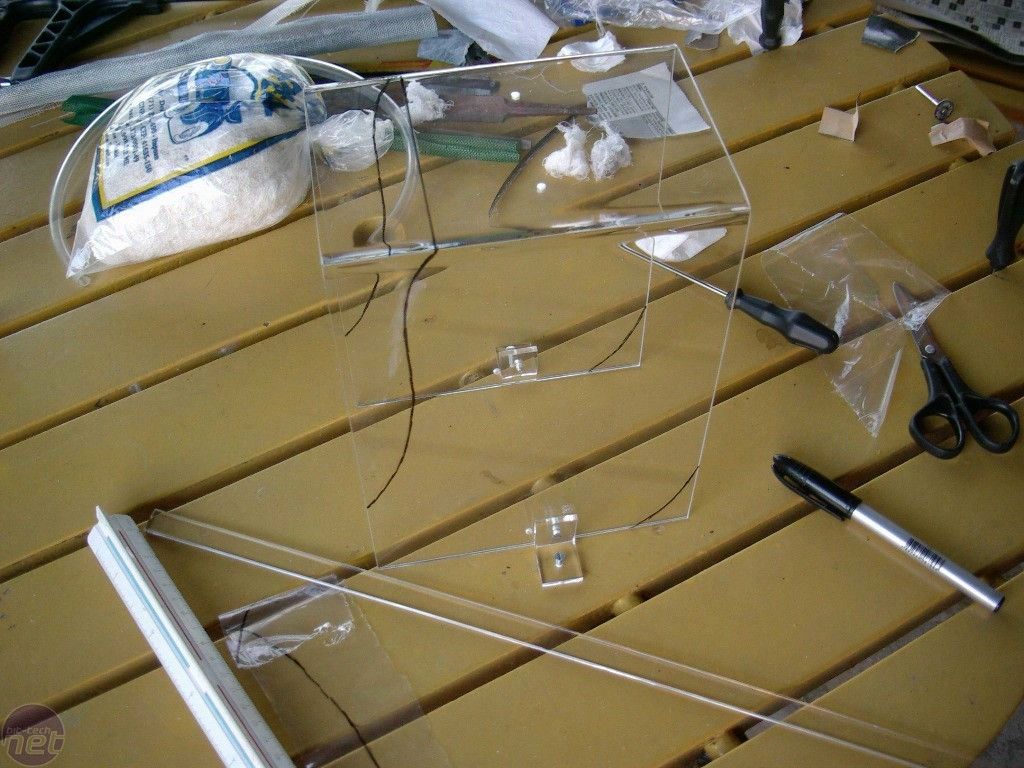
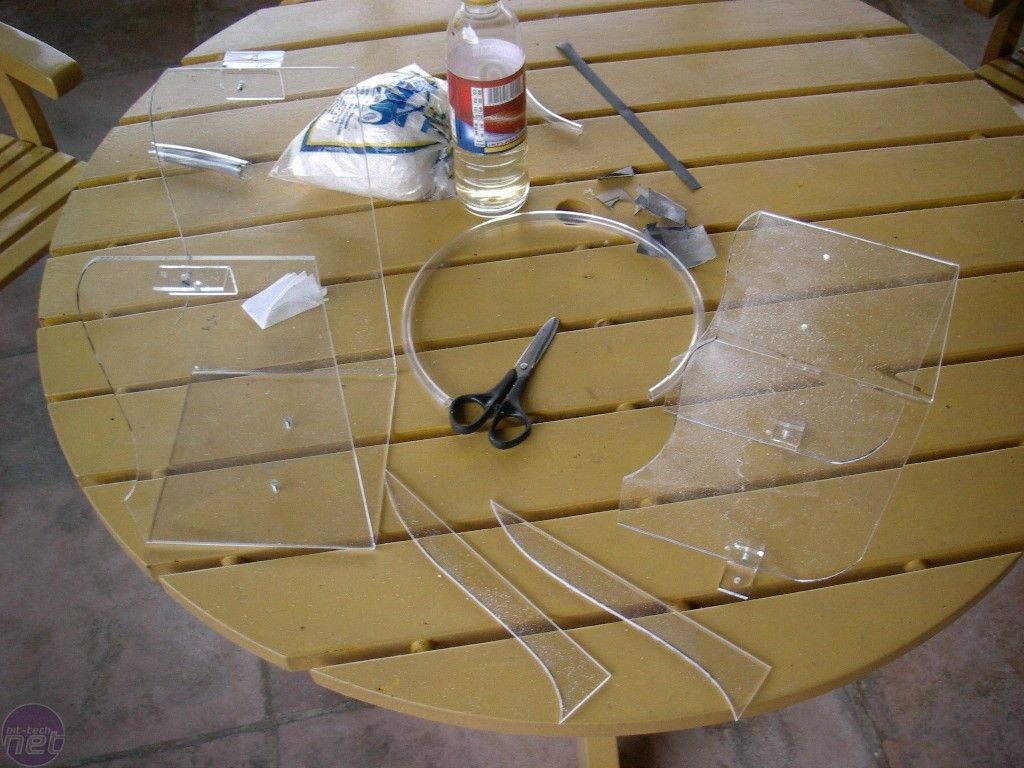
With all of the externals affixed, it was time to start on the largest detail work -- some smoked acrylic cut with a carefully designed curve pattern. You can see the lines on some of the images above where I designed the curve - I then taped smoked plexi to the outside of the case to retrace the lines, then cut the piece using my trusty Dremel. Some filing and polishing later, and I had two accent pieces that would be attached to the insides of the doors.
Because they were on the inside, the cuts had to be essentially perfect. If the piece was too short or off-angled, there could be gaps between the smoked acrylic of the roof and supports versus the accent piece. If the piece was too large, the door would not close.
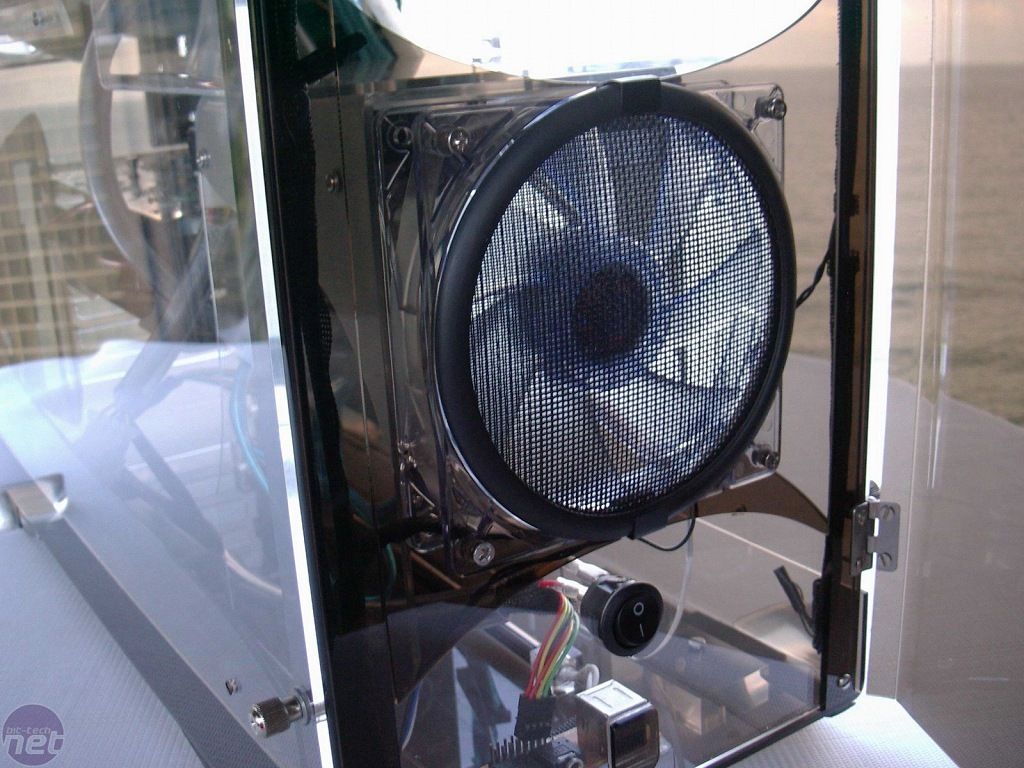
Two more accent pieces were incorporated into the air filter area, turning the right angles of the 120mm fan into harmonic curves.
The fan filter itself was assembled by using 0.5mm double layered metallic netting. For that, I cut two 120mm diameter wheels and placed them side by side surrounded by “U” type 4mm rubber ribbing. To hold the fan, I took two small pieces of iron and bent them into S shapes. One part of the S slides over the front panel acrylic, the other part holds the fan grille slightly out in front. This lets me easily remove and clean the grille without removing the whole fan assembly, but it also provides one other benefit - it hides the cut in the rubber ribbing, making it look like a single, perfect circle.
Drive cages were given their own special touch, by cutting a curve similar to the one on the door out of their back sides. After all, none of the case has been left with harsh lines or sharp corners, and catching little details like this becomes the difference between a good mod and a great one.
RELATED ARTICLES


MSI MPG Velox 100R Chassis Review
October 14 2021 | 15:04

Want to comment? Please log in.