Fibre Optics are Go
Now things are starting to come together. The problem here is I got so carried away assembling all this that I for got to take step-by-step pics so I will just have to show you close ups of the various bits.

The first picture shows a top down view of the nearly completed unit. This should give an good idea of how it all fits together. The red and four black wires coming through the hole in the chassis connect the push buttons to the VFD.
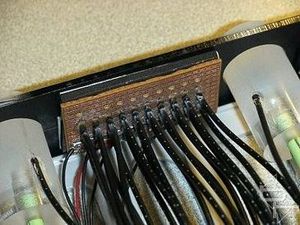
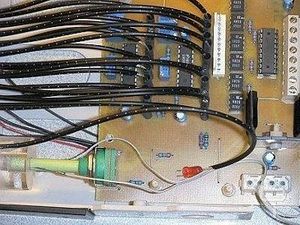
Super glue was used to secure the fibres in place. I would have used a hot glue gun instead had I owned one at the time. If you look closely you will notice that the front end of the control knobs have been frosted to diffuse the light. Similar to the power button.
The fibre in the 5mm red LED's is the "dot" on the control knobs. The layout and generous curve of fibre help to make the whole thing flexible with minimal stress on the fibre. The same idea also applies to the wires connected to the LED inside the knobs.
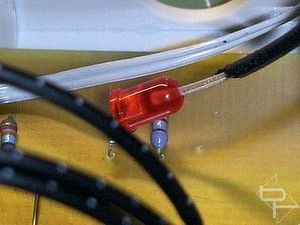
Here is a close-up of the fibre in one of the red LED's
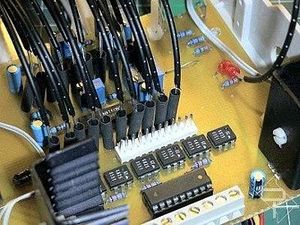
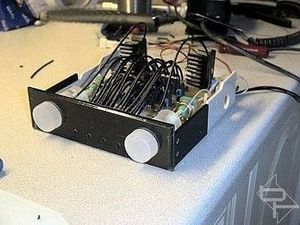
Each fibre had a piece of heatshrink sleeving slid over its LED. The purpose of this was to prevent stray light leakage from adjacent LED's being picked up by the fibres and producing a "smeared" display. Almost ready. The tall loops of fibres are just low enough not to touch the case ceiling when the unit is fitted in the case.

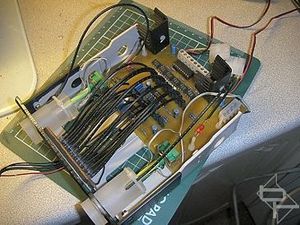
The white plug with pairs of red and black wires connects onto the VFD and are the switched outputs from the display. Before fitting the unit, a small cable tie was used to clamp each fibre on the control knobs to prevent the fibres bending excessively when turning the control.

MSI MPG Velox 100R Chassis Review
October 14 2021 | 15:04


Want to comment? Please log in.