Power Button
The next step is the power switch. Now you can not actually buy this switch, it is made from old scrap parts.

First off, for the switch I had in mind, the original hole for mounting the switch had to be made bigger, opened out to 20 mm to be exact.
To open the hole I used a stepped drill bit. This handy tool can drill holes from 4-22 mm in 2 mm steps. The panel to be drilled was only just wide enough to take a 20 mm hole so great care was needed when drilling. A variable speed cordless drill was the ideal tool for the task.


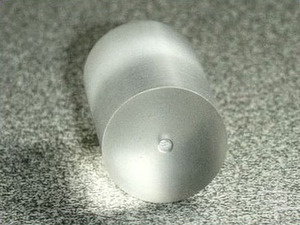
The switch button was made from 25 mm diameter Acrylic rod. A section of the 25 mm diameter rod was turned down to 20 mm using a lathe and then cut to length. The button length is 30 mm. Again, using the lathe the ends were faced off flat and a 2 mm hole drilled in the centre of one end to accommodate the switch plunger. More on that later.


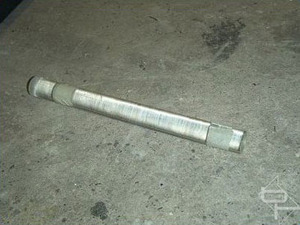
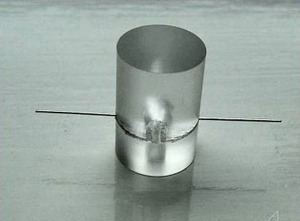
Using a Dremel, a hole was cut into the side of the rod to take a 3 mm LED. The LED actually sits right in the centre of the button. A hacksaw was used to cut a slot half way through the button to take the LED leads. You can see how it goes together in the pic below. The larger rod the button is propped up against comes in to play later on in this project.


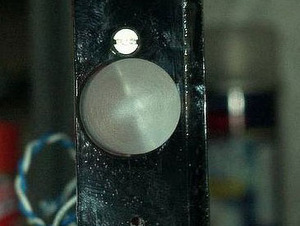
The actual switch used was a power switch from out of an old disused PC case, complete with it's mounting bracket. The switch plunger had a small plastic adapter with a small spike at the end which located in to the 2mm hole in the button. The adapter can be seen in the first photo - the red block going into the Acrylic button. 3mm nuts and bolts and an assortment of PCB stand offs were used to mount the switch bracket to the new Acrylic case. The photo above show the switch being test fitted before wiring up the button LED. Notice how the LED leads act as a stop to prevent the button from falling through the case front.


Notice in this photo how little material is left after enlarging the hole for the switch button. Before the final fitting, the button was rubbed with 600 grit wet and dry paper to form a key for window frosting spray. This spray gives the button a nice translucent frosted effect and produces an even diffused glow when the LED is lit. Once the frosting had dried the LED was wired up to a mobo header plug.


These two photos show the finished switch in action on the completed case.

MSI MPG Velox 100R Chassis Review
October 14 2021 | 15:04


Want to comment? Please log in.