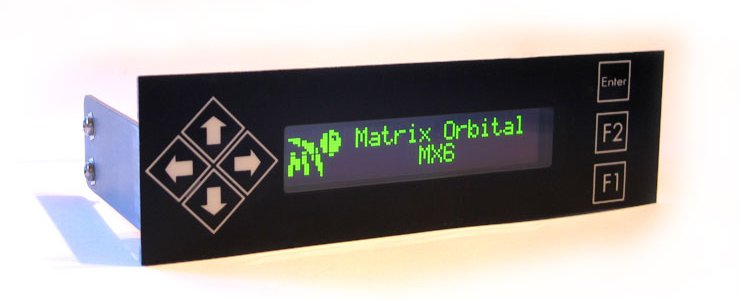
LCDC Tutorial
The heart of LCDC revolves around the Screen Builder. Here you can define one, or several, screens to display on your MX6. The can be pure text or you can design your own logos. Using plugins available for common programs such as Winamp, you can import variable such as Track Name and Time Remaining to design your own interface. Here is a simple, plain text example: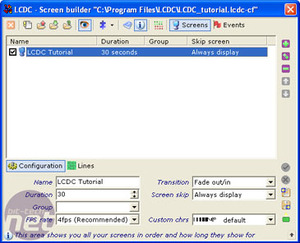
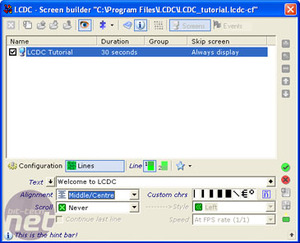
click for full size
Having created a blank screen, we can name it, set its duration, frame rate and decide on the transition between this screen and any subsequent one. The Fade in/out is particularly sexy. Moving to the Lines screen, we simply type into the text box for Line 1 and Line 2 respectively and set variables like Alignment and Scroll. The text appears on the display as you type it:
Moving on to something more useful, we created a quick Winamp screen to display our music information. There are a few pre-defined screens included with the software - to display the time for example - but we preferred to make a custom Winamp screen.
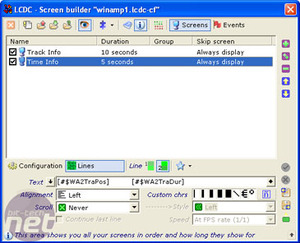
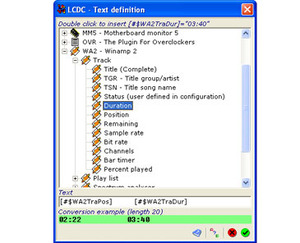
click for full size

After much frustrating research, we discovered we were missing a program: Char Mapper. Rather than a nice bitmap conversion program, to display a graphic or logo using LCDC, you have to create a Custom Character set with the image chopped up into the appropriate 5x8 pixel chunks per character.
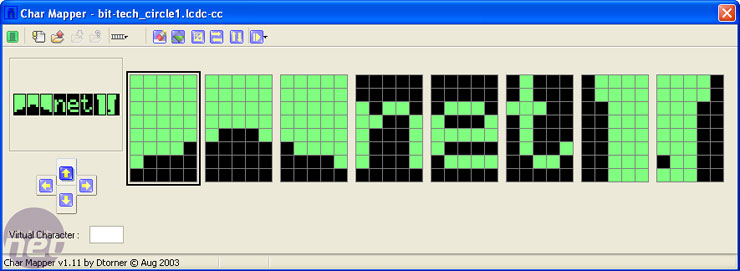

While there is a Motherboard Monitor plugin, and can directly support three temperature probes, we found the work required to build the necessary screens and programming the GPOs using LCDC to be more work than it should be. Anyone just wanting to know the temperature of their PC's innards would be better buying a cheap LCD probe for a quarter of the price.
We got there in the end, but the experience raises an interesting question: would you rather total control or ease of use?
LCDC will allow you to output virtually anything to the MX6, but Matrix Orbital themselves admit that 'the learning curve is steep'. For many enthusiasts, programming innovative new screens is part of the experience - many feature clever animations and other advanced tricks. However, for the part-time geek just wanting to put a cool LCD on the front of his HTPC, having to program things themselves will be daunting.
There is, of course, an active LCDC Community on hand to help out new users, but we would have preferred to see more pre-defined work included on the CD, and an easier-to-use way to display the most common functions than using the overly complicated LCDC.

MSI MPG Velox 100R Chassis Review
October 14 2021 | 15:04


Want to comment? Please log in.