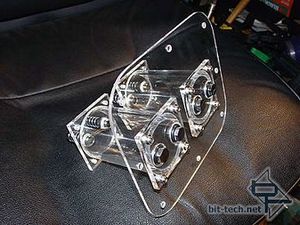
The final Reservoir assembly. I was pleased with it as it turned out exactly like the drawings I had done and will look great with the hose clamps I plan on using. The edges of the top plate (and most of the cut acrylic throughout the case) were filed lightly and sanded with 320 grit then 1200 grit wet & dry (call me lazy but I used it dry - it didn't make much difference, for my purposes, wet vs. dry for the edges). To finish off I used Plexus acrylic polish.
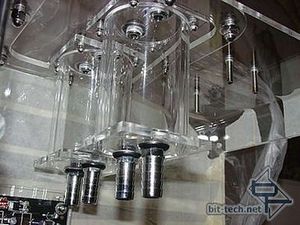
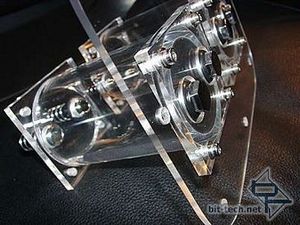
Fitted to the case with 6mm stainless steel cap screws with stainless steel washers and dome nuts. I had to get washers that were big enough to cover the damaged holes from before I got my Plexi-drills. I was very happy that I got the industrial feel I was after.
Water, water everywhere ... (I hope not!)

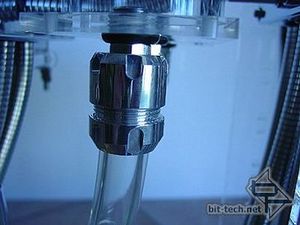
I will be using Pi-Thon ½" and 3/8" polished aluminium hose locks throughout the water cooling system. The idea to use these came from Nexxo's excellently engineered 'Project: Metaversa' (and before that from Scopedog's awesome 'Project: P.R.I.M.E'). The ½" and 3/8" both fit perfectly with the thick walled Tygon tubing I will be using.
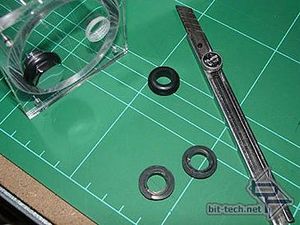
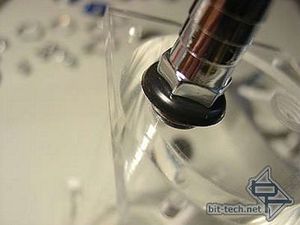
I also made some rubber O-rings from cut up grommets though more for looks I guess (to tie in with my case theme) as I...

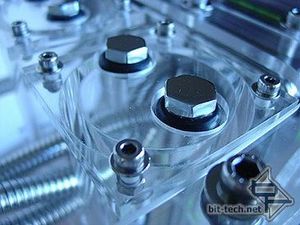
... sealed the actual threads on the barbs with Teflon tape (put on anti-clockwise as you look from the non-threaded end, so it doesn't bunch up when the barb is screwed in). You can see the effect of the o-rings also, along with the hole for the plugs in the top. This means I now have internal reservoirs that I can refill without having to open the case.
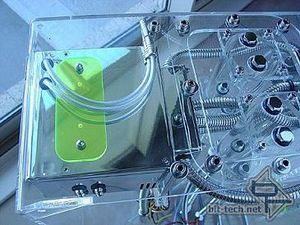
I found that, as I expected, tolerances were so tight with this case (sometimes down to a few millimetres) that my measuring had to be spot on. It's like a jigsaw where everything is designed to fit around everything else - you'll see how tightly in later articles.

MSI MPG Velox 100R Chassis Review
October 14 2021 | 15:04


Want to comment? Please log in.