Final Junction Box Assembly...
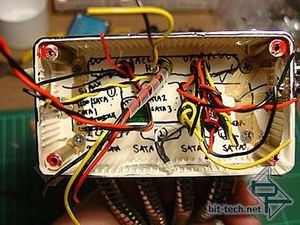
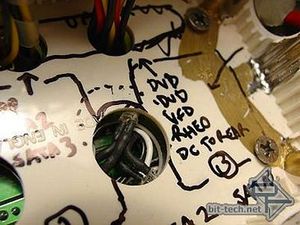
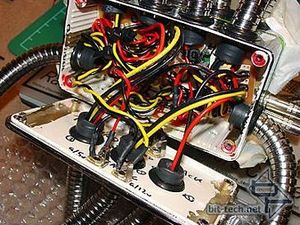
Here is the rear part of the junction box with all the wires coming through from the MPP and DVD/PC Rider lines. Note how I wrote where I was going to put everything on the inside of the box. This turned out to be the best thing I ever did - it saved me from getting totally lost in the wiring! LEDs were inserted into the gap between the two boxes to shine edgeways through the neon green box divider. These are angled for even light coverage of the outside edges of the Perspex and were later held in place with hot-glue.
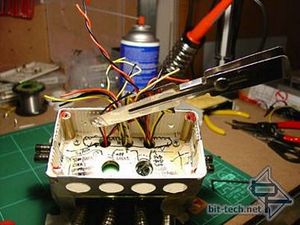
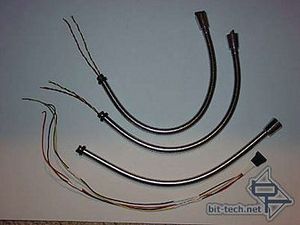
Wires held out of the way... bit like surgery ... clamp ... scalpel ... Dremel ...! I also finished extending my Serial ATA cables and trimming/screwing the plugs into their new homes.
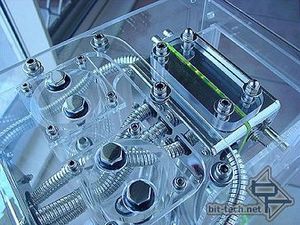
At last! The rear part all wired up and no place to go - except into my case! Everything worked out perfectly down to the twist of the hoses between the reservoirs (I had done a sketch/test-fit of these as well). It's in the details...
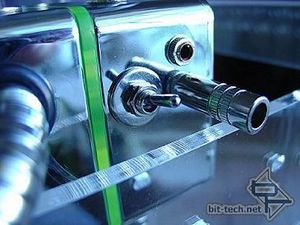
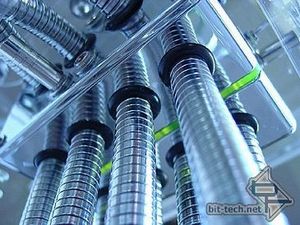
My PC Rider switch. The jack plug you see here is yet to be wired up, I just left it in to see how they will look. Also a view from underneath showing all the power hoses coming out of the bottom of the box.
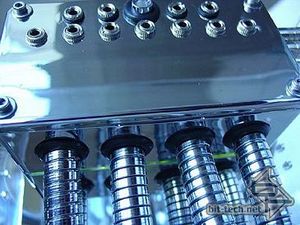
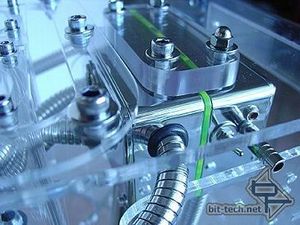
From the front: Stainless steel socket head cap screws and stainless steel washers and the mounting bracket.
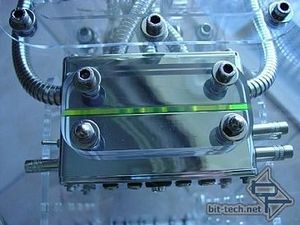
From the top: Remember, there will be 21 jack plugs and cables plugged into this when complete.


Here is the rear part of the junction box with all the wires coming through from the MPP and DVD/PC Rider lines. Note how I wrote where I was going to put everything on the inside of the box. This turned out to be the best thing I ever did - it saved me from getting totally lost in the wiring! LEDs were inserted into the gap between the two boxes to shine edgeways through the neon green box divider. These are angled for even light coverage of the outside edges of the Perspex and were later held in place with hot-glue.


Wires held out of the way... bit like surgery ... clamp ... scalpel ... Dremel ...! I also finished extending my Serial ATA cables and trimming/screwing the plugs into their new homes.


At last! The rear part all wired up and no place to go - except into my case! Everything worked out perfectly down to the twist of the hoses between the reservoirs (I had done a sketch/test-fit of these as well). It's in the details...


My PC Rider switch. The jack plug you see here is yet to be wired up, I just left it in to see how they will look. Also a view from underneath showing all the power hoses coming out of the bottom of the box.


From the front: Stainless steel socket head cap screws and stainless steel washers and the mounting bracket.

From the top: Remember, there will be 21 jack plugs and cables plugged into this when complete.

MSI MPG Velox 100R Chassis Review
October 14 2021 | 15:04


Want to comment? Please log in.