
Final Touches and Mounting...
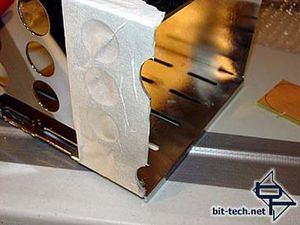
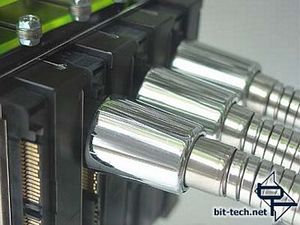
Using a file, I had made a pair of indents in the front left-hand edge of the rack.
When mounted and in the case...
... these will provide some clearance for the hose that will be fitted to the radiator barbs. This was a problem I had identified during test-fitting.
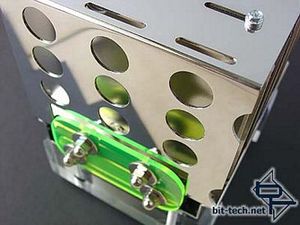
And for mounting to the case...
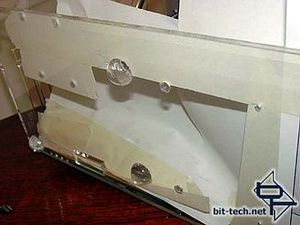

... 6mm holes were drilled with a plexi-drill and the base just drops into these. Washers and dome nuts will eventually secure the base. As I was going to pull it out again straight after these pics were shot, I didn\'t bother to fit these.
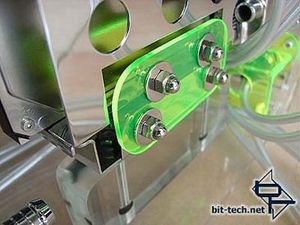
The clear lexan gives a nice view of the cables that will be passing underneath the rack - in this case the power/reset switches and LEDs.
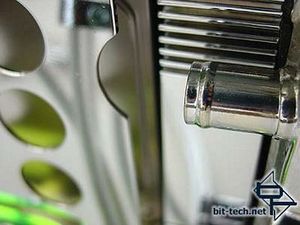
The shower hose plan is working out well as is my decision to round all my corners and go for the whole retro sci-fi look.
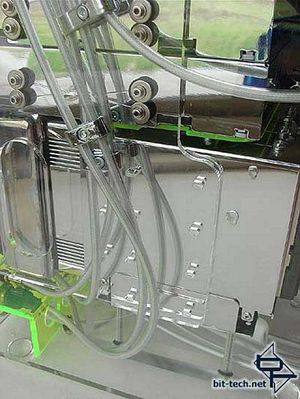
I\'m really happy with the rack viewed from the other side. My intent to have the case look good when viewed from any side is well on track. I will be trialing a logo on the side of the HDD rack and will see how I go.
Using a file, I had made a pair of indents in the front left-hand edge of the rack.
When mounted and in the case...
... these will provide some clearance for the hose that will be fitted to the radiator barbs. This was a problem I had identified during test-fitting.
And for mounting to the case...
... 6mm holes were drilled with a plexi-drill and the base just drops into these. Washers and dome nuts will eventually secure the base. As I was going to pull it out again straight after these pics were shot, I didn\'t bother to fit these.
The clear lexan gives a nice view of the cables that will be passing underneath the rack - in this case the power/reset switches and LEDs.
The shower hose plan is working out well as is my decision to round all my corners and go for the whole retro sci-fi look.
I\'m really happy with the rack viewed from the other side. My intent to have the case look good when viewed from any side is well on track. I will be trialing a logo on the side of the HDD rack and will see how I go.


MSI MPG Velox 100R Chassis Review
October 14 2021 | 15:04

Want to comment? Please log in.