The table stand
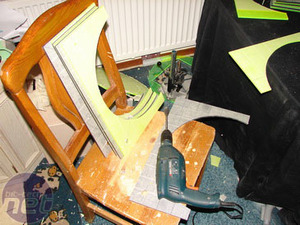
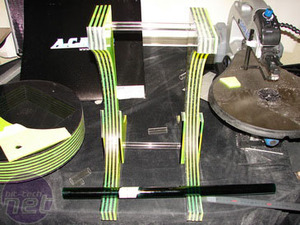
Since not all the hardware needed to continue with the case was immediately available to me, I decided to make a table stand instead. The pentagram is supposed to be wall-mounted, but since it was going to be displayed at Dreamhack Winter 2007, I needed some way to show it off at our booth without having to put it up on the wall.I had a ton of scrap pieces left over from when I cut the discs, so I decided to use them to make the display stand for the rig. That way, it would match the theme as well. So, once again, I had a lot of cutting to do in order to get all the pieces I needed.
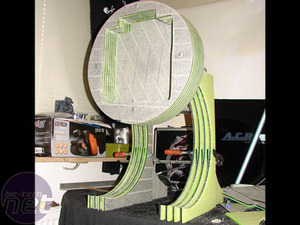
The stand ended up being made from sixteen big pieces and eight smaller ones, plus some tubes and a couple of decorations.
This is why it always pays to keep your cut-offs and excess materials - a little extra effort can turn your waste into something which is actually rather snazzy.
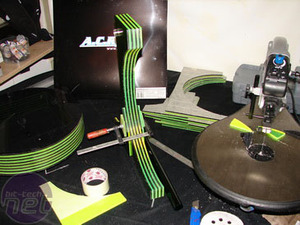
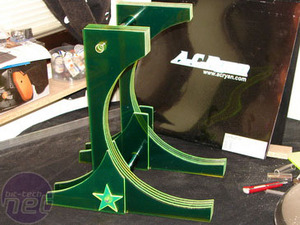
After spending what seemed to be eternity cutting the same pieces over and over again, I finally had all the pieces I needed and could clamp the legs together to see what it would look like. The legs had to be really sturdy, because the case weighs quite a bit. Also, since its going to be on display at Dreamhack, it had to be stable enough that no one would bump in to it and send it flying to the floor. Such things are more common than you'd think, unfortunately.
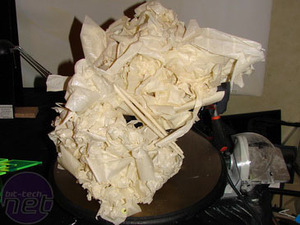
Now it was on to more sanding, and that meant removing the 4 rolls of masking tape from all the pieces. That left the largest pile of used masking tape I have ever seen.
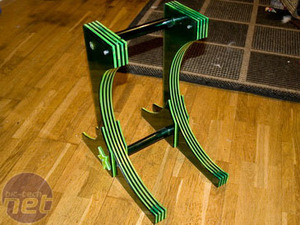
The final step was to connect the two finished legs. To do this, I drilled holes through all the pieces and fit two acrylic tubes through. Then I used super glue to glue the leg layers together and added a green acrylic tube in the middle just for the hell of it. The stand was still not sturdy enough for me to trust it, so I used a threaded rod through the bottom tube and fabricated a couple of pentagram shaped end pieces and some nuts to give it that final bit of strength.
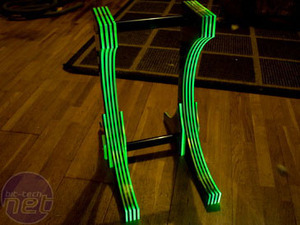
The final product on display. The left is without UV light, and the right is with some nice UV glow running through.

MSI MPG Velox 100R Chassis Review
October 14 2021 | 15:04




Want to comment? Please log in.