
Paint and Plexiglas
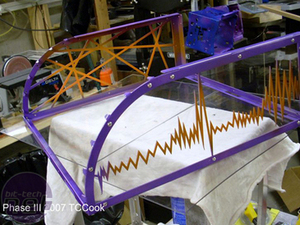
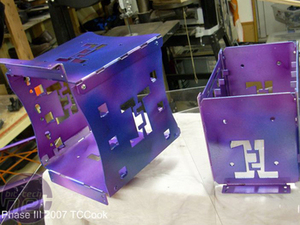
Chris painted, and painted, and painted again. First came a purple base coat, then another coat to level out the colour. After the purple came orange, added across the centre of each piece as a visual accent. The look turned out quite striking, and makes a nice effect.
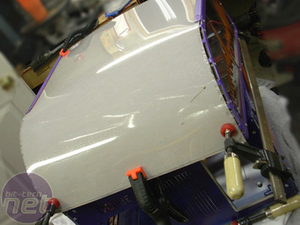
With the top painted, it was a perfect time to attach the plexi. The process is one that many of us are very familiar with - heat gun, heat gun, read a book, heat gun... you get the idea. The process of this one curve took about 20 minutes, and Chris cooked it with the protective film still attached on the underside.
I'm actually surprised that the film didn't generate some problems, but he used pretty low heat to prevent any errors in the bending process. As he wasn't bending over a form that spanned the length of the lid (only the edges), temperature management and patience would be vital to his success. Two shattered pieces of plexi tell the truth, though - sometimes patience only comes once you're absolutely frustrated to exhaustion.
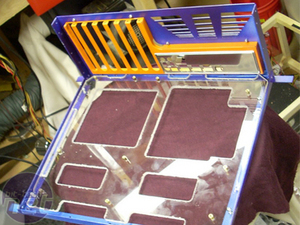
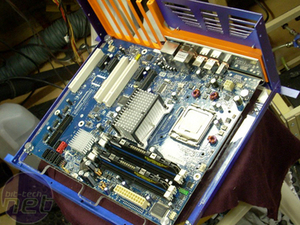
With the top done, it was time to focus on the most recent incarnation of the motherboard tray. A sheet of plexi sits in the aluminium L-channel, cut for ventilation and wire/tubing passthrough. The plexi allows for lights to come through from underneath, providing a floating effect. And did anyone else notice what's holding the motherboard in place? Yep, thumbscrews - easy accessibility and tool-less chassis both get new definitions in Phase III.
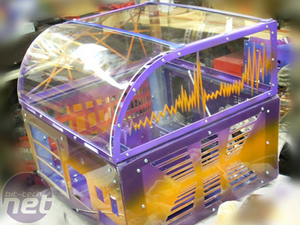
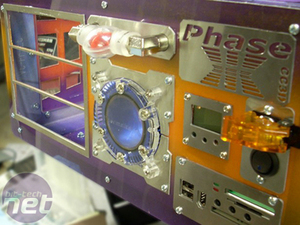
The finish is where Phase III saw a lot of time consumed on small details. Even the hard drive holder got a paint job! However, seemingly simple things like the front fascia received not one, not two, but six different design attempts before Chris found one that he was genuinely happy with - the orange stripe and shiny metal on a purple background.

MSI MPG Velox 100R Chassis Review
October 14 2021 | 15:04



Want to comment? Please log in.