
The watercooling
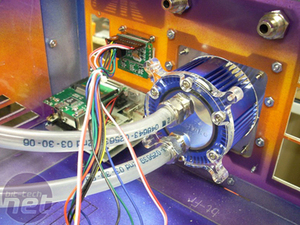
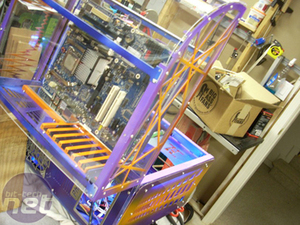
With the exterior of the case now completely assembled, it was time to focus on how everything inside would actually fit together.
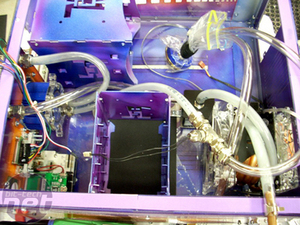
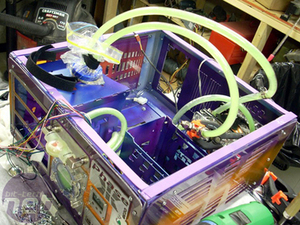
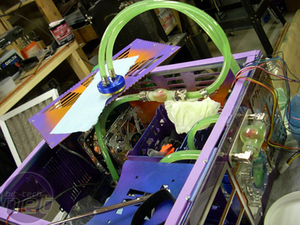
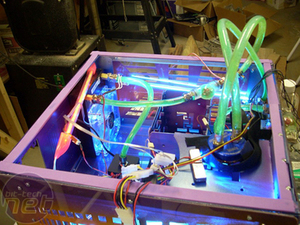
With the hoses connected, it was time to test the waters (har har) with a wet-run using distilled water. A leak-proof loop would mean it's time to advance to the next stage, where the system would be filled with its final coolant.
Light it up
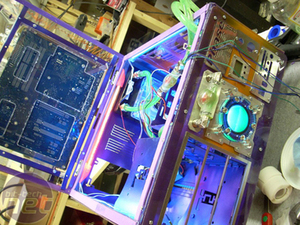
With leak testing out of the way, it was time to change focus a little bit to the next important feature of any well-constructed mod - lighting to show it off!Chris actually had taken some time to think of the lighting effect he had wanted to accomplish, and designed that into the initial layout. Thanks to the forethought, all it took was a couple cold cathodes and a few well-placed LEDs, and suddenly...
...Phase III glows like a Christmas tree - even in fully-lit environments. When the board is down and lid closed, the light provides an almost floating effect for the motherboard - when up, it clearly lights the internals, including the watercooling.

MSI MPG Velox 100R Chassis Review
October 14 2021 | 15:04



Want to comment? Please log in.