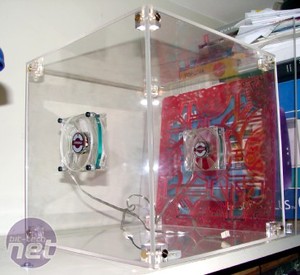
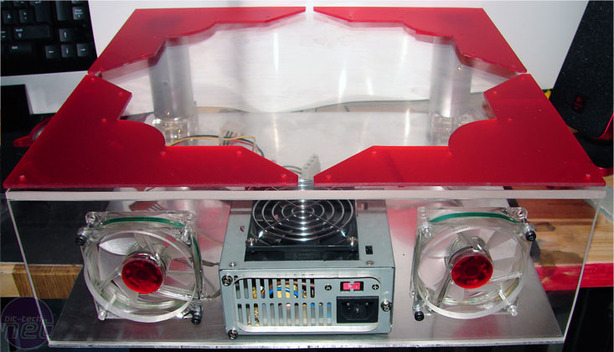
The next step was to cut two 80mm holes and fit two red LED fans to give the motherboard some air. The motherboard doesn’t really need a lot of cooling so two 80mm will do the trick. The other reason to opt for 80mm fans is that they are very close in size to the circle in the Hellraiser pattern, allowing me to stealth the air intakes quite nicely.
Next was making the base that the cube will be attached to. This section will house the PSU, hard drives and LCD. Unfortunately I was so excited with building that I forgot the camera entirely and so I have no pictures of the actual building of the base. I used a sheet of 4mm aluminium plate as the bottom piece and then cut the sides and top out of plexi. Then I made a 80mm hole in the lid for the pole that would connect the cube to the base.

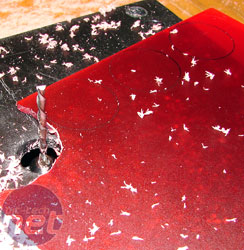
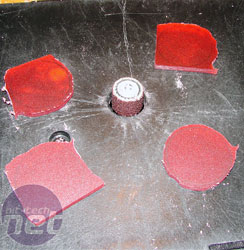
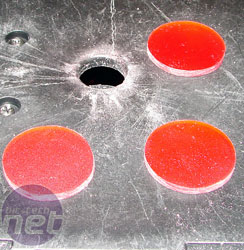
Using my routing table I cut four rough pieces of red plexi and then used a sanding disc to whittle them down to perfect circles.

MSI MPG Velox 100R Chassis Review
October 14 2021 | 15:04


Want to comment? Please log in.