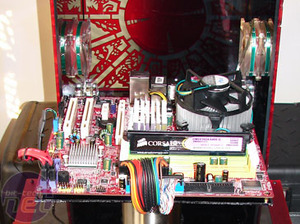
At this stage the motherboard and E6600 arrived. Fitting these to replace the ITX board was a breeze - I just cut a new bigger plate, screwed in a few spacers and it was done.
System Specs
- Motherboard: MSI Q965MDO
- CPU: Intel Core2 Duo E6600
- RAM: 1GB Corsair XMS2-6400 DDR2
- HDD: 2 x Western Digital 500GB
- DVD: Plextor 16x slot-loading DVD-RW
- PSU: Antec Neopower 480 watt
- Keyboard: Logitech Dinovo Edge
- Networking:Linksys Wireless usb adapter
- Monitor: ThermalTake 7 inch retractable touchscreen LCD
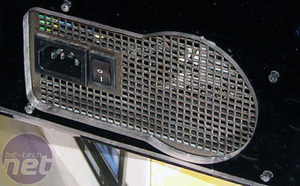
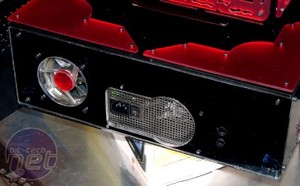
In the end I chose the Antec Neopower 480watt. However, one downside of this move to a desktop-size PSU is that it is larger than the SFF one I started with. As a result, I had to redesign the back panel and remove one of the 80mm LED fans. I was initially concerned about possible overheating, but it hasn't proved to be a problem. The new PSU has very good airflow, so maybe balances out the removal of the second 80mm fan.
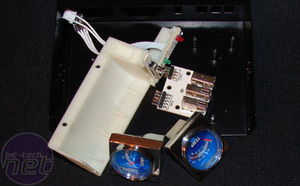
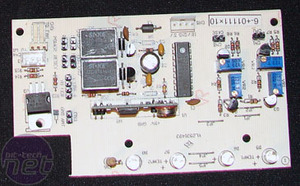
Next, I cut a small piece of plexi, screwed the PCB on there and then glued the whole thing to the top of the PSU - job done! In order to remotely power the system on and off, the panel came with an ATX power adapter cable that is designed to sit between the motherboard and the PSU. However, the number of pins didn't match (Of course! Who said it would be easy? - Ed.), so I simply modded the right pins on my existing ATX connector and wired it up directly.
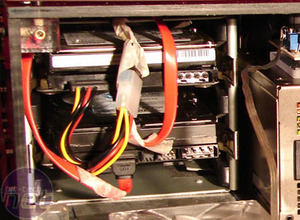
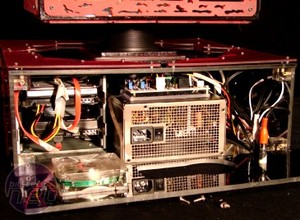
I used the drive cage from an Antec P180 case which I simple put in to the base and screwed down. This gave me a good, silent mount for the drives and it was also a very fast solution. The base does seem a bit crowded with cables all over the place, but with the backplate mounted and the computer up and running you can easy forget a few messy cables on the inside.
That was the last thing to get done and all that was left to do was to screw all the panels firmly in place, push the remote and watch it spring to life.
Credits

Who wants to see the final pics?

MSI MPG Velox 100R Chassis Review
October 14 2021 | 15:04


Want to comment? Please log in.