Water Cooling continued
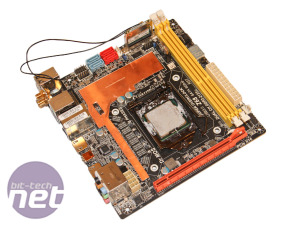
After plenty of test fitting to make sure the plate fitted snugly and wasn't about to short circuit anything on the PCB, we were ready to make the other parts and try to figure out a way to secure it to the motherboard.Click to enlarge
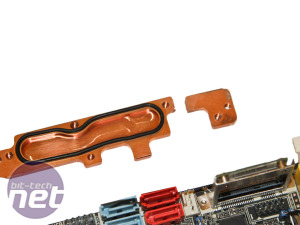
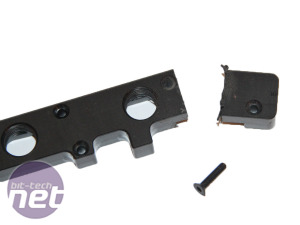
We needed a long thin waterblock and as luck would have it, we found a discontinued EK VRM block on eBay, brand new for just a couple of pounds. Having used plenty of these in the past, we knew there would be enough room at the top of our custom contact plate. All we'd have to do is cut it down to size around the seal, keeping four mounting holes, and it'd fit a treat.
Click to enlarge
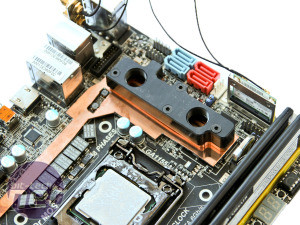
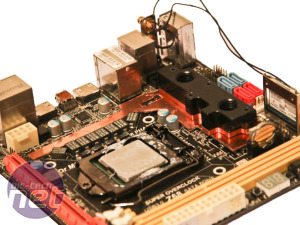
Above you can see the block resting on our contact plate. We also had to chop the acetal top down to size - if you ever do this, be very sure not to encroach too close to the seal and to make sure you don't chop away too many of the mounting holes.
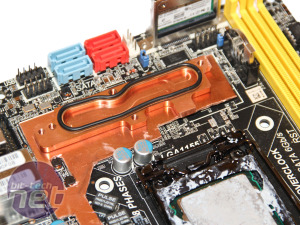
Click to enlarge
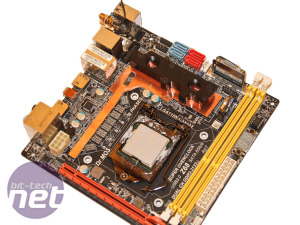
It's test fitting time again, now with the modified VRM block reassembled and placed onto our custom contact plate. If you plan to use a particularly large CPU waterblock, this is the time to install it and make sure everything fits.
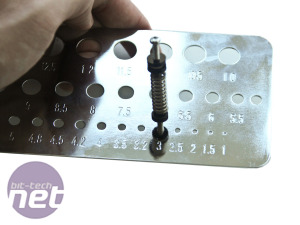
During test fitting, it's also important to work out how to mount your custom motherboard waterblock to the PCB. If you're replacing the original heatsink, then the motherboard will probably have existing mounting holes. We'll be using these to mount our block using some old waterblock fittings. If you don't have any of these going spare, they're available from Aquatuning for a couple of pounds. Alternatively we found the usual white spring-clips often associated with heatsinks work just as well.
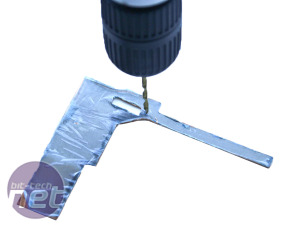
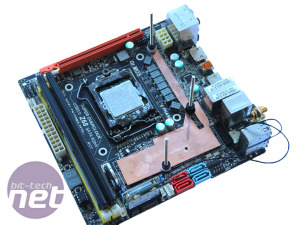
Having gauged the size of the holes required using a drill bit guide, we added these holes to our contact plate in the right locations to meet up with the motherboard's old heatsink mounting holes and proceeded to install the contact plate to the motherboard.
That's it for part three. If you missed our previous installments, make sure you check out Part 1 and Part 2 of our Scratchbuilt PC guide. We'll be back soon with the rest of our custom motherboard waterblock guide, as well as other water cooling-related tips, as well as the latest progress on our scratchbuilt case.

MSI MPG Velox 100R Chassis Review
October 14 2021 | 15:04




Want to comment? Please log in.