
Does whatever a spider can...
If you have read any of my other worklogs, you will know what comes next. If this is your first time, let me explain. There are several different techniques for engraving an design onto a surface. The method I favour involves printing out a lifesize copy of the artwork and taping down in position. Using my engraving bit, I then trace the major outlines through the paper print-out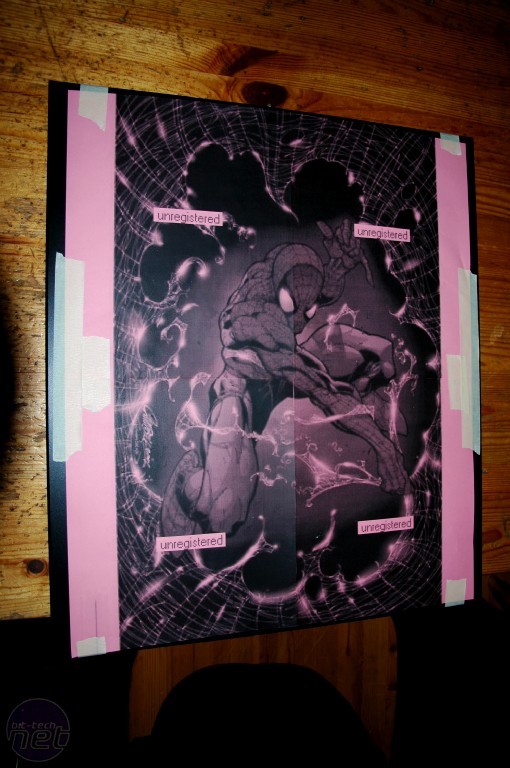
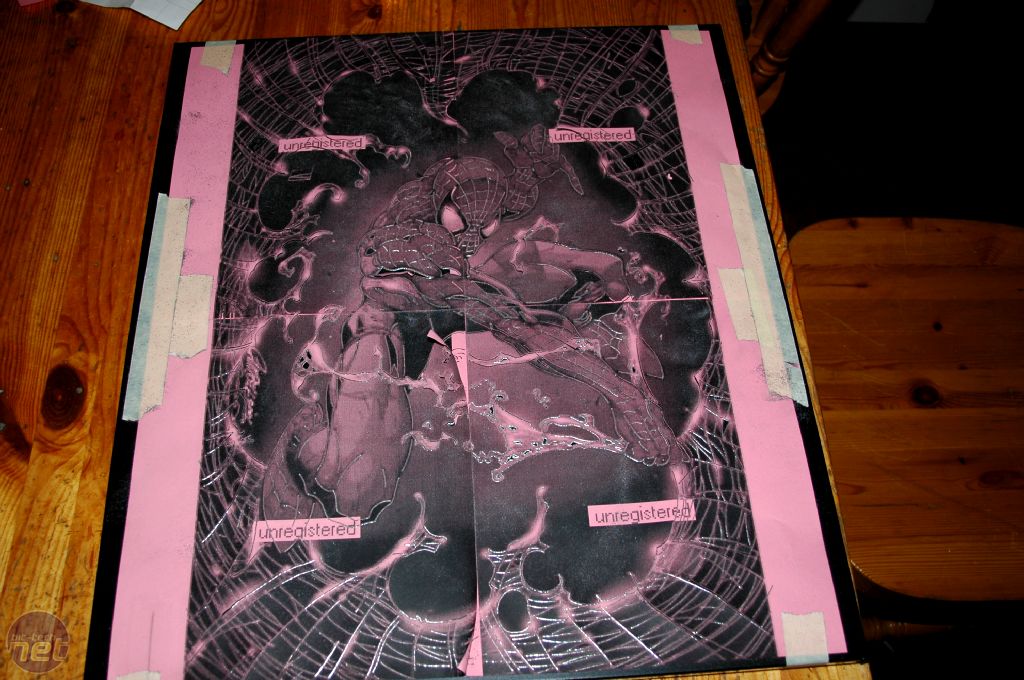
Working on a single design this large creates its own problems, one of which is printing out an image that is nearly 48cm x 54cm. The solution was to chop it up into four pieces and print each on A4. For the purposes of engraving, it didn't matter that my template was four sheets taped together.

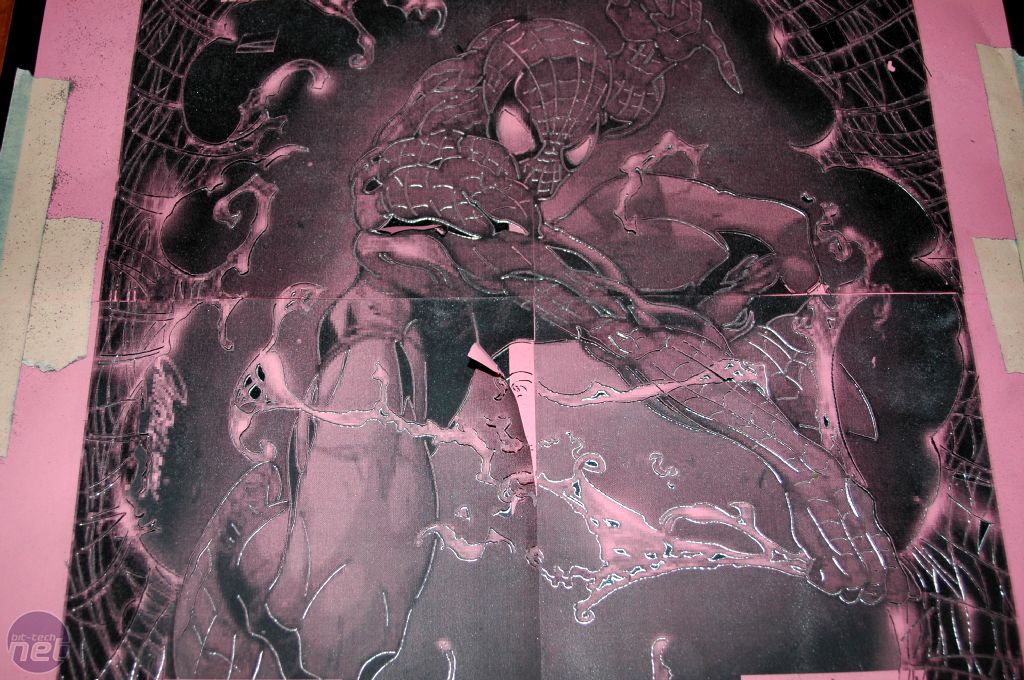
Tracing the major lines is "easy" enough but the real trick is to avoid shredding your paper template before you have finished tracing it. The best method I have found is to start the line a little bit inside one end, and then finish it before you reach the other end. By using this "90% Rule" of sorts so the lines don't quite join up, there are loads of little tabs holding the paper together.
At least, that is the theory. In practice, the paper usually does disintegrate at some stage but you can at least prolong that as much as you can by applying this technique.

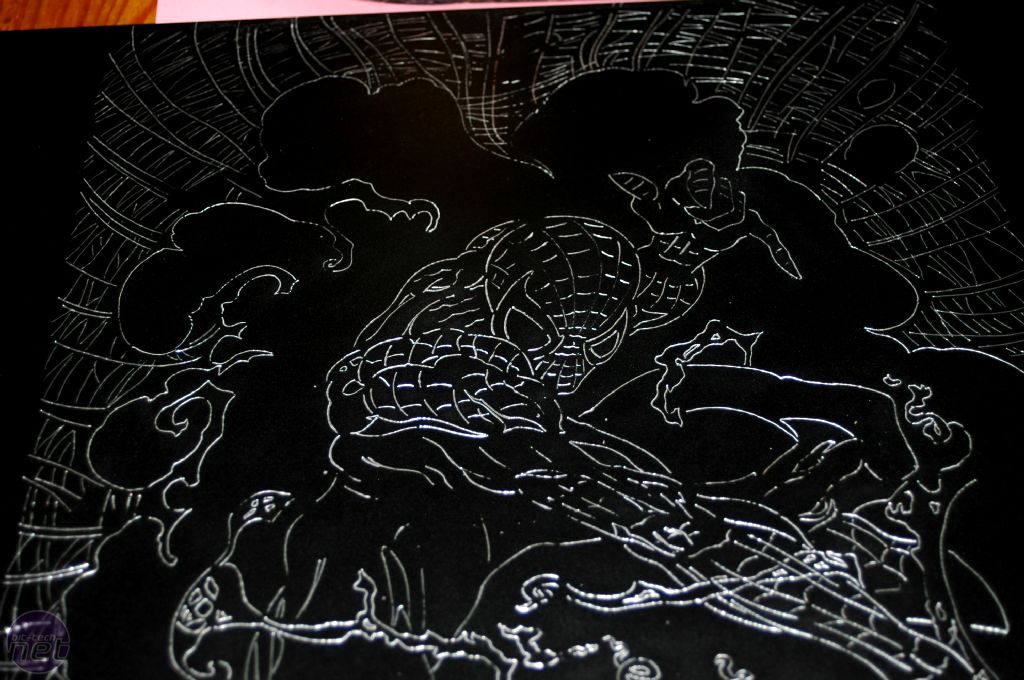
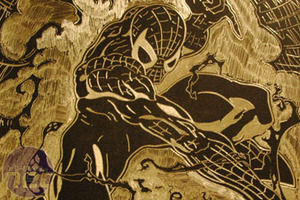
Here is the full panel with all the lines traced. Some engravers will settle for this result but in my opinion, the finish is a bit rough. This is quite difficult to show with photographs, but you can click for higher resolution pics and maybe you can see what I mean.
It's a bit like using a paintbrush to draw a straight line - some paint will go outside the boundaries of the actual line, but with some work, you can makes the lines smooth.
The same applies to engraving. As galling as it might seem after hours of line work, treat the paper trace like a rough pencil sketch. The next job is to revisit every single line and touch it up where necessary. As with everything in engraving, patience is the key. If you rush things, it will look rushed. However, if you are prepared to put in the time, you can achieve a very high quality result.
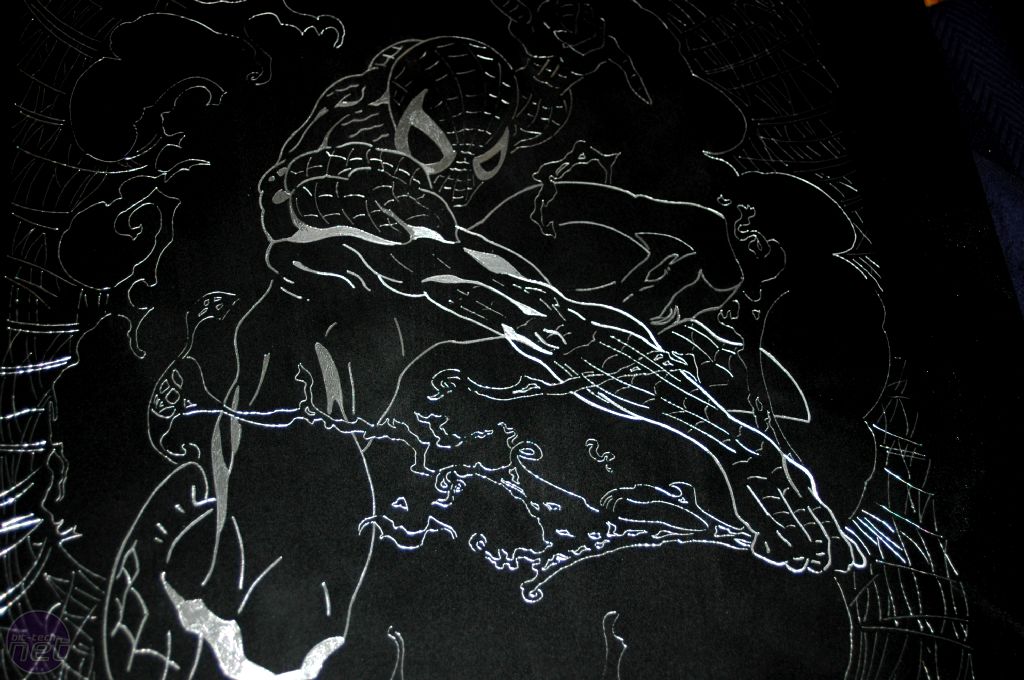
Once I was happy with the lines, the next step was to begin to fill in some of the areas. Since engraving is monochrome in that there is just the black of the case and the silver of the underlying aluminium exposed by the engravings, you can use solid areas to highlight specific regions of the design, or to create the illusion of areas of similar colours or shadowing.
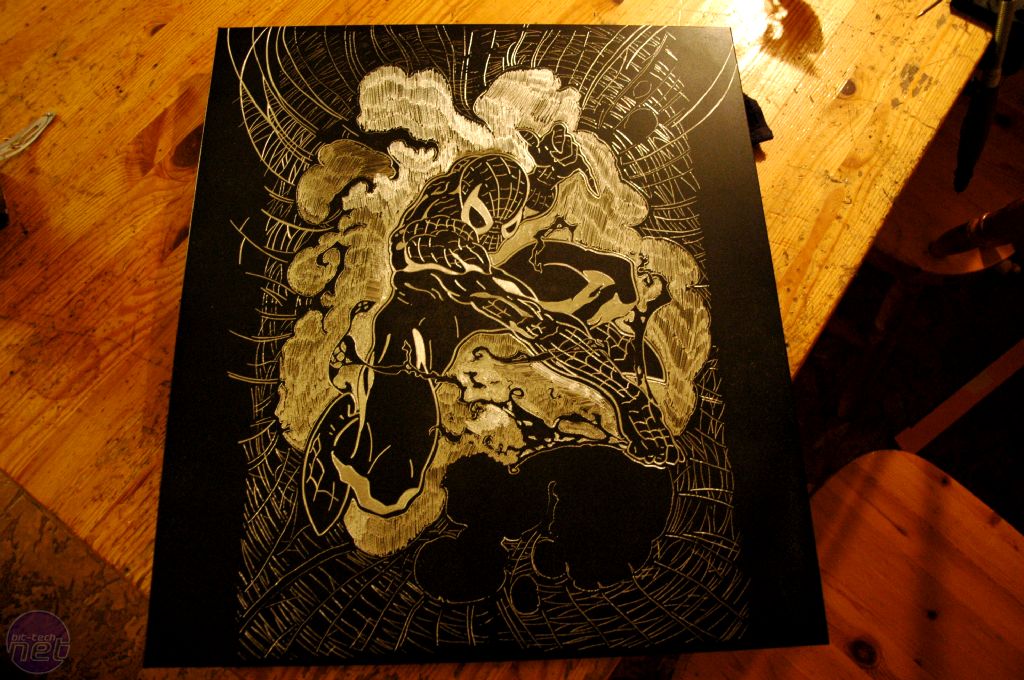
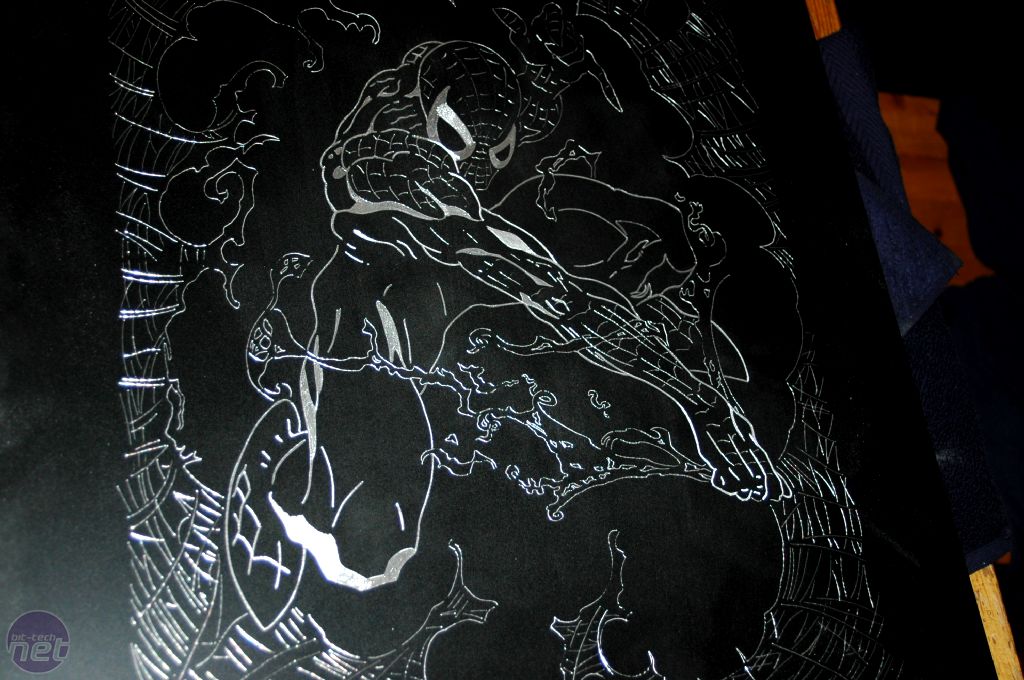
At this point, I thought it might be a good idea check again with the client aka my son. I asked him what he thought of my work so far and he said "well, it could be nice, but..." At first, I was happy that he liked the design but then I realised I needed to push the boundaries back even further. Let's engrave the smokey area behind Spiderman - that will make it literally shine.
RELATED ARTICLES


MSI MPG Velox 100R Chassis Review
October 14 2021 | 15:04

Want to comment? Please log in.