The Real Hardware
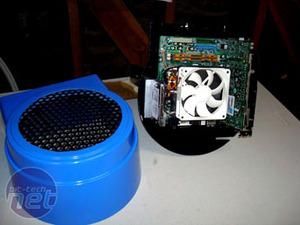
Now it’s down the real hardware – the stuff that is actually going to do all the damage and power all the frags.Of course, there isn’t a huge amount of room to put the hardware in, so smaller is always better. I managed to get an EVGA micro-ATX motherboard and an EVGA 8800 GTS, both of which were powerful but yet small enough to be hidden away inside the ammo can.
The ammo can itself therefore has to be something fairly lightweight, but which can take a knock or two without breaking. It has to be strong and thick enough to protect the hardware, while not making it an oven and letting it cool down as needed.
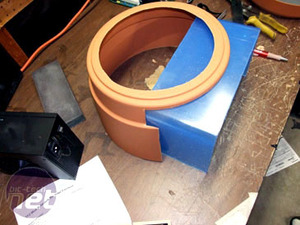
In a lucky stroke of recycling inspiration (rensipiration?), I found an old planter pot that was the right size. It seems an odd choice, but fits perfectly once it is trimmed down with metal shears.
I had to cut off the bottom of the pot to improve airflow as well as removing the back of the planet to add in a squared-off guard instead.
A new MDF floor was then inserted to attach the motherboard to - this keeps it as strong as it needs to without adding extra weight, so the rest of the ammo can's structure was formed from MDF too. The whole thing was then primed and painted to match.
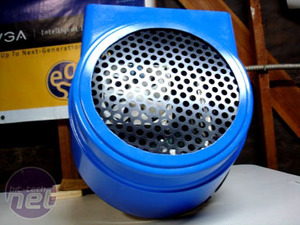
Lastly, once the ammo can has been fully assembled, painted and wired with some discrete on-off switches, the PC components are assembled. The whole PC is then placed inside the ammo can and sealed under a black grille.
This PC will then hook up to the screen we covered in the Dispenser mod, the first part of this set.
With some USB ports sneakily given access through some gaps in the planter, there’s plenty of easy connectivity. The large black mesh also allows for constant airflow through the top, circulated by the top mounted fans. Finally the power supply was put into the rocket launcher and some sheathed wires primed into the sides to provide power for the PC.

MSI MPG Velox 100R Chassis Review
October 14 2021 | 15:04


Want to comment? Please log in.