Closing it up
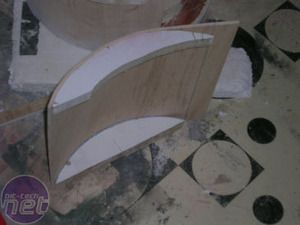
The door was created using a combination of methods from both the top and the bottom parts of the aquarium. First, styrofoam was formed to the proper curve for the base. This was then used as the form for our bendable wood again, creating a perfectly curved door.
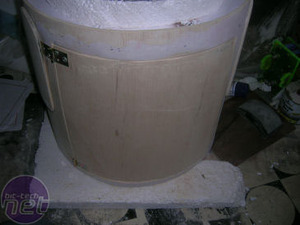
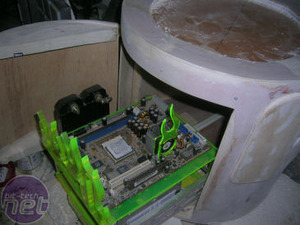
The door was attached to the case using brass cabinet hinges, and (as you can see) fits like a dream. When open, the motherboard tray has just the right amount of room to slide out fully.
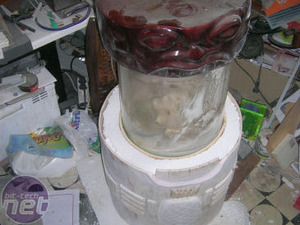
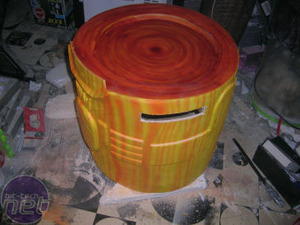
One test-fit of the top and aquarium, and we knew we were done. It was time for the painting to begin! If you're really curious about how I achieved the wooden finish with my airbrushing, you can check out a little YouTube video here. If you still have any questions, well...you know where to get a hold of me now, so drop me a PM or put a note in this article's discussion thread!
A couple little details
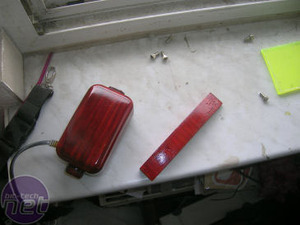
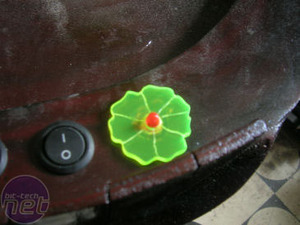
The case needed a few little "extras" before it could be considered done. Though the main case was finished, there were still things like switches and stealth plates and the like to add!Things like the pump cover and DVD drive couldn't just be left to their own, and so each received an airbrushing treatment. The DVD drive got an entire stealth plate that brought it flush with the rest of the base, hiding it from easy view. Switches to control lights and fans were then added, including a neon flower for the power switch. This would eventually end up inside the aquarium though, traded for a more "stealthed" airbrushed model that blended with the case. The other rocker switches would then receive similar treatment.

MSI MPG Velox 100R Chassis Review
October 14 2021 | 15:04




Want to comment? Please log in.