Now to do some refinements to the outside. With all the curved lines of the outer corners, I thought the straight edges of the fan port looked a little out of scheme. I marked with a pen where the wood met the fan plate when it was in place.
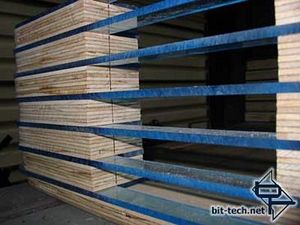
Using that line as a guide, I then took the case apart and marked a nice curve for the corners. I cut the first one with my jigsaw cutting outside the line and then put it on the sanding station to get it dead on the line. I then used the first one that was completed as a template for marking the rest. Then it was just rinse and repeat 13 times. I used the same technique for the front and back corner pieces (each side of the fan portal).
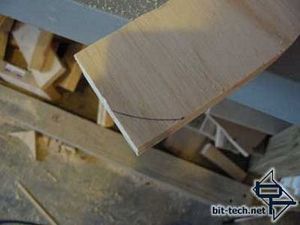
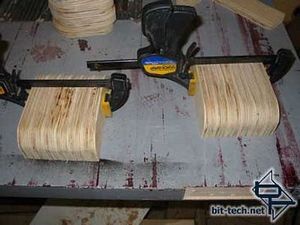
All the marking, cutting, and sanding in the world doesn't make for perfect matches. Once I had them all done, I lined them up and clamped them and then sanded them all together to insure they were all the same curved shape.
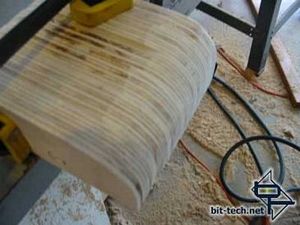
nice... or at least.. nic-er.
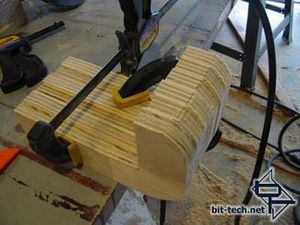
Here you can see how rough these pieces where after the initial cutting. The idea was to just get them close.
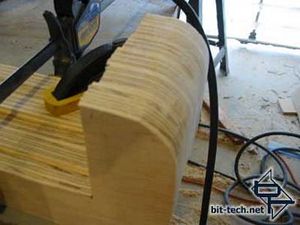
Using 40 grit paper on the air-driven sander has nice results... not yet a "wood finished" quality, just to shape the material. I will go back over it with some finer grit (probably 120grit)
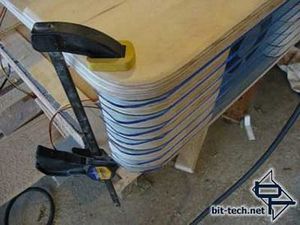
Doing a fine-tuned "dry stack" shows how the acrylic layers stick out of the back (reminding you of my rule that you can always cut to big, just not too small). These need to be blended with their wooden brothers and sisters. I clamped down the whole thing together once everything was in line.
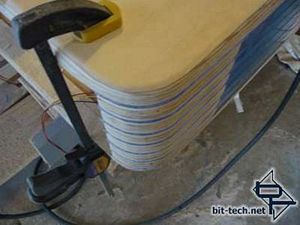
After some serious sanding...
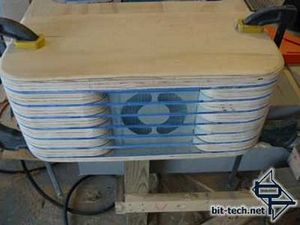
Worked on the front corner too (the right side in this picture). I think the rounded edges at the fans are good.
I turned the whole thing around and did the same practice on the other side. The end result is that it is starting to look like one happy hunk o' wood and acrylic. Not bad for 4 hours of sanding... oi.

Using that line as a guide, I then took the case apart and marked a nice curve for the corners. I cut the first one with my jigsaw cutting outside the line and then put it on the sanding station to get it dead on the line. I then used the first one that was completed as a template for marking the rest. Then it was just rinse and repeat 13 times. I used the same technique for the front and back corner pieces (each side of the fan portal).


All the marking, cutting, and sanding in the world doesn't make for perfect matches. Once I had them all done, I lined them up and clamped them and then sanded them all together to insure they were all the same curved shape.

nice... or at least.. nic-er.

Here you can see how rough these pieces where after the initial cutting. The idea was to just get them close.

Using 40 grit paper on the air-driven sander has nice results... not yet a "wood finished" quality, just to shape the material. I will go back over it with some finer grit (probably 120grit)

Doing a fine-tuned "dry stack" shows how the acrylic layers stick out of the back (reminding you of my rule that you can always cut to big, just not too small). These need to be blended with their wooden brothers and sisters. I clamped down the whole thing together once everything was in line.

After some serious sanding...

Worked on the front corner too (the right side in this picture). I think the rounded edges at the fans are good.
I turned the whole thing around and did the same practice on the other side. The end result is that it is starting to look like one happy hunk o' wood and acrylic. Not bad for 4 hours of sanding... oi.

MSI MPG Velox 100R Chassis Review
October 14 2021 | 15:04


Want to comment? Please log in.