I baulked at using contact cement... that stuff bonds on contact and I need some work-time to merge all these layers. I opted for 90 minute epoxy (Loktite to be more specific). I was sure to gather all needed materials beforehand to make sure I didn't have to go scrambling off to find something in the middle of the process. I used wooden popsicle sticks to mix the epoxy and metal handled utility brushes to apply the epoxy. Layer by layer it went on.
Once they were all together, I added some weight to the layers to make sure they were tight together then removed the weight because the layers were "floating" and with the weight, layer travel was occuring all on its own.
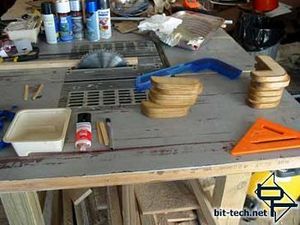
After a day of making sure everything was matured and cured I set my new "walls" on the base for a fitting... everything is looking good so far.
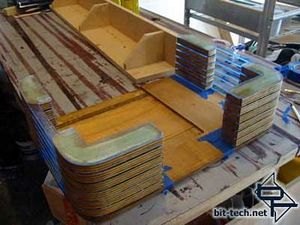
Just to show that the walls are all one piece... need to remove the masking tape... just appy the epoxy to the bottom of the wall before installing to the base.
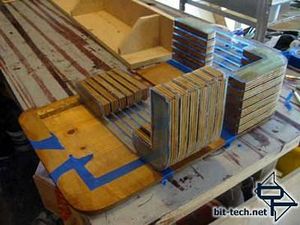
Then add some weight... because the walls are "tied" together with the plyboard that spans both of them, there is no floating travel this time.
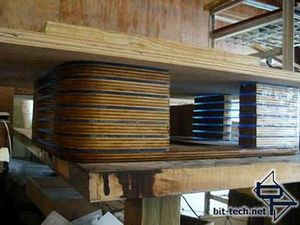
Now that I have a definite dimension for the case, I can make my top... a matter of tracing the outside edge and cutting with a jigsaw. I had to sand the corners so they matched the wall corners exactly.
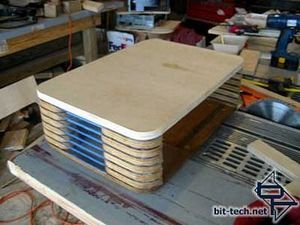
Now I need a framed support for the back-edge of the case. I decided to go with aluminum L-Channel. I laid a section across the back and traced in the top acrylic layer where it needs to sit. I need to cut away a shelf for the aluminum to rest so it is flush with the top much like the side fan assemblies.
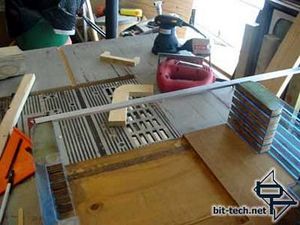
After tracing the line, I set the router depth to match the thickness of the aluminum and trimmed away a little acrylic.
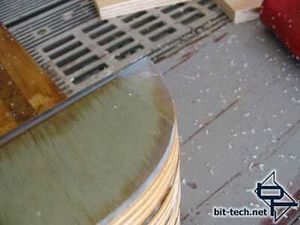
Set the aluminum back to make sure it's flush... looks good so far.
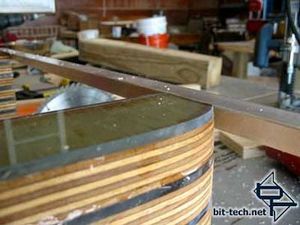
Set the top back on just to check it sits flush.
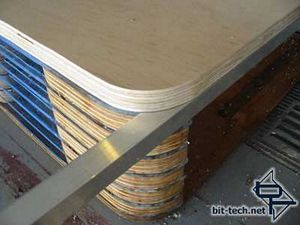
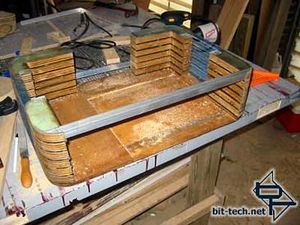
Now, I cant just have bits of L-channel dangling off the side so I trace the rounded edge and go to town with the jigsaw and my grinder.
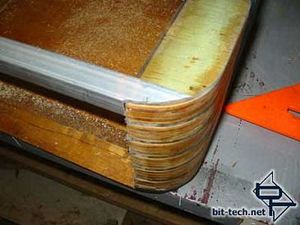
A closer look.
Once they were all together, I added some weight to the layers to make sure they were tight together then removed the weight because the layers were "floating" and with the weight, layer travel was occuring all on its own.

After a day of making sure everything was matured and cured I set my new "walls" on the base for a fitting... everything is looking good so far.

Just to show that the walls are all one piece... need to remove the masking tape... just appy the epoxy to the bottom of the wall before installing to the base.

Then add some weight... because the walls are "tied" together with the plyboard that spans both of them, there is no floating travel this time.

Now that I have a definite dimension for the case, I can make my top... a matter of tracing the outside edge and cutting with a jigsaw. I had to sand the corners so they matched the wall corners exactly.

Now I need a framed support for the back-edge of the case. I decided to go with aluminum L-Channel. I laid a section across the back and traced in the top acrylic layer where it needs to sit. I need to cut away a shelf for the aluminum to rest so it is flush with the top much like the side fan assemblies.

After tracing the line, I set the router depth to match the thickness of the aluminum and trimmed away a little acrylic.

Set the aluminum back to make sure it's flush... looks good so far.

Set the top back on just to check it sits flush.


Now, I cant just have bits of L-channel dangling off the side so I trace the rounded edge and go to town with the jigsaw and my grinder.

A closer look.

MSI MPG Velox 100R Chassis Review
October 14 2021 | 15:04


Want to comment? Please log in.