Now to work on the finishing touches for the top and the front of the case. I want a round window with a bit-tech logo so I print out a copy of the logo making a stencil. I trace the design on a sheet of 2mm aluminum.
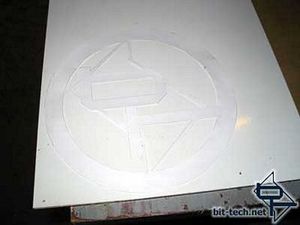
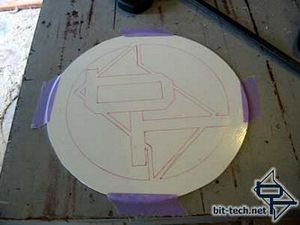
All traced out
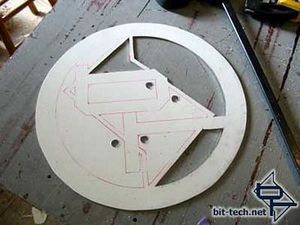
Drilled starter holes in all the "zones" and went to work with the jigsaw using a fine toothed metal cutting blade.
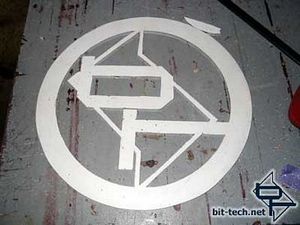
All done with the "rough cut" using the jigsaw. Right next to the "b" I had to just use a drill and files to get that tiny negative triangle section.
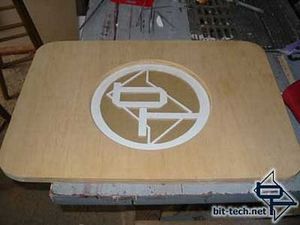
After about an hour with various files, I managed to clean it up pretty good and happy.
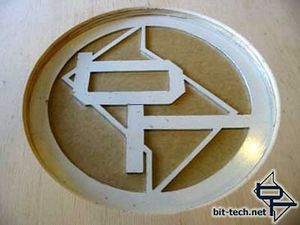
Closer look of it in place. It's got a pane of blue UV acrylic underneath. There is a shelf cut in the underside of the circle so the aluminum logo and the acrylic sit flush with the underside of the wood top. (here is a tutorial in case you are interested in the finer points of cutting the circle)
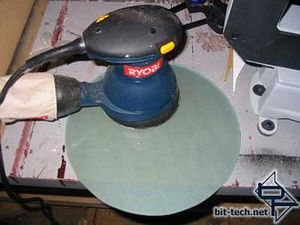
I take the random orbital sander to the blue UV circle to maximize glowage. Used 60 grit paper on this for the most scuff for the money.
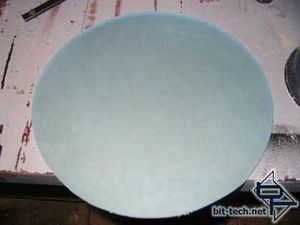
All scuffed up...
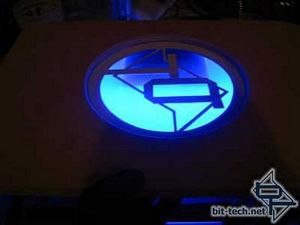
Testing it out... sanding the acrylic makes a big difference.


All traced out

Drilled starter holes in all the "zones" and went to work with the jigsaw using a fine toothed metal cutting blade.

All done with the "rough cut" using the jigsaw. Right next to the "b" I had to just use a drill and files to get that tiny negative triangle section.

After about an hour with various files, I managed to clean it up pretty good and happy.

Closer look of it in place. It's got a pane of blue UV acrylic underneath. There is a shelf cut in the underside of the circle so the aluminum logo and the acrylic sit flush with the underside of the wood top. (here is a tutorial in case you are interested in the finer points of cutting the circle)

I take the random orbital sander to the blue UV circle to maximize glowage. Used 60 grit paper on this for the most scuff for the money.

All scuffed up...

Testing it out... sanding the acrylic makes a big difference.

MSI MPG Velox 100R Chassis Review
October 14 2021 | 15:04


Want to comment? Please log in.