I was at the local computer shop, just browsing, and found a nice little 2.0 USB hub that had the led indicators on the front instead of the typical top. Snatched it up and decided to use this one for the front panel for keyboard, mouse, gamepad, camera, etc.
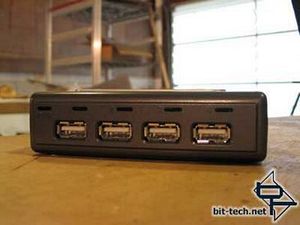
The victim... nice but will need to be worked on a bit..
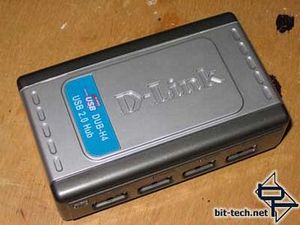
One more look before it finds a new home..
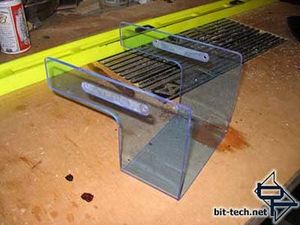
I used the router to cut some channels so I could use regular PC screws. The acrylic was too thick the way it was.
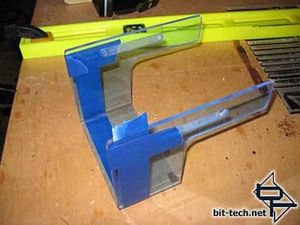
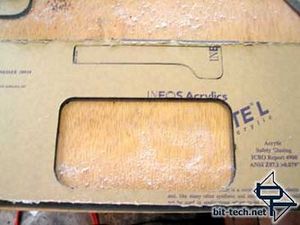
I need the the recessed smoked panel that will house the VFD display and the USB hub to fit flush with the front edge of my 5.25" drive bracket. I marked where my smoked window will go and taped it off. I used the jigsaw and a lot of filing.
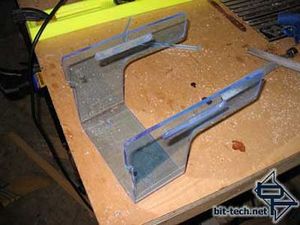
On the front edges (left edges) you can see that there is a little step in the thickness of my smoked acrylic.
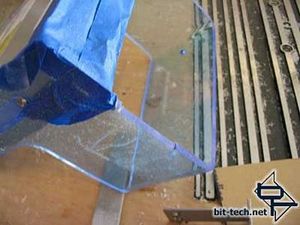
Matrix Orbital provided a blanking plate for the VFD which will make the mounting very easy, but I need it to fit flush behind the smoked window. I marked the location of the blanking plate and filed down a channel for it to set in.
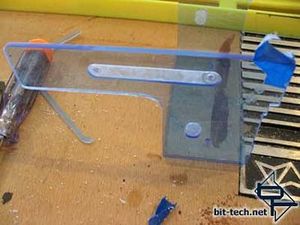
After all the filing, I now have a step for my window and a niche for my VFD blanking plate.
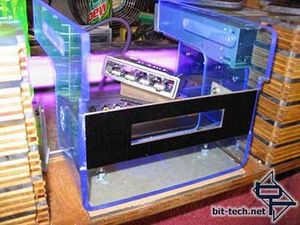
Blanking plate installed. I had considered just grinding down the vertical edges of the front plate making it more narrow and perfect fit but I couldn't bring myself to defacing it. I can use it later in another system this way.
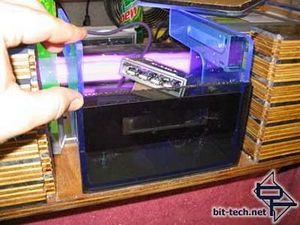
Blanking plate and smoked window in place and it all sits flush with the drive cage.
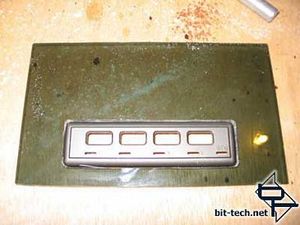
I taped up the window with painter's tape and marked the front bezel for the USB hub. Using a jigsaw, cut out a port for it.
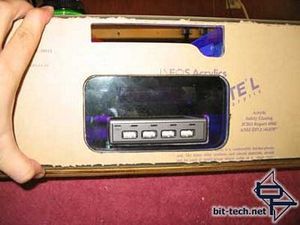
Now I have the drive cage, VFD plate, USB hub, and friends fitted and looking nice.
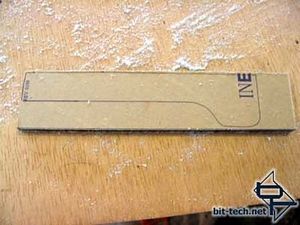
The only remaining piece for the front is the new drawer face for the Plextor PX-504 drive. I took a piece of smoked acrylic (same as used on the outer layer of the front bezel) and traced out the window I had already cut out for it. Then cut with jigsaw and sanded/filed it into a perfect fit.
Probably the only piece so far that only took one attempt. Finally something works right the first time. :D
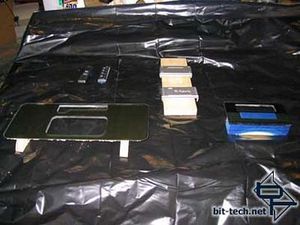
Now I have all the pieces that will get a vinyl dye treatement: smoked front panel, recessed smoked window, drawer front, various USB hub bits.
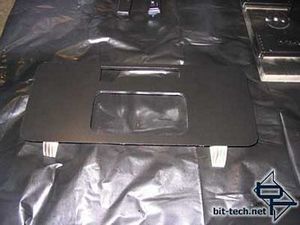
After a couple of coats on the front panel.
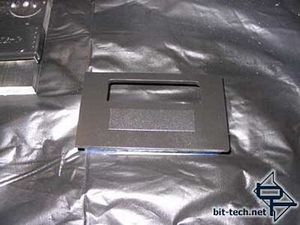
The recessed window. Note the masked part, that will be the VFD's window to the world. This coat of vinyl dye will provide a nice frame to draw attention to it and cut down on light leakage.

The victim... nice but will need to be worked on a bit..

One more look before it finds a new home..

I used the router to cut some channels so I could use regular PC screws. The acrylic was too thick the way it was.

I need the the recessed smoked panel that will house the VFD display and the USB hub to fit flush with the front edge of my 5.25" drive bracket. I marked where my smoked window will go and taped it off. I used the jigsaw and a lot of filing.

On the front edges (left edges) you can see that there is a little step in the thickness of my smoked acrylic.

Matrix Orbital provided a blanking plate for the VFD which will make the mounting very easy, but I need it to fit flush behind the smoked window. I marked the location of the blanking plate and filed down a channel for it to set in.

After all the filing, I now have a step for my window and a niche for my VFD blanking plate.

Blanking plate installed. I had considered just grinding down the vertical edges of the front plate making it more narrow and perfect fit but I couldn't bring myself to defacing it. I can use it later in another system this way.

Blanking plate and smoked window in place and it all sits flush with the drive cage.

I taped up the window with painter's tape and marked the front bezel for the USB hub. Using a jigsaw, cut out a port for it.

Now I have the drive cage, VFD plate, USB hub, and friends fitted and looking nice.

The only remaining piece for the front is the new drawer face for the Plextor PX-504 drive. I took a piece of smoked acrylic (same as used on the outer layer of the front bezel) and traced out the window I had already cut out for it. Then cut with jigsaw and sanded/filed it into a perfect fit.

Probably the only piece so far that only took one attempt. Finally something works right the first time. :D

Now I have all the pieces that will get a vinyl dye treatement: smoked front panel, recessed smoked window, drawer front, various USB hub bits.

After a couple of coats on the front panel.

The recessed window. Note the masked part, that will be the VFD's window to the world. This coat of vinyl dye will provide a nice frame to draw attention to it and cut down on light leakage.

MSI MPG Velox 100R Chassis Review
October 14 2021 | 15:04


Want to comment? Please log in.