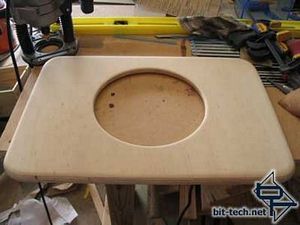
Last wood piece is the top. I sanded the edges to make sure it is a perfect fit with the existing walls of the case. Then rounded the outside edges and gave it a long session of sanding with 220 grit paper. Since this will be the largest visible piece of wood, it needs to be very nice.
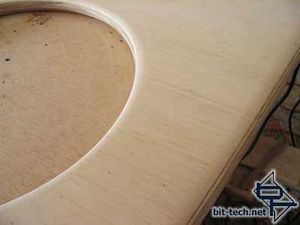
After about an hour sanding, the surface was very nice.
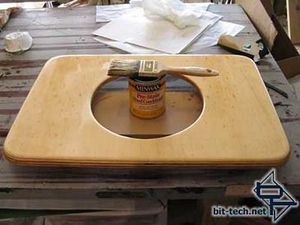
One round of the pre-stain.
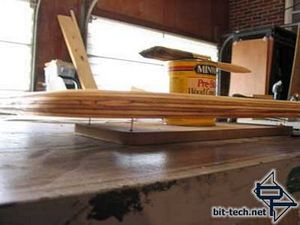
Since the bottom of the top lid isn't super critical, I decided to drive some finishing nails through a piece of scrap MDF so I could work both sides rather than two whole rounds for top and bottom.
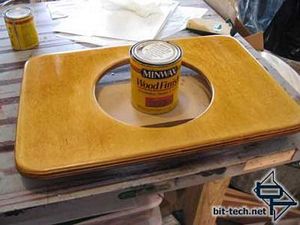
Then first layer of stain...
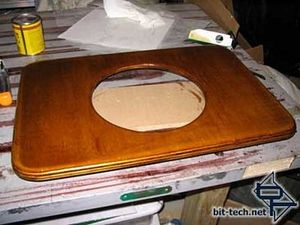
Second layer of stain and that is done. The color and finish is to my liking.
Then I slapped on four layers of polyurethane. This was exceedignly patience draining. To do it properly, you need to wait 3-4 hours for each layer to dry (and this is the fast stuff). Sand with 220 grit paper and then re-apply. This pretty much ate up one whole weekend. I couldn't do much else as I didn't want wandering particles of anything else I would be working on landing in the sealer to be preserved forever like some sort of Jurassic mosquito.
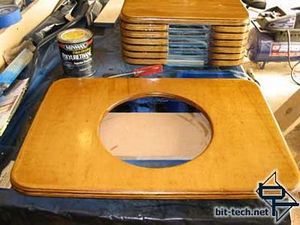
I did the top and body separate so they didn't get sealed together but sanded them with the top on to make sure the sealer thickness matched.
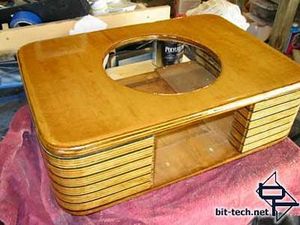
After three layers. Only one more to go. Sanding between applications allows each additional layer to bond to the previous one and makes it nice and smooth. It's very glossy and ties it all together making it look like one single chunk of wood.
Now to install the top window piece.
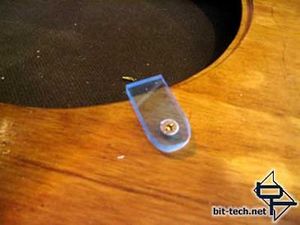
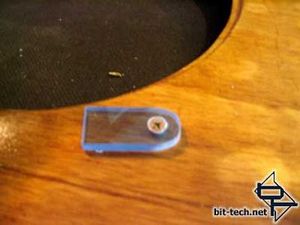
I cut three small pieces of acrylic from scrap and countersunk them with screws into the underside of the wooden top. They are tight enough not to sag but loose enough to swivel so the window panel can be removed If I ever need to.
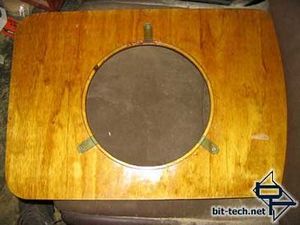
A shot of all of them in place.
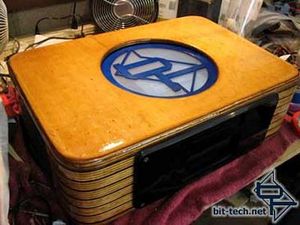
The top window pieces are installed in mere seconds.

MSI MPG Velox 100R Chassis Review
October 14 2021 | 15:04


Want to comment? Please log in.