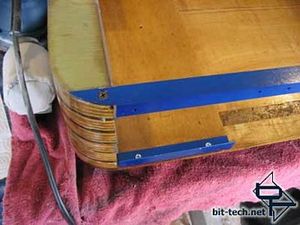
Glued and screwed the top/back bracket and the bottom bracket.
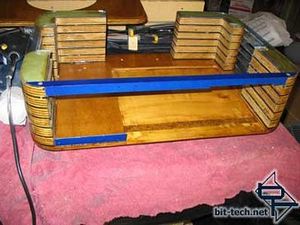
In place, the PSU bracket will go on the left and the motherboard tray goes on the right. You can see on the top bracket to the right where the notch is cut out for the PCI slots to slide in.
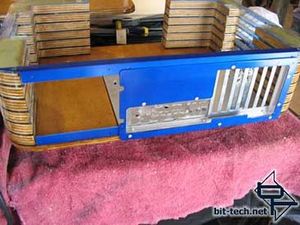
Mobo tray slides right in. I really like the blue panel with the silver.
Time to fasten the front panel too. I countersink the mounting holes for the front two pieces and drill a pilot hole into the case. Using clamps to secure it into place, I just drive four black wood screws in to hold it in place. I used a bit big enough to drill out the acrylic pieces to make sure that none of the threads would touch the acrylic because it could crack. The screws are snug in the acrylic but do not thread into it at all.
I was also careful to choose the locations of the screws where they go into a wood section of the case and not acrylic for obvious reasons. I wouldn't want the mounting screws to split two of the layers or crack one of the acrylic layers.
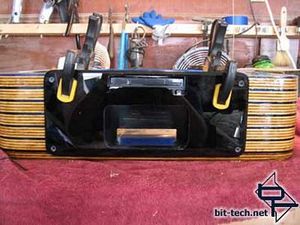
Clamped and screwed. (story of my life)
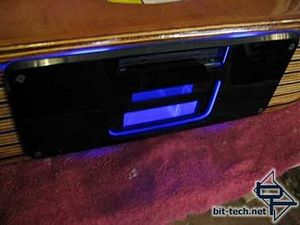
In place you can see how the layer of blue behind the black provides a nice accent of illumination "trim" around the outside edge and the perimeter of the recessed cove.
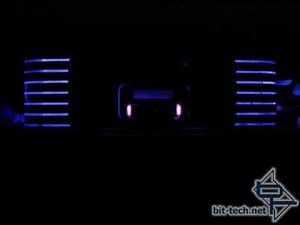
I took one really dark shot to make sure there was no light leakage through the smoked pieces that where painted. A dark void is what I wanted and it appears to be ok.
Now to put some of these pieces on the back. I rivet the PSU mounting plate to the brackets I installed.
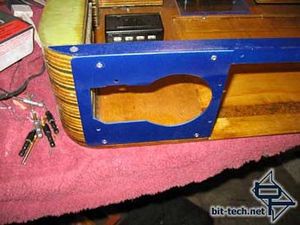
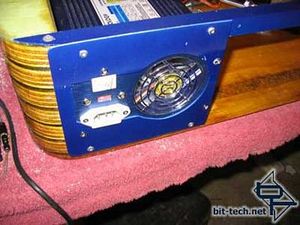
In goes the Raidmax blue PSU
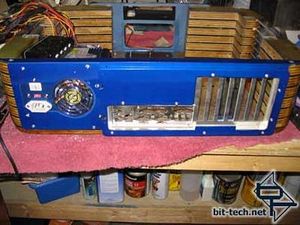
Slide in the mobo tray and it all fits together. I don't have a pic of it here but I added a very small red momentary push button switch for the power button on the back of the motherboard tray. That allows me to pull the whole tray out without having to disconnect tons of items and keep the front panel as clean looking as possible. I also opted to route all the USB elements (the VFD and hub) externally through one of the PCI slots so I can simply unplug them from the back and yank the tray out.)
On to finishing the front drive cage. I install the Matrix Orbital VFD into the mounting bracket.
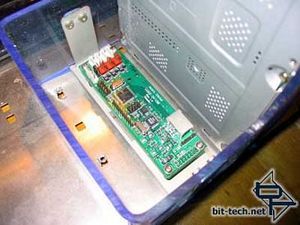
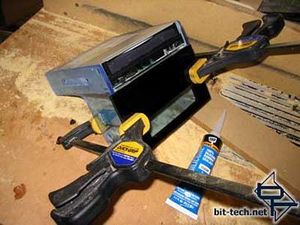
Then I put a couple strategically placed beads of silicone to tack the front panel in place. The front case panel pretty much keeps this in place but it can slide side to side. I don't want a "forever permanent" seal here, just to keep it in place. Using silicone will glue it but make it removable if I should need to in the future.
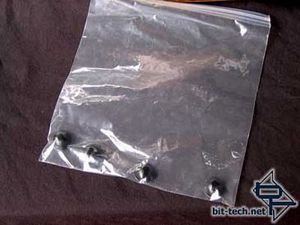
QuietPC was nice enough to send some of their "Quiet Feet" for the project. These little guys are soft rubber-like material that just have a backing you peel off and stick on. These will provide a vibration-free platform.
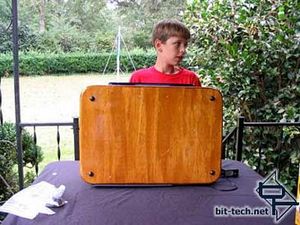
Installed and on display by my trusty assistant. :D

MSI MPG Velox 100R Chassis Review
October 14 2021 | 15:04


Want to comment? Please log in.