I broke up the walls with some functional gaps. One on the front for the drives, etc. One on each side panel for the 120mm fans that will be fitted. The wood will create the window for the fans but the acrylic will carry across or span the gap and act as a fan guard. So the wood needed to be cut is fairly minimal to build the walls.

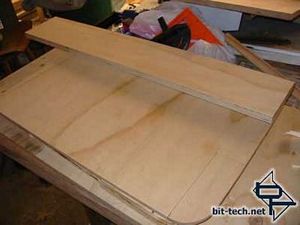
I ripped one piece on the table saw to span the front to cut out the pieces that will form the front quarters.

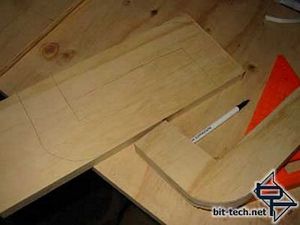
Then, I summoned some atypical sober brain power and figured out a way to optimize my wood usage after I had created the first piece and used it as a template. I cut all these out with the jigsaw and needed 12 (six on each front corner). My jigsaw and I got to spend a lot of quality time during this stage. I clamped the piece to the worktable to make it as easy to cut as possible and minimize vibration.

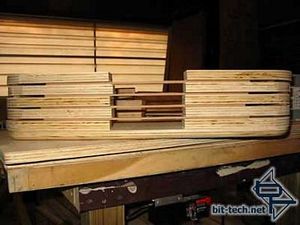
I performed a "dry stack" to see how the height was developing... I cut some spacers out of a scrap piece of MDF I had in the corner of the garage to represent the space the layers of acrylic will live in. It may look rough at this stage but the idea is to get it together and then shape it by sanding. The objective here is to not have any "negative" parts. In other words no part that would be indented in relation to the shape established by the top and base.
The back corner pieces were much easier. With the back so open for the motherboard tray and power supply, all I really needed to do was to rip some 2" wide strips and cut them with the miter saw. I then traced the rounded corner on each one and cut the rounded corner with the jigsaw.

I ripped one piece on the table saw to span the front to cut out the pieces that will form the front quarters.

Then, I summoned some atypical sober brain power and figured out a way to optimize my wood usage after I had created the first piece and used it as a template. I cut all these out with the jigsaw and needed 12 (six on each front corner). My jigsaw and I got to spend a lot of quality time during this stage. I clamped the piece to the worktable to make it as easy to cut as possible and minimize vibration.

I performed a "dry stack" to see how the height was developing... I cut some spacers out of a scrap piece of MDF I had in the corner of the garage to represent the space the layers of acrylic will live in. It may look rough at this stage but the idea is to get it together and then shape it by sanding. The objective here is to not have any "negative" parts. In other words no part that would be indented in relation to the shape established by the top and base.
The back corner pieces were much easier. With the back so open for the motherboard tray and power supply, all I really needed to do was to rip some 2" wide strips and cut them with the miter saw. I then traced the rounded corner on each one and cut the rounded corner with the jigsaw.

MSI MPG Velox 100R Chassis Review
October 14 2021 | 15:04


Want to comment? Please log in.