I cut out two new pieces of smoked acrylic the dimensions of my window cove with the table saw. Then I set up the router table to cut little ledges for the L-channel to rest in similar to the one I created in the top layer of the wall section. This is going to go across the top and bottom of the fan plate so the router table is the way to go. I set the height of the bit to match the thickness of the L-channel material and setup a gate to act as a guide to
control how wide the "step" will be.
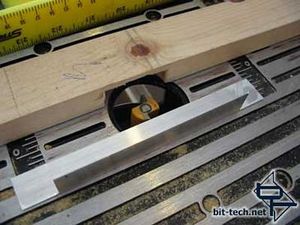
Setting the bit height.
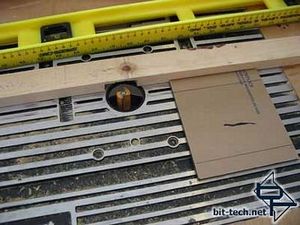
Running it along the gate for nice uniform results.
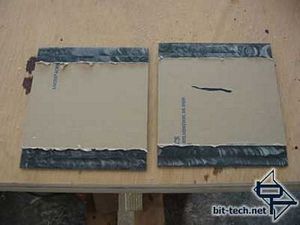
I ran each edge through in two runs. When routing, smaller bites are better otherwise you could melt/break something. You can see the pattern of the two runs on each step. This looks rougher than normal because this smoked acrylic "grays out" when you scuff it like this. I started to sand this down but the next step involves jbwelding the L-channel to these steps so a rough surface actually helps. Plus no one is EVER going to see this. (well, except for you, right now, of course)
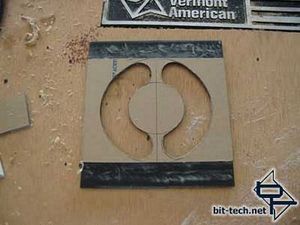
I created a new design for plates. I didn't want the center hub or the outer rim of the fan to show, just the rotating blades. Whipped out the jigsaw with the acrylic blade and cut them out.
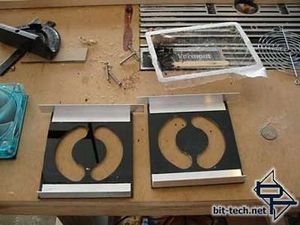
JB Weld goes on with a popsicle stick like butter on a piece of black/rigid bread (note: JB Weld smells funky... not like butter at all..whew). I press the L-channel pieces into place and they fit flush with the surface nicely.
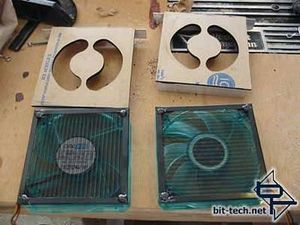
Now if you look closely at the screws of the fans, I have applied more JB Weld (pew) to the screw faces to bond them to the acrylic plate. (Obviously, the paper was removed before putting this down... )
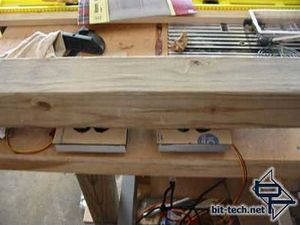
Some 4x4 pine action to keep them together while it cures...
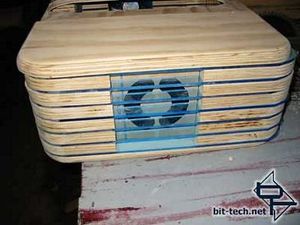
Pop it in the "dry stack"... it fits tight and the top can sit flush thanks to the little channels I cut in the top layer (it will look better without the paper... trust me).
control how wide the "step" will be.

Setting the bit height.

Running it along the gate for nice uniform results.

I ran each edge through in two runs. When routing, smaller bites are better otherwise you could melt/break something. You can see the pattern of the two runs on each step. This looks rougher than normal because this smoked acrylic "grays out" when you scuff it like this. I started to sand this down but the next step involves jbwelding the L-channel to these steps so a rough surface actually helps. Plus no one is EVER going to see this. (well, except for you, right now, of course)

I created a new design for plates. I didn't want the center hub or the outer rim of the fan to show, just the rotating blades. Whipped out the jigsaw with the acrylic blade and cut them out.

JB Weld goes on with a popsicle stick like butter on a piece of black/rigid bread (note: JB Weld smells funky... not like butter at all..whew). I press the L-channel pieces into place and they fit flush with the surface nicely.

Now if you look closely at the screws of the fans, I have applied more JB Weld (pew) to the screw faces to bond them to the acrylic plate. (Obviously, the paper was removed before putting this down... )

Some 4x4 pine action to keep them together while it cures...

Pop it in the "dry stack"... it fits tight and the top can sit flush thanks to the little channels I cut in the top layer (it will look better without the paper... trust me).

MSI MPG Velox 100R Chassis Review
October 14 2021 | 15:04


Want to comment? Please log in.