
PSUs - Cooling And Mounting
I mentioned before that it is fairly easy to water-cool an Engelking PSU, this is because it has been done before! Aqua Computer in Germany used to sell an Engelking PSU with a waterblock attached. They had discontinued them when I started the project, but the idea was still sound. Looking at the dimensions of the PSU I discovered that a normal Hard Drive water block would work just as well.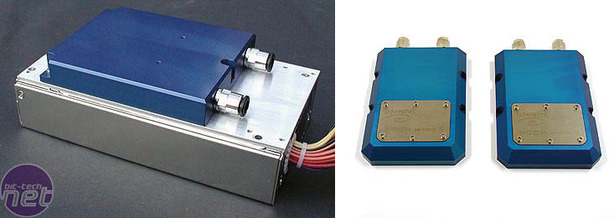
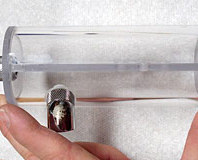
The original AC water-cooled Engelking on the left and the two Innovatek HDD water blocks I'll be attaching to mine to cool them. Along with the reservoir, both these water blocks were supplied by Coolercases, the main UK importer of Innovatek products, amongst many others. Despite being located in the UK, they happily shipped them to me in Australia. Thanks guys.
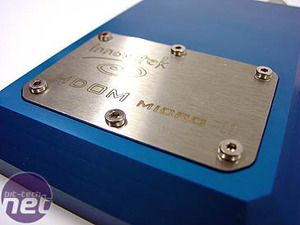
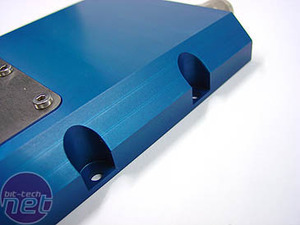
The blocks are Innovatek's HD Micro II. They are very classy and well made, with the mounting holes just right for attaching them to the Engelking PSUs in place of the usual heatsink. Curiosity got the better of me, and I removed the stainless steel panel to find it covers a similarly sized chamber; a rubber 'O' ring seals the panel. I was amused at the irony of these blocks being the same shade of blue as the ones on the original Aqua Computer Engelking PSU. 'Is blue a trendy colour in Germany?', I wondered.
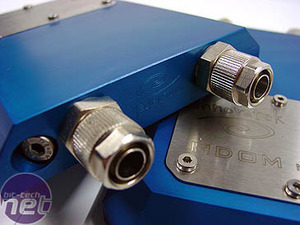
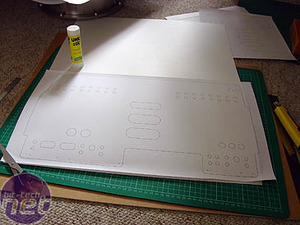
The fittings are 8x1 compression fittings, and there is a socket to screw in a thermal probe which can then be plugged into a display to monitor temps in the loop. To design the bracket that will hold both the PSUs in place, I first drew it in Adobe Illustrator (shown above), then made a cardboard model out of the drawing to check the fit.
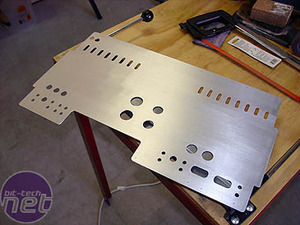
The final bracket was then cut from a sheet of aluminium and polished to 280 grit, before being covered in masking tape to protect it, and bent in a vice between angle-iron (with judicious use of a length of 2x4 and a hammer).

I had to dremel out some slots to allow clearance for some existing nuts and screws. The ends of the bracket were alternately folded up at one end, and down at the other to provide rigidity to the bottom surface - it will end up supporting a lot of weight with both PSUs and water blocks. One end was folded down, instead of up, as it will have a lot of wires running over it; I wanted a smooth, rather than sharp, edge to prevent damage to the wires.

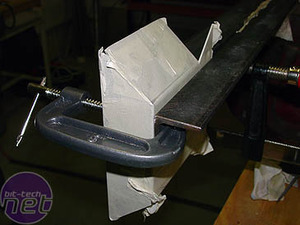
When the bracket was done, I made and folded up a box to hold the timer PCB and alarm, and the PCBs for voltage indicators (that will run off the radiator fans).
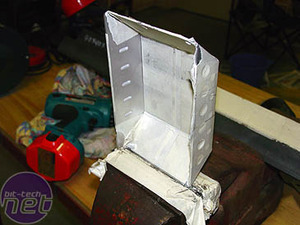
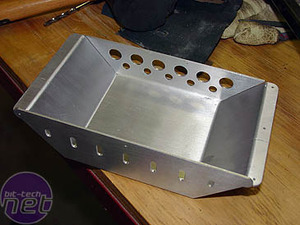
After a polish, the box will attach to the bottom of the PSU bracket. I made it with sloping sides to channel the exhaust air from the radiator fans down onto the motherboard components. The rows of round holes in the back were drilled to accept two different sizes of rubber grommets, and will have several dozen wires running through them.

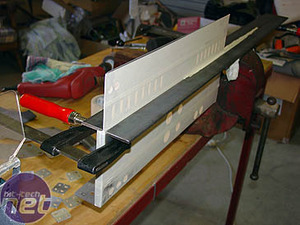
I cut a notch in the end of the bracket (left-hand image, just to the right of the bit-tech watermark) to allow for the protruding IEC socket on one of the PSUs. The large section missing from the narrower of the upturned sides is to allow clearance for the rear of the VFD display, where it comes back through the case. The holes along this side also, are all grommet-size (to pass wires through), with the two larger ones, at the far end, being molex plug-sized.
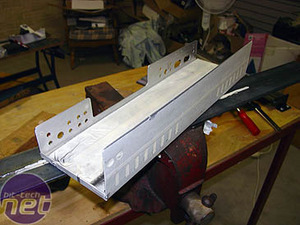
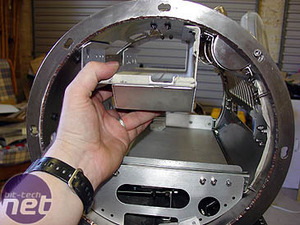
In the right-hand image, you can see how the bracket fits into the case and how the box sits underneath it. This image was taken from the radiator end of the case and illustrates how the sloping end of the box will channel airflow down onto the motherboard (which sits on the tray pictured - more on that in WMD Part III).
RELATED ARTICLES


MSI MPG Velox 100R Chassis Review
October 14 2021 | 15:04

Want to comment? Please log in.