
Top Displays - Initial Cutting And Folding
These displays were never part of my original plans. They came into being through a couple of things: Firstly, Innovatek had a nice product coming out at the time which they wanted to send me - the Fan-O-Matic Pro VFD. With the ability to read and control flow meters, sensors, multiple pumps and fans, respond to temperature changes, accept pre-set configurations, in fact, do just about everything except darn your socks, it would be a great addition to the project; with a red filter it'd fit right in with the timer.The second thing that prompted this part of the mod, was Corsair kindly providing me a set of their XMS Xpert memory. You've probably seen the stuff - it has great-looking red LED displays plugged into the top. I'd seen a review of these and noticed the displays simply plugged in using a pin arrangement that looked pretty standard to me.
I conceived an idea to make up a cable that would mean I could mount the displays into the outside of my case and run them directly off the memory sticks inside - no window required. Both of these added to the case meant I needed to come up with a method of mounting them that would look good and blend in with the parts I'd already made.
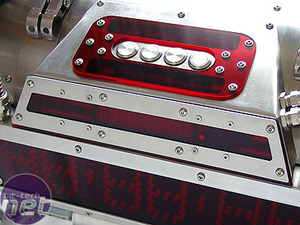
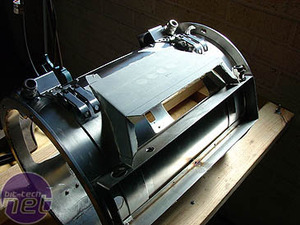
The finished mounting is made from stainless steel and incorporates a red plexi window and bezel on the front to house the VFD and a couple of red LED voltage displays (for fan voltages). The red section in the top houses the two memory displays and the four stainless steel vandal-resistant switches wired to operate the VFD menus and settings.
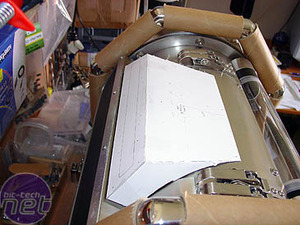
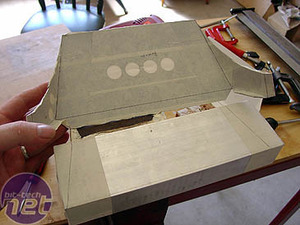
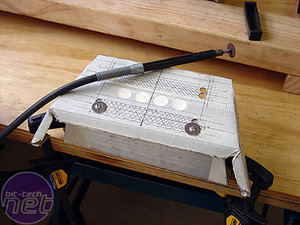
The back end can be seen from the cardboard model I made to begin with. It curves to fit the curve of the case, and this helps it look like it really belongs as part of the case - not something just stuck on as an afterthought (which it kinda was to be honest).

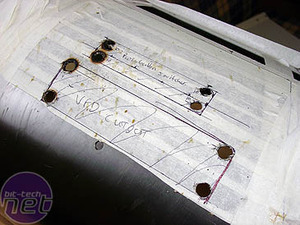
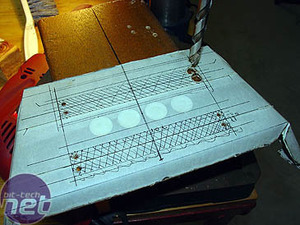
In order to allow room for the various displays in the case, I needed to cut out some sections from the main cylinder. After measuring and marking out, I drilled holes to mark the corners....
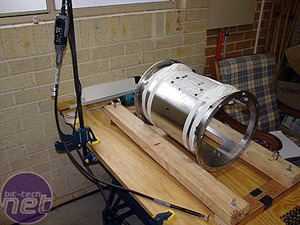
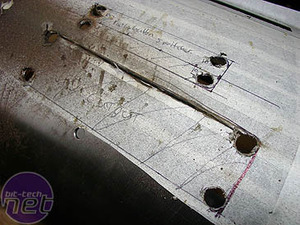
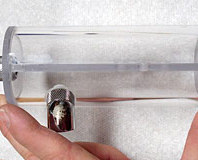
...then began cutting with a dremel, flexi-shaft and some oversized (read massive), heavy duty cut-off wheels from mnpctech. The stainless steel is 2mm thick and very hard to cut. It took a long, slow, time to cut, a lot of cutting wheels (20 or 30 I think) and needed a very steady hand to ensure the lines were as straight as possible.
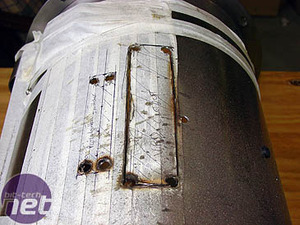
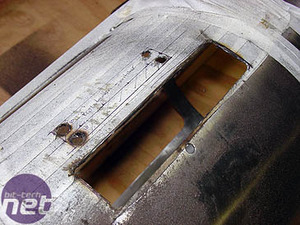
As I cut through each section, there was a satisfying 'clunk' as the heavy piece of steel dropped into the bottom of the case. Tip: should you, in your excitement, try to pick these pieces up straight away, wear gloves or you'll burn your fingers! Ahem *whistles innocently*
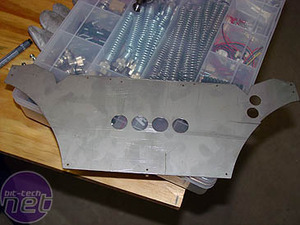

The display cover was laser-cut from a piece of 1.2mm stainless steel. I had previously drawn a prototype in Adobe Illustrator and made a cardboard model to check the fit.
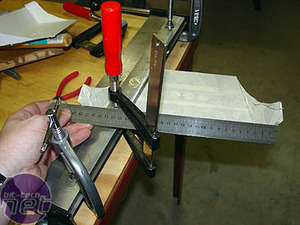
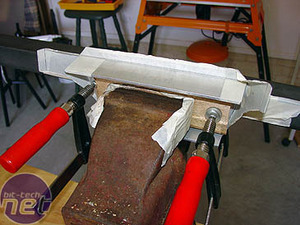
I covered the piece with tape to protect it and allow easy marking, then folded it in my bending brake. It was tough to bend as my brake wasn't rated to such a thickness of steel, so I had to do it slowly and in small stages, re-tightening the clamps after each attempt. I constantly checked the angles with a ruler - if it was short it was no problem, I just bent it a bit more, but if I had bent it too far it would have been difficult to straighten it out again without messing up the fold.
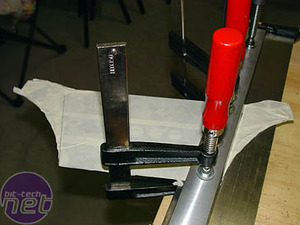
It test-fitted well and I just needed to bend the tabs to hold the front bezel on. To bend these I used the vice....
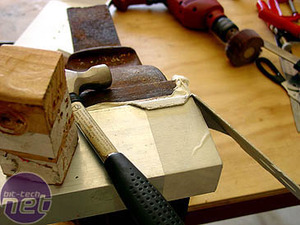
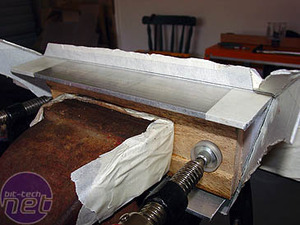
...and hammered the tabs flat (with a block of wood under the hammer). I still had the bottom and top tabs to bend up....
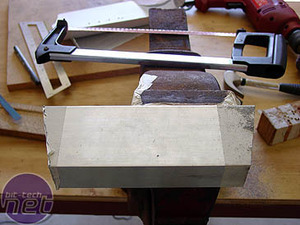
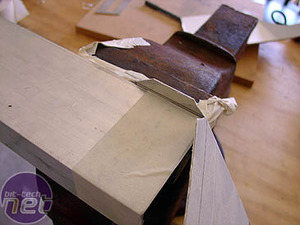
...and had to make a form out of aluminium channel to bend them over. I marked the channel and cut the ends at an angle to match the cover.
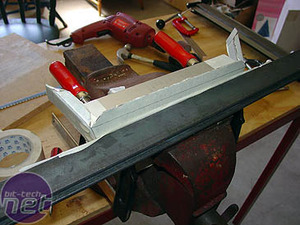
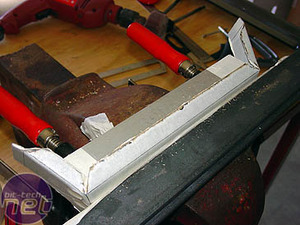
Clamped in place and bent using a length of 2x4 and a hammer. I used a truly massive pair of pliers, clamped in the vice to bend the bottom tabs.
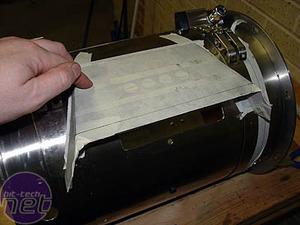
As the Corsair memory displays were a late addition, I hadn't incorporated the holes for them into the design at the time I had the piece cut. As I knew the memory had been sent by courier from the USA, I used the specs off the Corsair website to plan the size of the cut-outs. Obviously it is better to wait for the part to arrive, but I was pushing a deadline for the Atomic Live show, only a few weeks off at this stage.
The cut-outs were carefully marked, holes drilled to mark the corners (and give them a nice radius) and out came the trusty Dremel. I re-used the jig I'd made to bend the cover, drilling holes in it and screwing the piece to it to hold it securely, as I needed two hands on the Dremel for control. As these holes would be visible they needed to be straight as a ruler.
RELATED ARTICLES


MSI MPG Velox 100R Chassis Review
October 14 2021 | 15:04

Want to comment? Please log in.