Black Cover


The back cover turned out almost exactly like the original plans. I drew it up in Adobe Illustrator CS. The beauty of later versions of Illustrator, is the ability to save a 2D drawing as a CAD file (.dxf, .dwg). I haven't learnt to use a 3D design program so have to do it all in 2D. I have a full, licensed version of SketchUp (since released FOC by new owners Google) - but haven't yet had the time or inclination to spend a few days getting to grips with it. As CAD files are used by the place I get my laser cutting done, it's a simple matter of taking my Illustrator CAD file in and specifying the material to cut from.
The back cover, and the hinged flap that cover where the plugs go, had to be curved to follow the curvature of the main cylinder and were made from the same steel - 2mm 304b stainless. To do this I had it cut in such a way that small tabs were left all around each piece. This meant they were still basically part of the sheet they were cut from, and were then easy to put into a rolling machine to roll into a curve. Even then, the roller wasn't able to curve the steel enough, so I had to spend a half hour with a wooden mallet and a form, bashing the thing 'til my thumbs bled, to get the curve right. After that, the tiny tabs were cut with a Dremel and each piece detached from the sheet holding it.


The fit was checked and the position of the Protex clips checked. I then cut some more 40mm steel bands (seen here with white protective plastic on them). The bands sit under the clips and look like a continuation of the bands running around the rest of the case. The clips also act as handles to pull the back cover and slide the motherboard tray out.


Everything had to be drilled and fastened. I used mainly acorn nuts on the inside of the back cover, as these will be visible when the back is open and look better than a plain nut - as real acorns also do, when compared with the other members of the nut family.


The red plexi window in the back was cut from 3mm (1/8") plexi and the case itself was marked, drilled and tapped M6, with M6 clearance holes in the cover, to allow the cover to be fixed with four M6 socket screws.


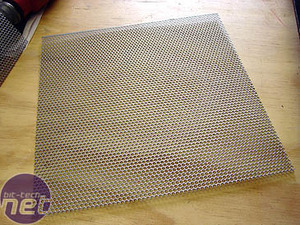
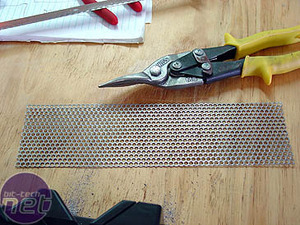
To make the mesh insert for the ventilation holes, I used some more of mnpctech's Modder's Mesh.


The mesh was cut to shape and simply screwed to the back cover, mostly using the existing screws holding the bands and clips on. The plexi piece was fastened with small M3 screws and washers (to protect the plastic).

MSI MPG Velox 100R Chassis Review
October 14 2021 | 15:04


Want to comment? Please log in.