
Reservoir - Painting And Padding
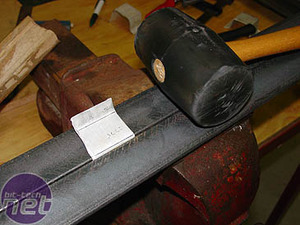
I had allowed enough in the measuring for there to be space underneath the bracket to add foam padding. The other bracket was bent to match the first.
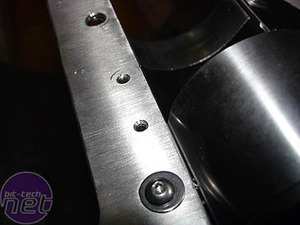
At this point the reason I only drill small pilot holes becomes clear: I could place the bracket on the case and use it to mark accurately where to drill the holes for the screws that would eventually hold the bracket in place. These were marked, drilled....
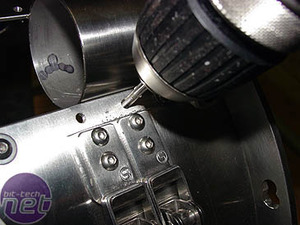
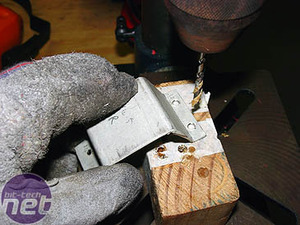
...and tapped to M4. Only then did I drill out clearance holes in the brackets.
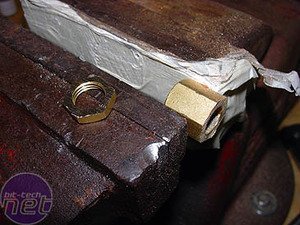
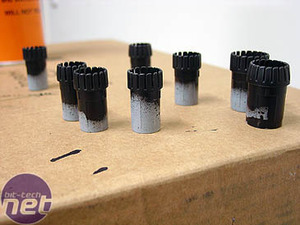
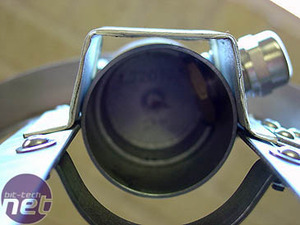
The nuts supplied with the glands were massive and wouldn't do up due to the curve of the inside of the pipe, so I made my own by cutting them from a piece of threaded brass I had laying about. The glands also had grey plastic inserts which stood out and didn't fit with my colour scheme - so I used black vinyl dye to paint them.
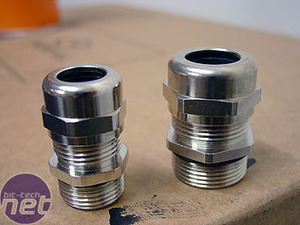
The black inserts were an improvement.

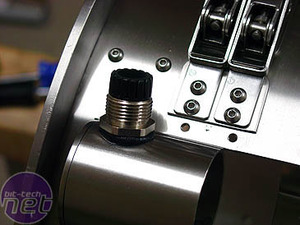
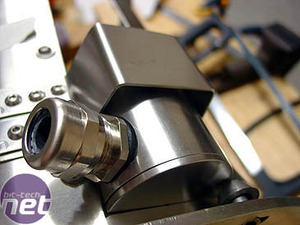
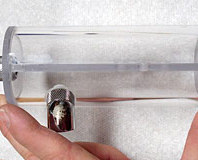
The glands were designed to angle forward so any hoses would follow the curve of the case. These pics are early ones, before I painted the glands, and you can see how the light grey stands out. A small thing really, but add enough small things together over a whole project and it can make a big difference to the final look. Details matter in a modding project.
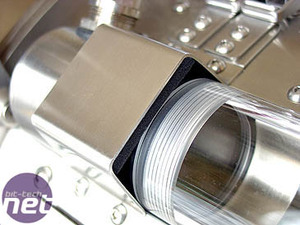
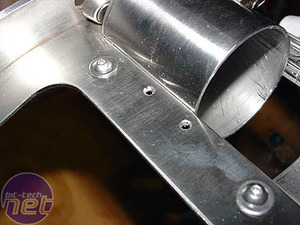
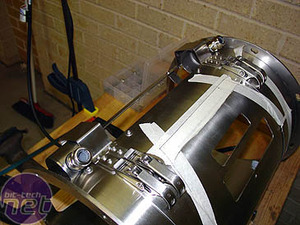
Into the gap between the brackets and the reservoir/pipes I used self-adhesive, black, close-cell foam strips, stuck to the underside of the brackets. These acted to hold the reservoir securely in place without damaging it. If I had made the brackets to sit directly against the reservoir, I risked damaging it or even cracking it when screwing the brackets down.
RELATED ARTICLES


MSI MPG Velox 100R Chassis Review
October 14 2021 | 15:04

Want to comment? Please log in.