
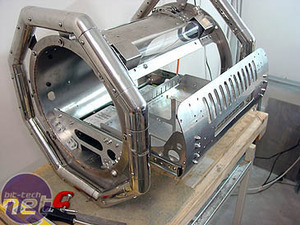

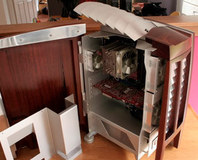
The slides are silky smooth and the whole assembly has a rock-solid feel to it. The tray clears the bottom-mounted HDDs nicely.
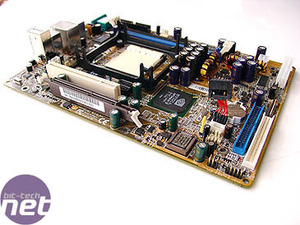
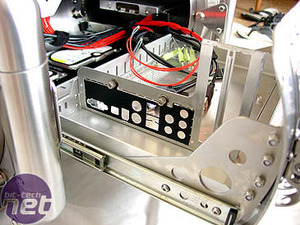
With the case being a cylinder, the Shuttle motherboard mounting lengthwise and the tray sliding out quite a distance, all the ports on the back of the board needed lengthy extension cables.
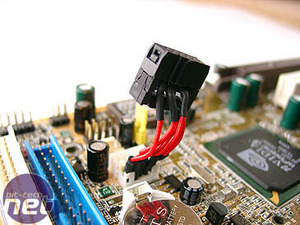
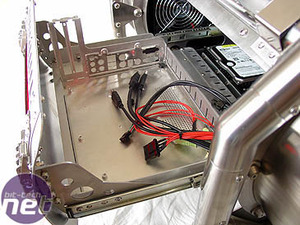
To get some extra USB ports, and not having the right plug, I soldered wires direct to one of the USB headers on the board and attached my own plug. To avoid tangling, the power cables drop down from the top of the case and all other cables are routed from the plug-bay, under the HDDs, and through a special channel in the rear HDD bracket, before looping up and over on to the motherboard tray. Sounds complex but it’s simple and stops the cables tangling when the tray slides in; and allows enough length for the tray to slide all the way out. Cable routing: hard to explain, have no picture. Meh.
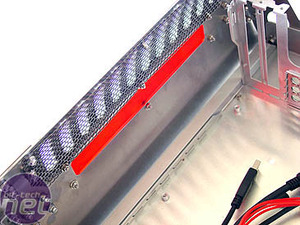
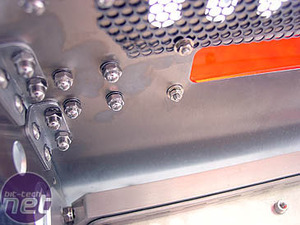
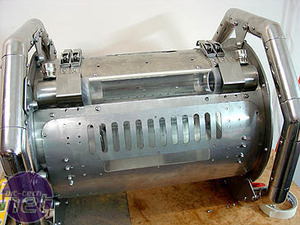
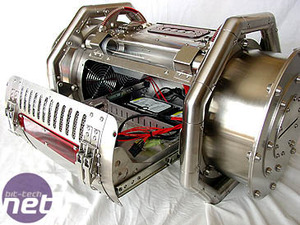
Some more glory-shots of the finished tray and back cover.
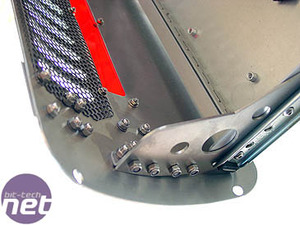
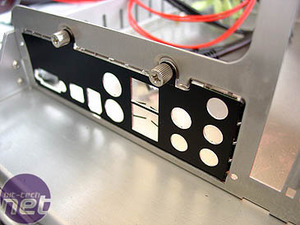
The brackets that hold the back cover to the tray are 2mm stainless steel. One of the last things I did was to vinyl dye the brightly coloured backplate insert, black.
RELATED ARTICLES


MSI MPG Velox 100R Chassis Review
October 14 2021 | 15:04

Want to comment? Please log in.