
Pipe Frames II


The brackets attach to the frames with M6 socket screws, and use the existing bolts to attach to the flange of the main cylinder. There are no brackets at the front (I needed a gap in the frame for the front cylinder hoses), but I still used a couple of matching screws and washers to balance the brackets.
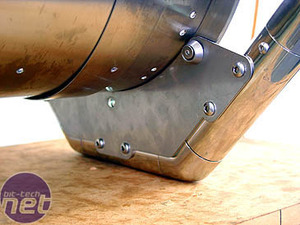
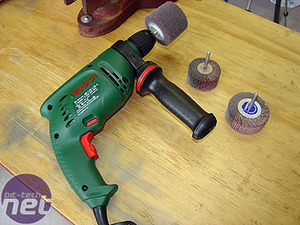
The real key to how the frames work is in the bottom brackets. They are one solid piece, and it is these that support most of the weight of the case. The smaller brackets around the top stop the frames from twisting and flopping about, and support the weight of the case when the frames are used as handles. As you can see, the brackets need to be polished (too dull), as do the pipes (too shiny). The drill (a new one after my old one burnt out) with flap-wheels and a polishing brush do the job.
In WMD Part-1, I had polished the ends of the case in one direction only. I wasn't satisfied with the way this reflected the light - it just didn't look right. When circular metal parts are lathed or milled, they get a sleek circular polish, like a series of fine concentric rings, which reflect the light a certain way. Polishing the brackets gave me a chance to try out a method of polishing to get a similar effect (and gave me an excuse to repolish the case ends).
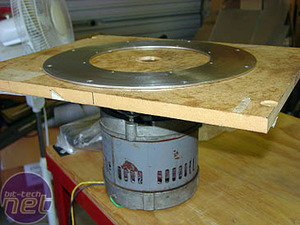
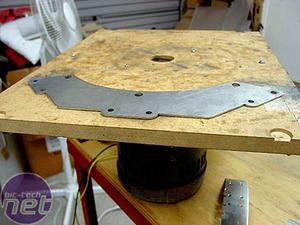
I used an old electric motor and a piece of custom-wood as a turntable. Each piece was centred and screws in the wood stopped it slipping. The board then spun around and I held the drill with the polishing brush steady in one spot. Pointing the drill at the centre of the circle, and keeping it revved while the turntable spun, meant concentric, circular polishing.
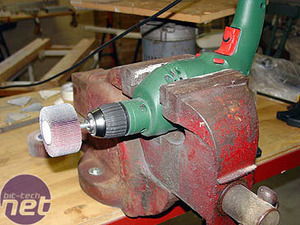

Some other polishing jobs required me to clamp the drill in the vice and lock the trigger. The oblong stainless washers I had had laser-cut were one such job. I wore thick leather gloves and held each one against the flap-wheel.


The frames were tricky, as the pattern of the polish needed to go around the circumference of the pipe. I clamped the frames to a board, with a gap at the top, to get the drill around the pipe; then rotated the frames as I did each section. The result was well worth the effort.


Repolishing the ends on the turntable gave me exactly the effect I was after.


You can see the way the light reflects like a spinning aeroplane propeller. Incidentally, the right-hand picture also gives a much better look at the air-intake grille.
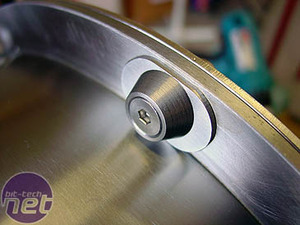

The washers were a later addition to the project and were laser-cut from 2mm stainless. They are designed the same width as the Armor Rings I'd used as bolt heads, and they have a curve in the base to match the curve of the case. They were polished to the same 280 grit as the frames.

MSI MPG Velox 100R Chassis Review
October 14 2021 | 15:04


Want to comment? Please log in.