
Front panel
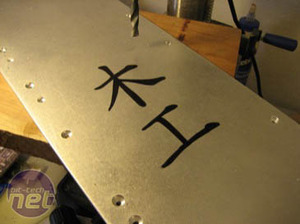
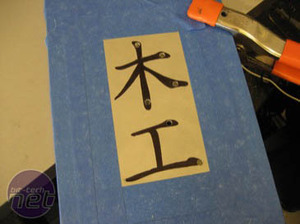
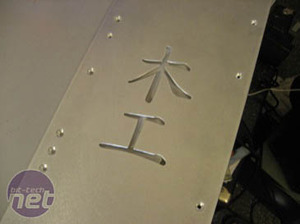
The front panel was probably the hardest part of the case to design, given how simple the solution was born. I kept coming back to it over and over because the front is the tying element of the case and the area that makes the first impact.In the end, I ended up going with a couple simple characters which mean “carpentry” in Japanese. They seemed fitting and they fit the aesthetics I was looking for.
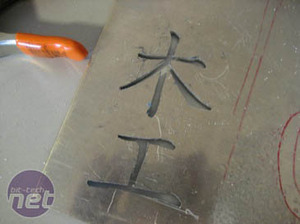
To cut this design, I first drew it on the case to get the best placement. I then cut out a practice piece to see if I could do it well enough with my jig saw.
With proof of concept, I went ahead with the final piece. There was a lot of sanding in making this thing look good.
Wiring
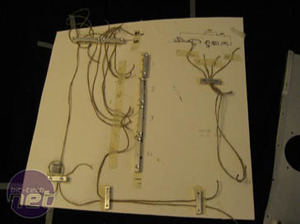
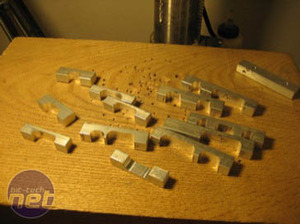
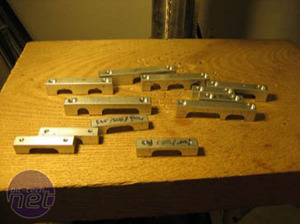
The wiring job in this case was a big deal for me. In Sangaku, I ended up doing a poor (ugly) job of wiring and I ended up redoing it once or twice and I didn’t want that to be the case this time. I also wanted to continue the theme of being proud to show off every (any) element of the case.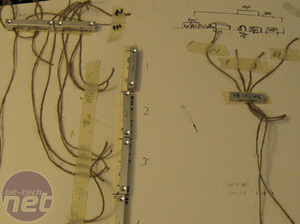

MSI MPG Velox 100R Chassis Review
October 14 2021 | 15:04


Want to comment? Please log in.