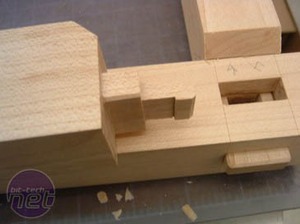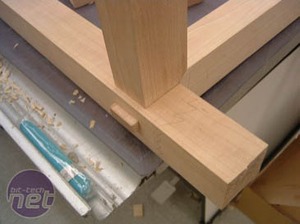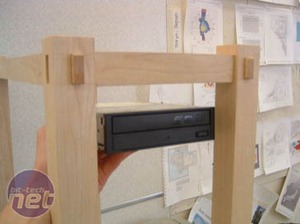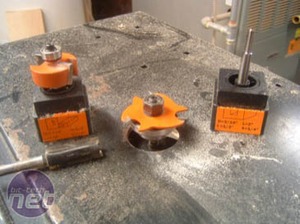

The next step involves cutting the slanted part -- this is very important because this part would not fit in the mortise if it was not there. And once that was complete, a small cut was made on the flat surface of the tenon that would interlock with the tenon from the other piece.


What we’re left with after the last step is a visually (and physically) bulky frame that needs some trimming. The next step would be to add the curves that will transform that bulky frame, and give it a more delicate and elegant quality. The first step was to mock it up. I then made plywood templates, which didn’t do much good but helped to keep the sides similar. I used a bandsaw to cut out the curves and a spindle sander for the initial sanding of them. What we’re left with is a very nice, but still rough, frame.


MSI MPG Velox 100R Chassis Review
October 14 2021 | 15:04


Want to comment? Please log in.