Yuugou by Greensabbath

Written by Nick Falzone

April 23, 2007 | 13:37

Tags: #case #falzone #green #greensabbath #nick #sangaku #wood #yuugou

Companies: #mod

Aluminium Interior

The interior aluminium was the biggest challenge for me, since it took a while to get used to the material. For the most part, I treated it like it was wood and this didn’t cause too many problems. For most of the construction, I either used an end mill, table saw, drill press, or template and router table combination.

One note though -- wood blades do not like aluminium. If you are working with aluminium on a table saw, I highly recommend getting a blade especially made for non-ferrous metals. Also, router bits hate it, so use old ones.

Main aluminium

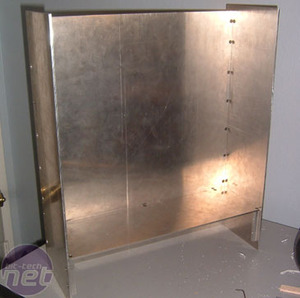
The first step was to cut the 3/16" aluminium sheets for the front and back panels. Then I cut the 1/8" sheet for the main side panel and from there I cut each other the three “shelves”, two of which are 1/8", the other for the floor is 3/16". Measuring was critical for this part and so I took my sweet time.


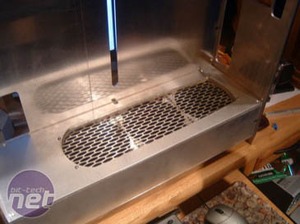
Yuugou by Greensabbath Looking In - Aluminium Yuugou by Greensabbath Looking In - Aluminium
I have to thank dutchcedar (creator of BaDassumption, also on bit-tech) for helping me through this part. I needed to drill and tap numerous holes and he pointed me in the right direction to get the right tap bit, which matters tremendously. He actually compared it to a “Japanese back saw” rather than a “hacksaw” like the cheap bits.

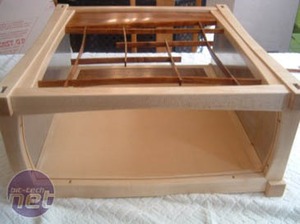
Yuugou by Greensabbath Looking In - Aluminium Yuugou by Greensabbath Looking In - Aluminium
I don’t know how many screws I ended up using, but I used alloy steel hex head cap screws and it turned out beautifully. Once I got the main frame together, it was time to start thinking about cutting some holes in this things and lightening it up a bit.

Aluminium Floor

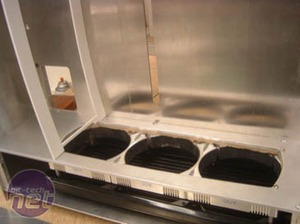
The floor is one of the most important parts of the aluminium case (hell, everything is one of the most important parts). It would hold up the radiator / shroud assembly, hold the pump, and also look very nice in the process.

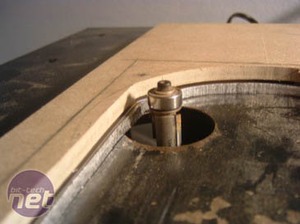
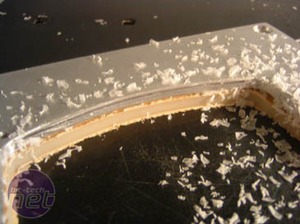
I started by making a template out of hardboard to the correct shape. Then I rough cut the aluminium with a jig saw, and used the router table to get the smooth edges.
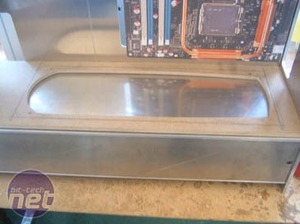
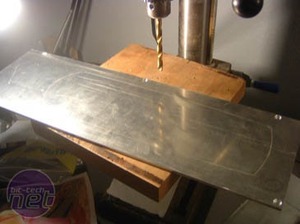
Yuugou by Greensabbath Looking In - Aluminium Yuugou by Greensabbath Looking In - Aluminium
I then cut out a piece of acrylic in the same manner to help get some contrast to the blackness that the powder coat would later bring. Originally this was going to light up using EL wire, but because EL wire is crap, that didn’t happen.


Yuugou by Greensabbath Looking In - Aluminium Yuugou by Greensabbath Looking In - Aluminium
I also got this really nice mesh from Mcmaster-Carr and this would become a main feature of the interior.
Discuss this in the forums
YouTube logo
MSI MPG Velox 100R Chassis Review

October 14 2021 | 15:04