Aluminium Shroud
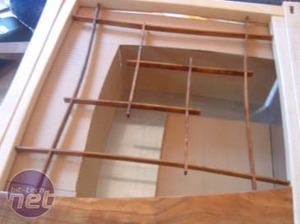
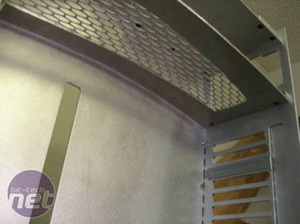
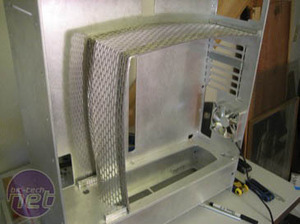
The aluminium shroud would become on of the main spatial features of the interior, as well as a practical means of hiding the uglier wires and such along with separating the important hardware from most of the water cooling gear.
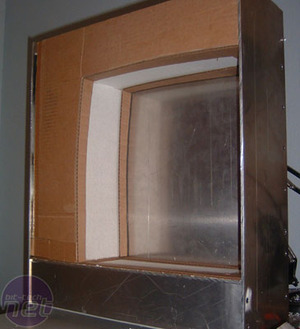
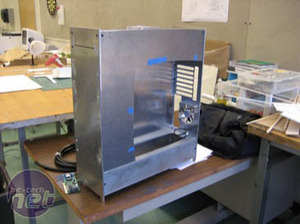
To make the shroud, I first started with a lot of planning and model making. This led to full size templates. I wanted something that would not only look good on its own but match well when combined with the exterior frame.
I used the lines of the koa strips on the exterior to get the lines for the interior. You’ll notice that they mirror each other quite nicely.
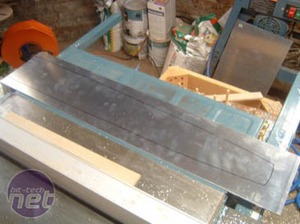
From the cardboard templates, I made a hardboard template to cut the aluminium with on the router table. I used the same technique to make templates for the other part of the interior shroud. This was a little trickier to do but the cardboard templates I made earlier came in very handy. I also left the ends long to be cut off later.
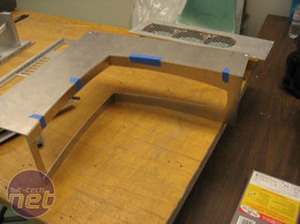
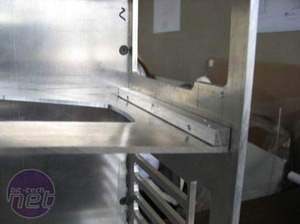
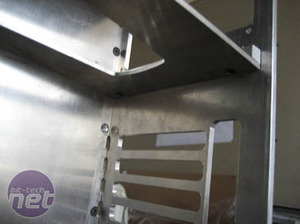
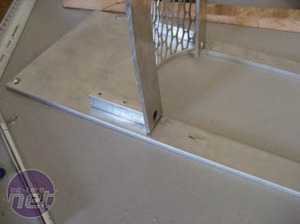
Once both pieces were cut, I put a 110 degree bend in the thin aluminium piece (actually 1/8" thick) and used a household oven, oven mitts, and a hammer to make the curves on the aluminium pieces. I then mocked it up using tape to temporarily hold it together. Once this was done, I attached the aluminium strip part to the back place using an aluminium square piece and to the bottom floor with only two screws. It is not held in place by anything else since I didn’t want screws to show.
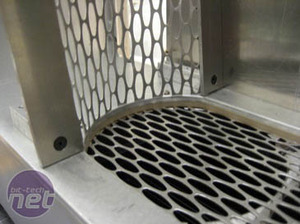
One of my favorite parts of the interior turned out to be the mesh. My main concern with designing the mesh was the joint at the bottom where the flat part of the shroud met the curved fan holes in the floor. I decided to try to bend the mesh around the hole, and then straighten it before it got to the bend on top. This idea worked out perfectly and the effect is really quite pleasing. The mesh is only held in at the back panel connection and the bottom connection at the floor.
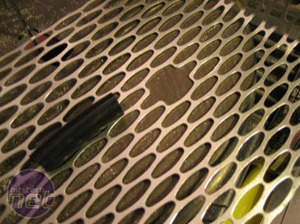
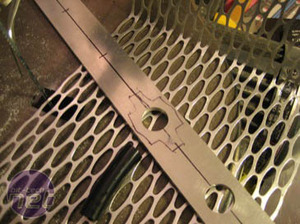
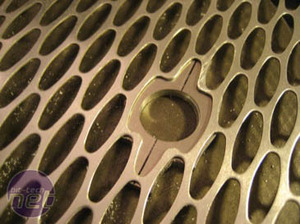
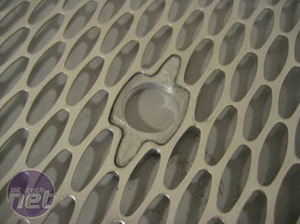
The last task to do with the mesh involved getting the 1/2" O.D. Tygon tubing through. To do this, I simply cut out some of the mesh, cut out a piece of aluminium to match the surrounding holes of the mesh, and used J.B. Weld to attach them. The result is quite nice.






Want to comment? Please log in.