
Hard Disks & DVD Drive
At first, I figured since the DVD drive and hard drives weren’t front and centre, I planned to simply slap them on the wall and call them good.I later re-thought this and figured that since everything else is so well thought out and well done, I might as well make this section good too.
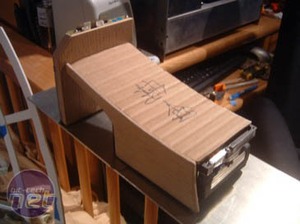
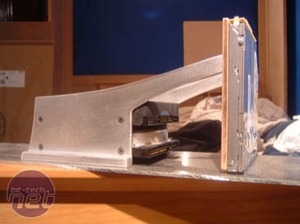
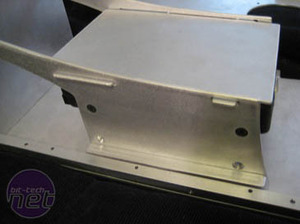
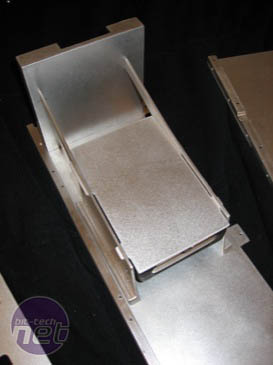
I spent the better part of a week designing this section. I made numerous templates out of plywood and cardboard to figure out an integrated system to hold both the slim DVD drive and hard drives in an elegant way while still keeping it simple and functional.
After some time, I came up with this design and started making it the same way I made the rest of the curving aluminium pieces, a combination of templates and the router table.
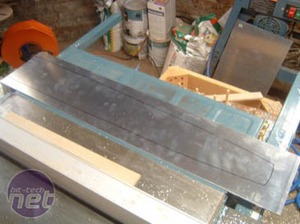
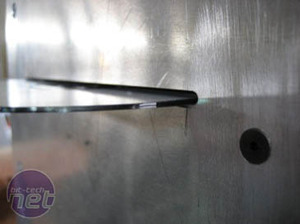


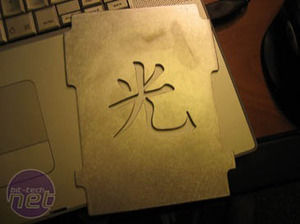
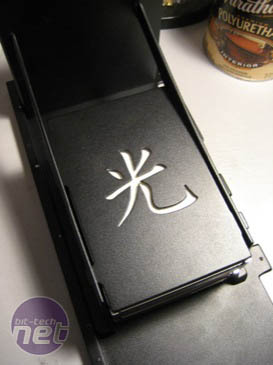
I cut the design out with a scroll saw and sanded it smooth with sand paper. In the end I also put rice paper behind the character to make it stand out against the black of the powder coat.
Fans
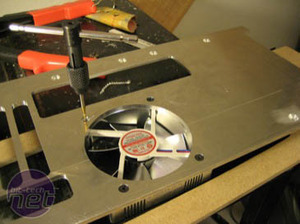
It's no secret that I am in love with the Evercool aluminium fans. I actually bought about ten of them and used five on this project alone. There was really only one good way to cut the fan holes in the aluminium frame and that was to use a jig saw for the rough cut, and the same template / router table method for the final cuts.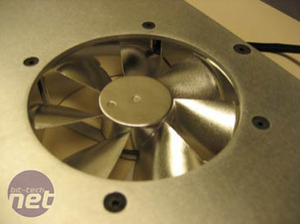

MSI MPG Velox 100R Chassis Review
October 14 2021 | 15:04


Want to comment? Please log in.