PowerBook disassembly

Written by Wil Harris

October 21, 2005 | 12:40

Tags: #5400rpm #failure #hard-drive #ide #powerbook #remove #replacement #swap

Companies: #apple

PowerBook disassembly Dented and battered

PowerBookWorm

Regular readers will know that the majority of my day is spent attached to my beloved Apple PowerBook. A 1GHz G4 machine with 768MB of RAM and Radeon 9600 graphics, it's my daily workhorse, despite the prevalence of high-powered PC workstations round here. Why? Well, it's all about OSX, for me.

My PowerBook goes with me absolutely everywhere. It's been around the world more times than I can count, to innumerable Starbucks coffee houses, to parks, gardens, exhibitions - everywhere I think I might be able to find 5 minutes to answer email.

However, those who know me will also know that I'm not the most careful of people. I can be clumsy and more than a little reckless on occasion. It was not an entirely unexpected event, then, when my PowerBook decided to give up the ghost.

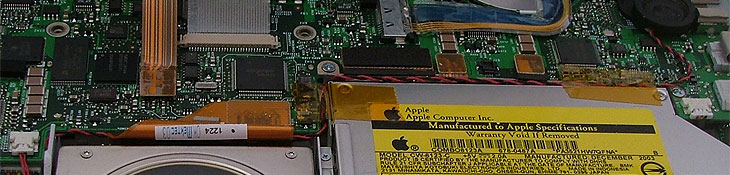
The problem? The hard drive. Apple fitted a 60GB 4000RPM drive in the model I bought back in January 2004, and it simply had taken too much punishment. It was crashing randomly; would only boot 25% of the time and made working in PhotoShop an unbelievable chore. So, I managed to get it to limp along long enough to dump my data to DVD-R and then I decided I was going to pull it out and replace it.

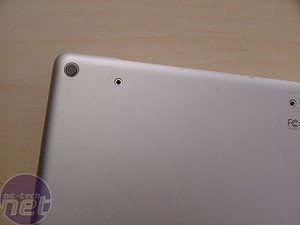
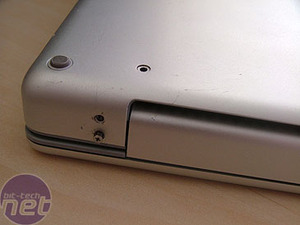
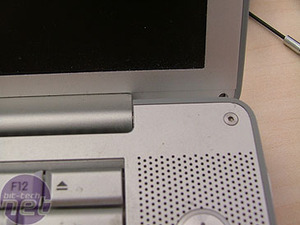
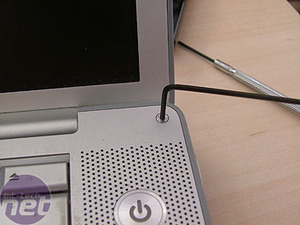
My warranty was gone, so there was no hope of a replacement from Apple. I grabbed a 80GB, 5400RPM Fujitsu drive and decided to go about ripping open my baby. I thought you might be interested to see me rip open a PowerBook and mod in a new hard drive, so here's the procedure.

PowerBook disassembly Dented and battered

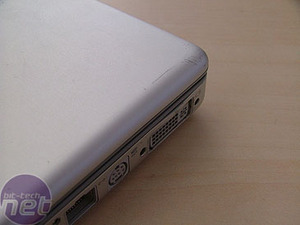
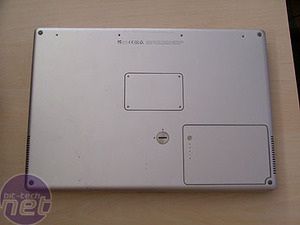
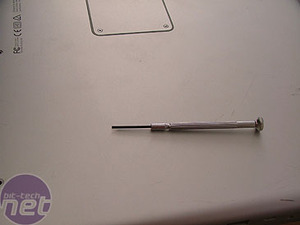
Laptoposcopic surgery

PowerBook disassembly Dented and battered PowerBook disassembly Dented and battered
Here's a quick example of some of the damage the laptop has sustained - the kind of bumps that lead to eventual hard drive failure. In one corner, there's a series of small dents from where it has bashed against things in my bag. All the corners are scratched, as you can see on the right. What you can also see is the bulge where I had to bend the casing around the DVI port back in, after I dropped the laptop on its corner. Not a good move.


PowerBook disassembly Dented and battered PowerBook disassembly Dented and battered
The first step to opening up anything is to work out where all the screws are. There were screws across the upper edge of the bottom of the laptop. There were also screws underneath the memory compartment (in the middle) and underneath the battery compartment (lower right). They were incredibly tiny Phillips head screws, so to prise them off, I used a flathead watchmarker's screwdriver.


PowerBook disassembly Dented and battered PowerBook disassembly Dented and battered
There were also screws on the back of the chassis which connected the bottom half to the screen hinge. There were also a couple of screws on each of the sides.


PowerBook disassembly Dented and battered PowerBook disassembly Dented and battered
On a normal Windows notebook, the hard drive would be accessible through a hatch door on the underneath. Of course, in typical Apple style, the external aesthetics are more important than stuff like practical access to servicable parts, so I needed to pull the whole casing from the main chassis off to get at the internals. To do this required the keyboard section to come up. This is held in place with two allen key screws, one on either side of the keyboard.
Discuss this in the forums
YouTube logo
MSI MPG Velox 100R Chassis Review

October 14 2021 | 15:04

TOP STORIES

SUGGESTED FOR YOU