Deranged drive door
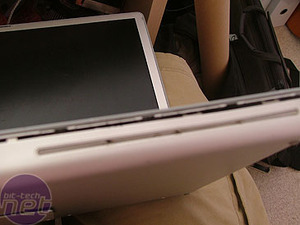
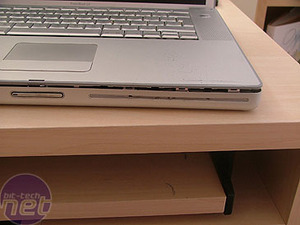
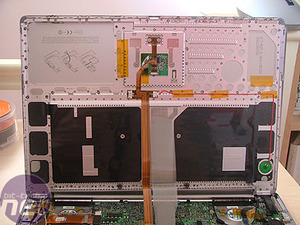
To get at the clips which hold the front of the keyboard section down, you have to poke through the slot of the DVD drive at the front of the machine. There are three clips, and it's a case of pushing each of them back far enough to unhook them. Unfortunately, this rather ruins the look of the material that covers the front of the slot-loading mechanism, but I guess you can't have everything. By the way, that isn't barrel distortion on the lens - the slot on the front is actually bent down like that, after an incident with a badly constructed carry bag.
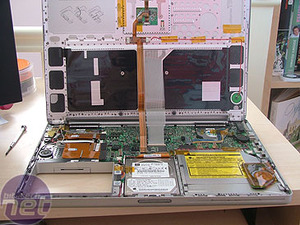
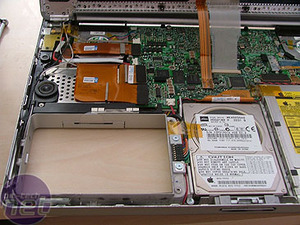
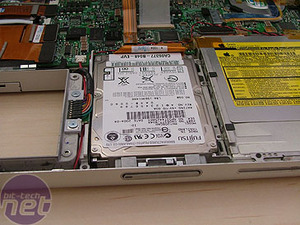
Once all those are done, you can actually lift up the top of the machine. Inside, you can see a few things. Bottom left is the hole for the battery. The hard drive is bang in the middle, and the optical drive on the right.
The two ribbon cables you can see in the centre are the data cables for the keyboard and the touch pad. In the left hand picture here you can see the PC Card slot, and the fan over the G4 processor in the top left. You can also spy the fan on the graphics processor on the top right. By the hard drive, you can see two large screws - take those off, and a couple underneath those, and you can lift out the hard drive.
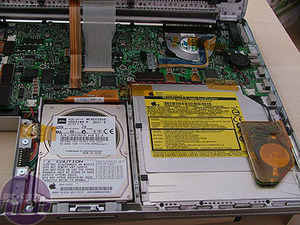
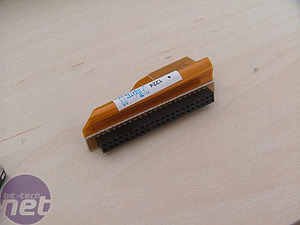
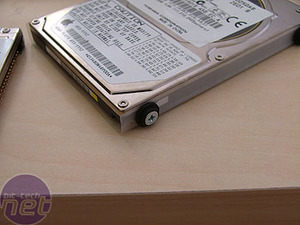
The drive is connected to the mainboard with the smallest IDE cable known to man. It is also screwed in through some rubber dampeners, which act as shock and noise absorbers. On the drive is a label that says 'Rattle noise is normal'. Oh good, that's reassured me.
When the drive is out, it's simply a case of transferring the rubber dampeners onto the new drive and screwing the whole thing back in. The IDE cable is a cinch to transfer - plug it in to the drive first, then plug it into the motherboard once the drive is fitted. With that done, all that's left is to reassemble the whole thing and hope that it works.
Finishing up
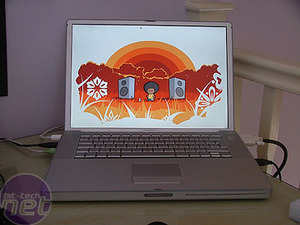
And did it work? Well, yes and no. The Fujitsu drive works fine, which is good. My PowerBook was left with permanent damage to the material at the front of the slot-loading drive, as well as numerous scratches where my screwdriver slipped on the incredibly tight screws.
However, since the drive is 5400RPM, rather than the recommended 4000RPM, the bottom of the laptop now gets even hotter than it got previously, which was already plenty hot. This is not one to put on your bare legs, kids.
However, I do now have storage that doesn't fall over every couple of days and boots on the first attempt. All in all, a mod-job well done.


Want to comment? Please log in.