Interior
The glass side panel is attached with thumbscrews, which can sometimes spoil the look, but they're placed right into the corners within a black border around the glass, so it's not too bad. This method of securing the window can also prove a little tricky - with the glass slipping off before you're ready - but even without the thumbscrews, the rubber grommets have a firm grip on the panel and it stays in place well.
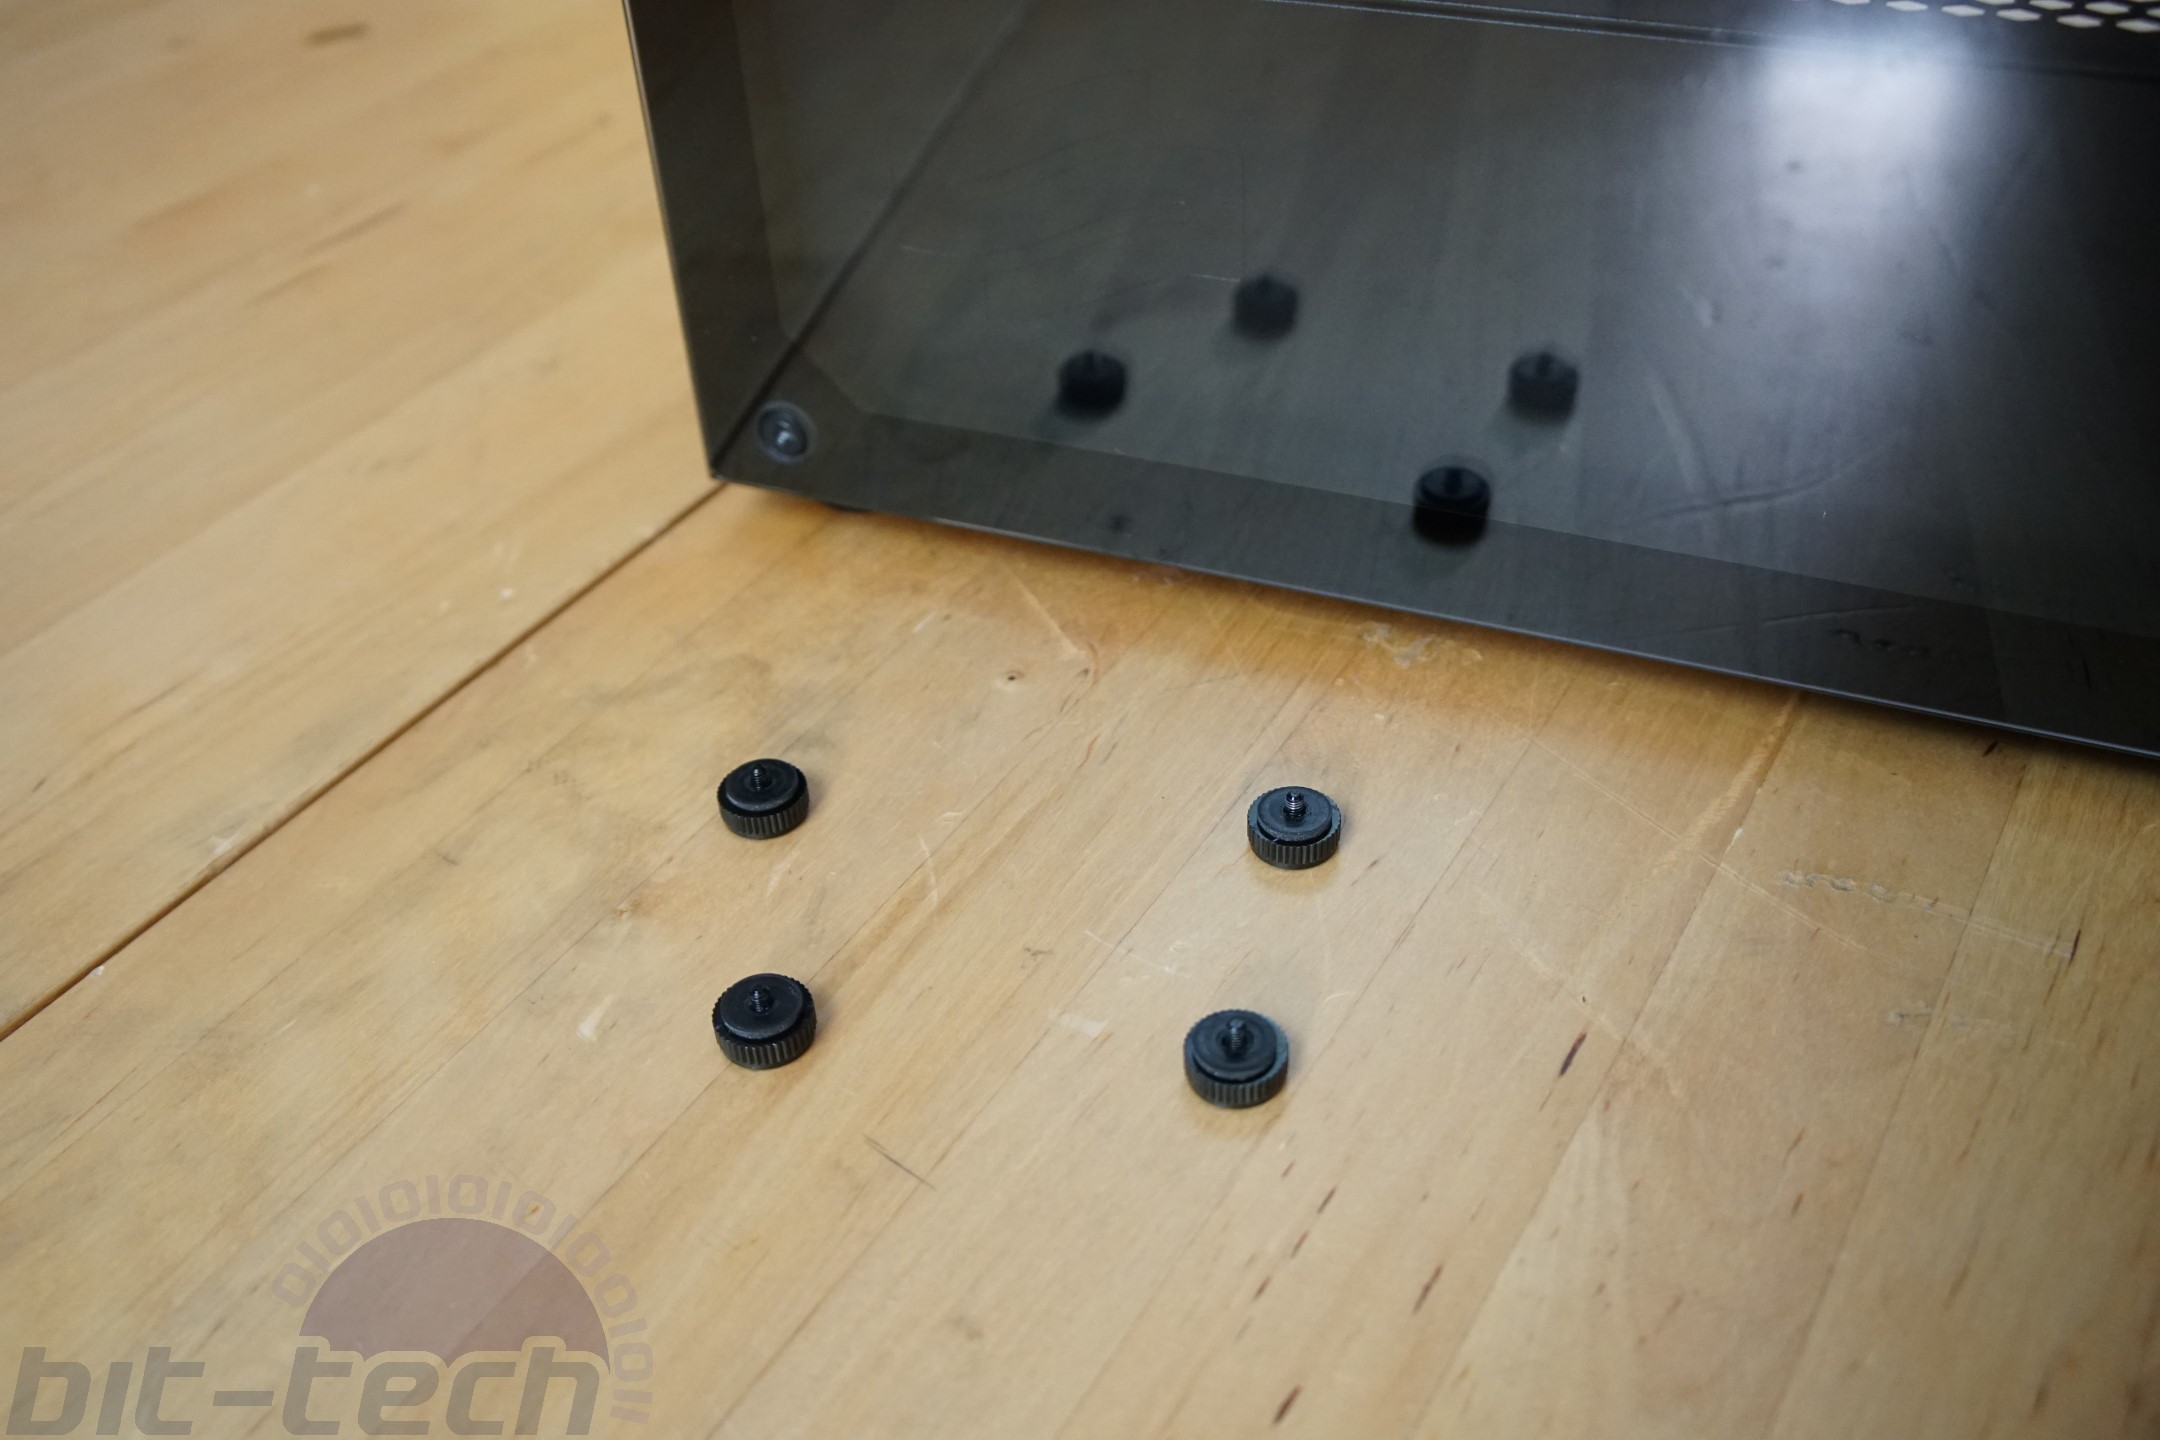
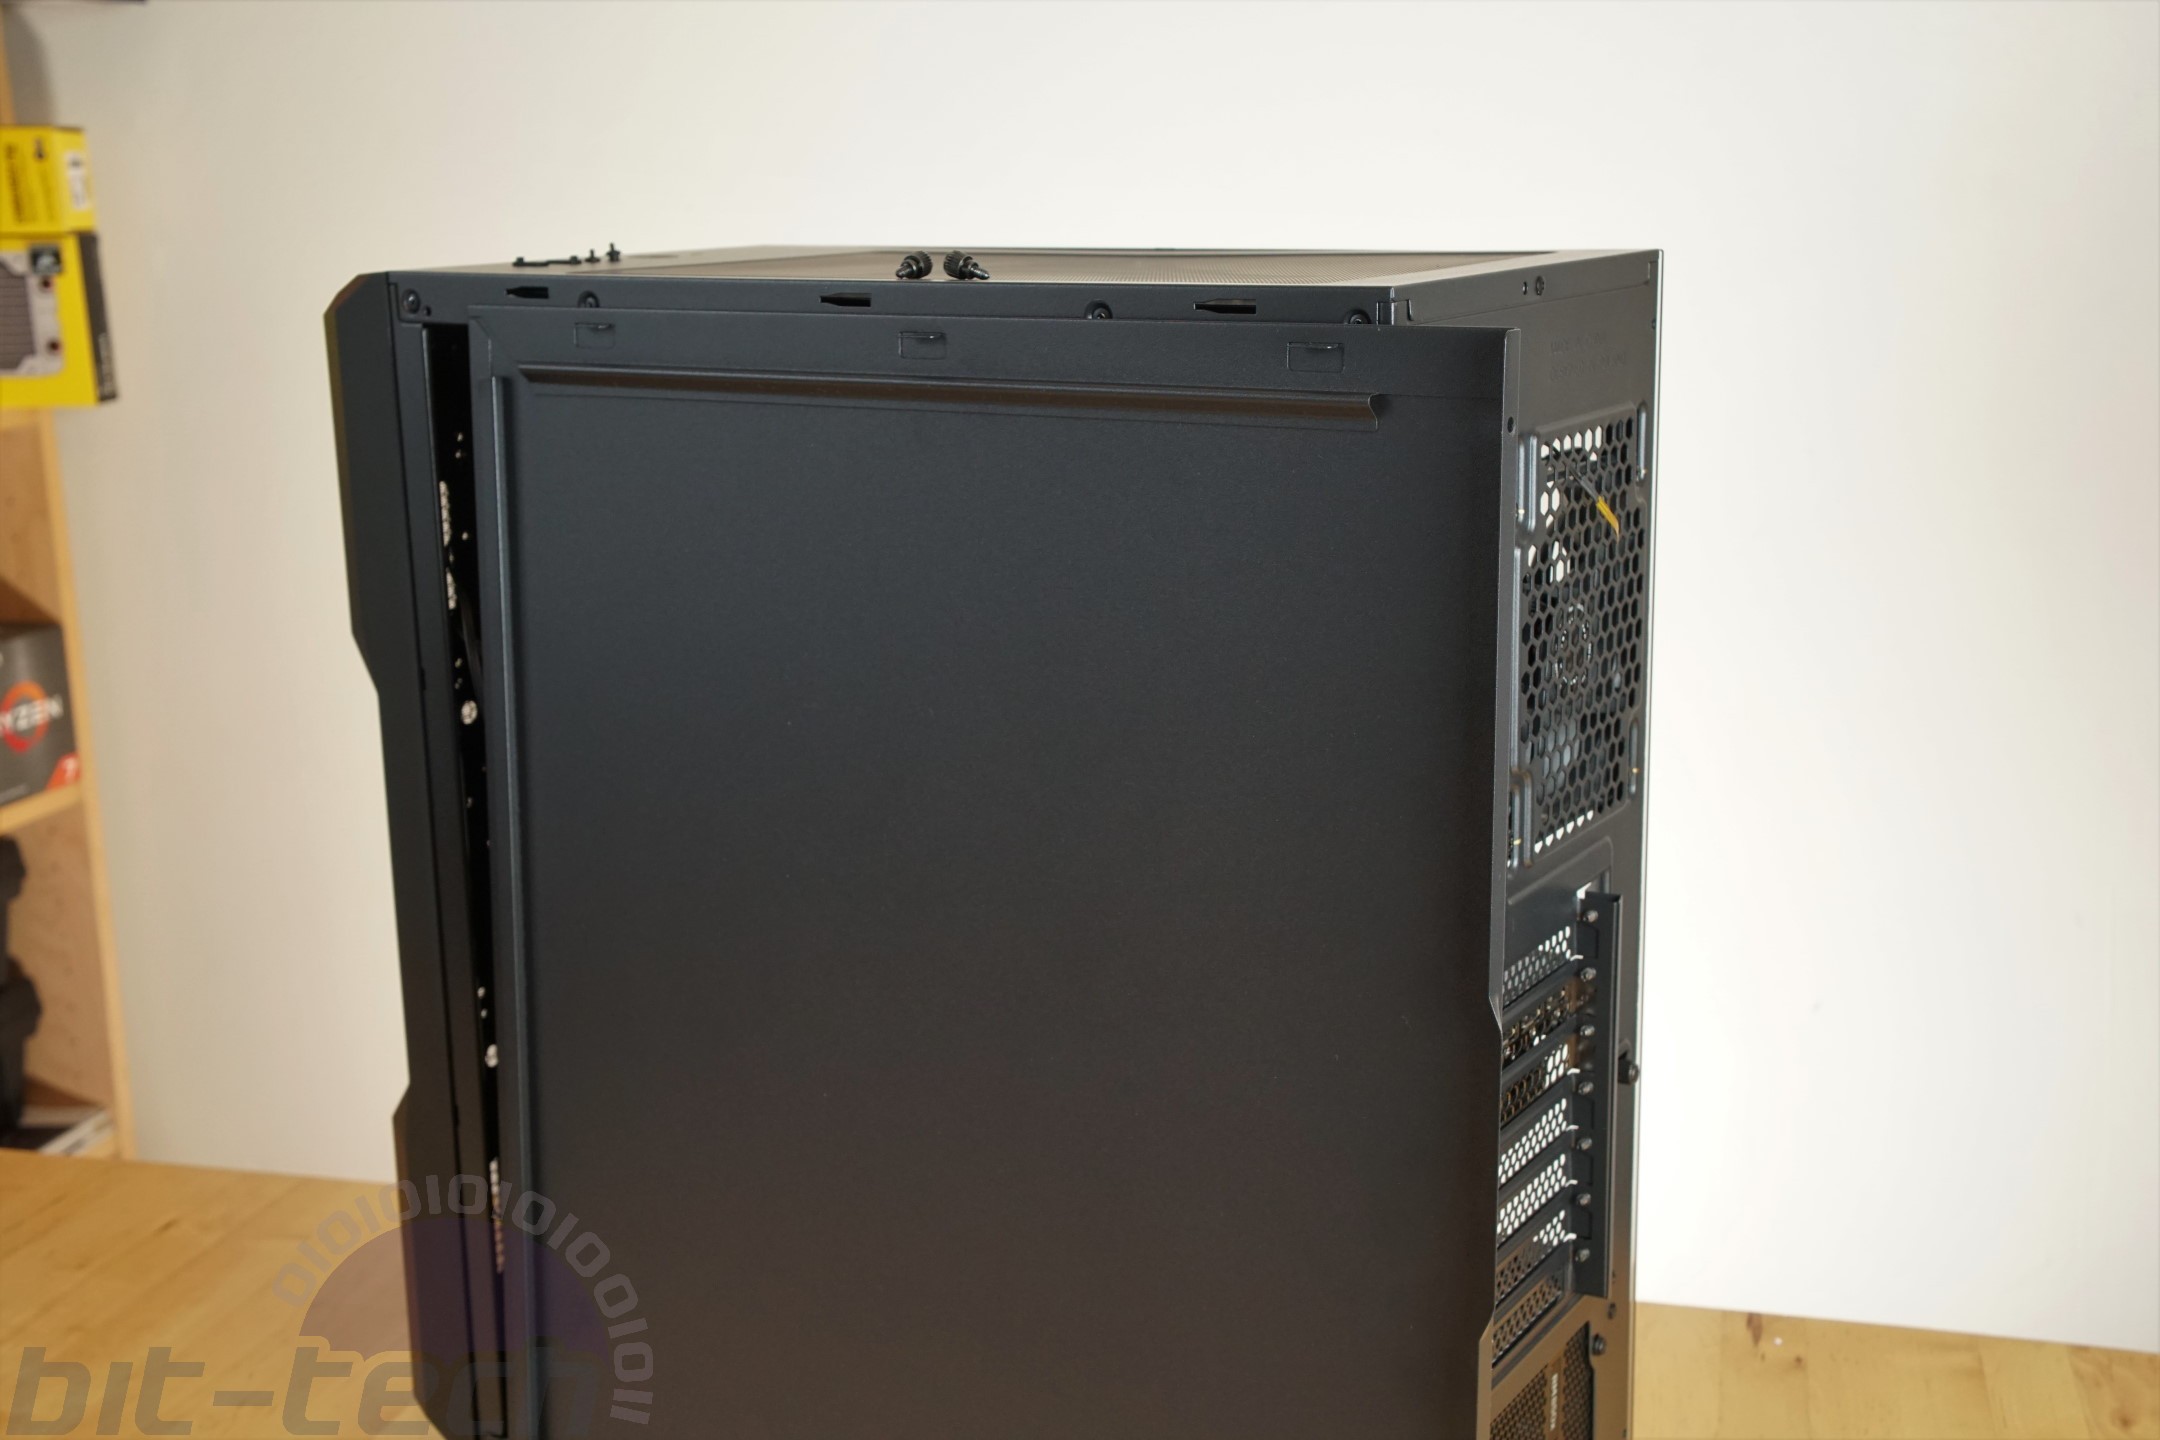
This can make it a little awkward to attach as it requires a decent amount of force to push it on and prefers all four corners to be inserted at the same time, but I’d much rather have that than a large chunk of glass at gravity's whim. The rear steel panel is a standard notch-and-tab affair with two non-captive thumbscrews securing it in place.
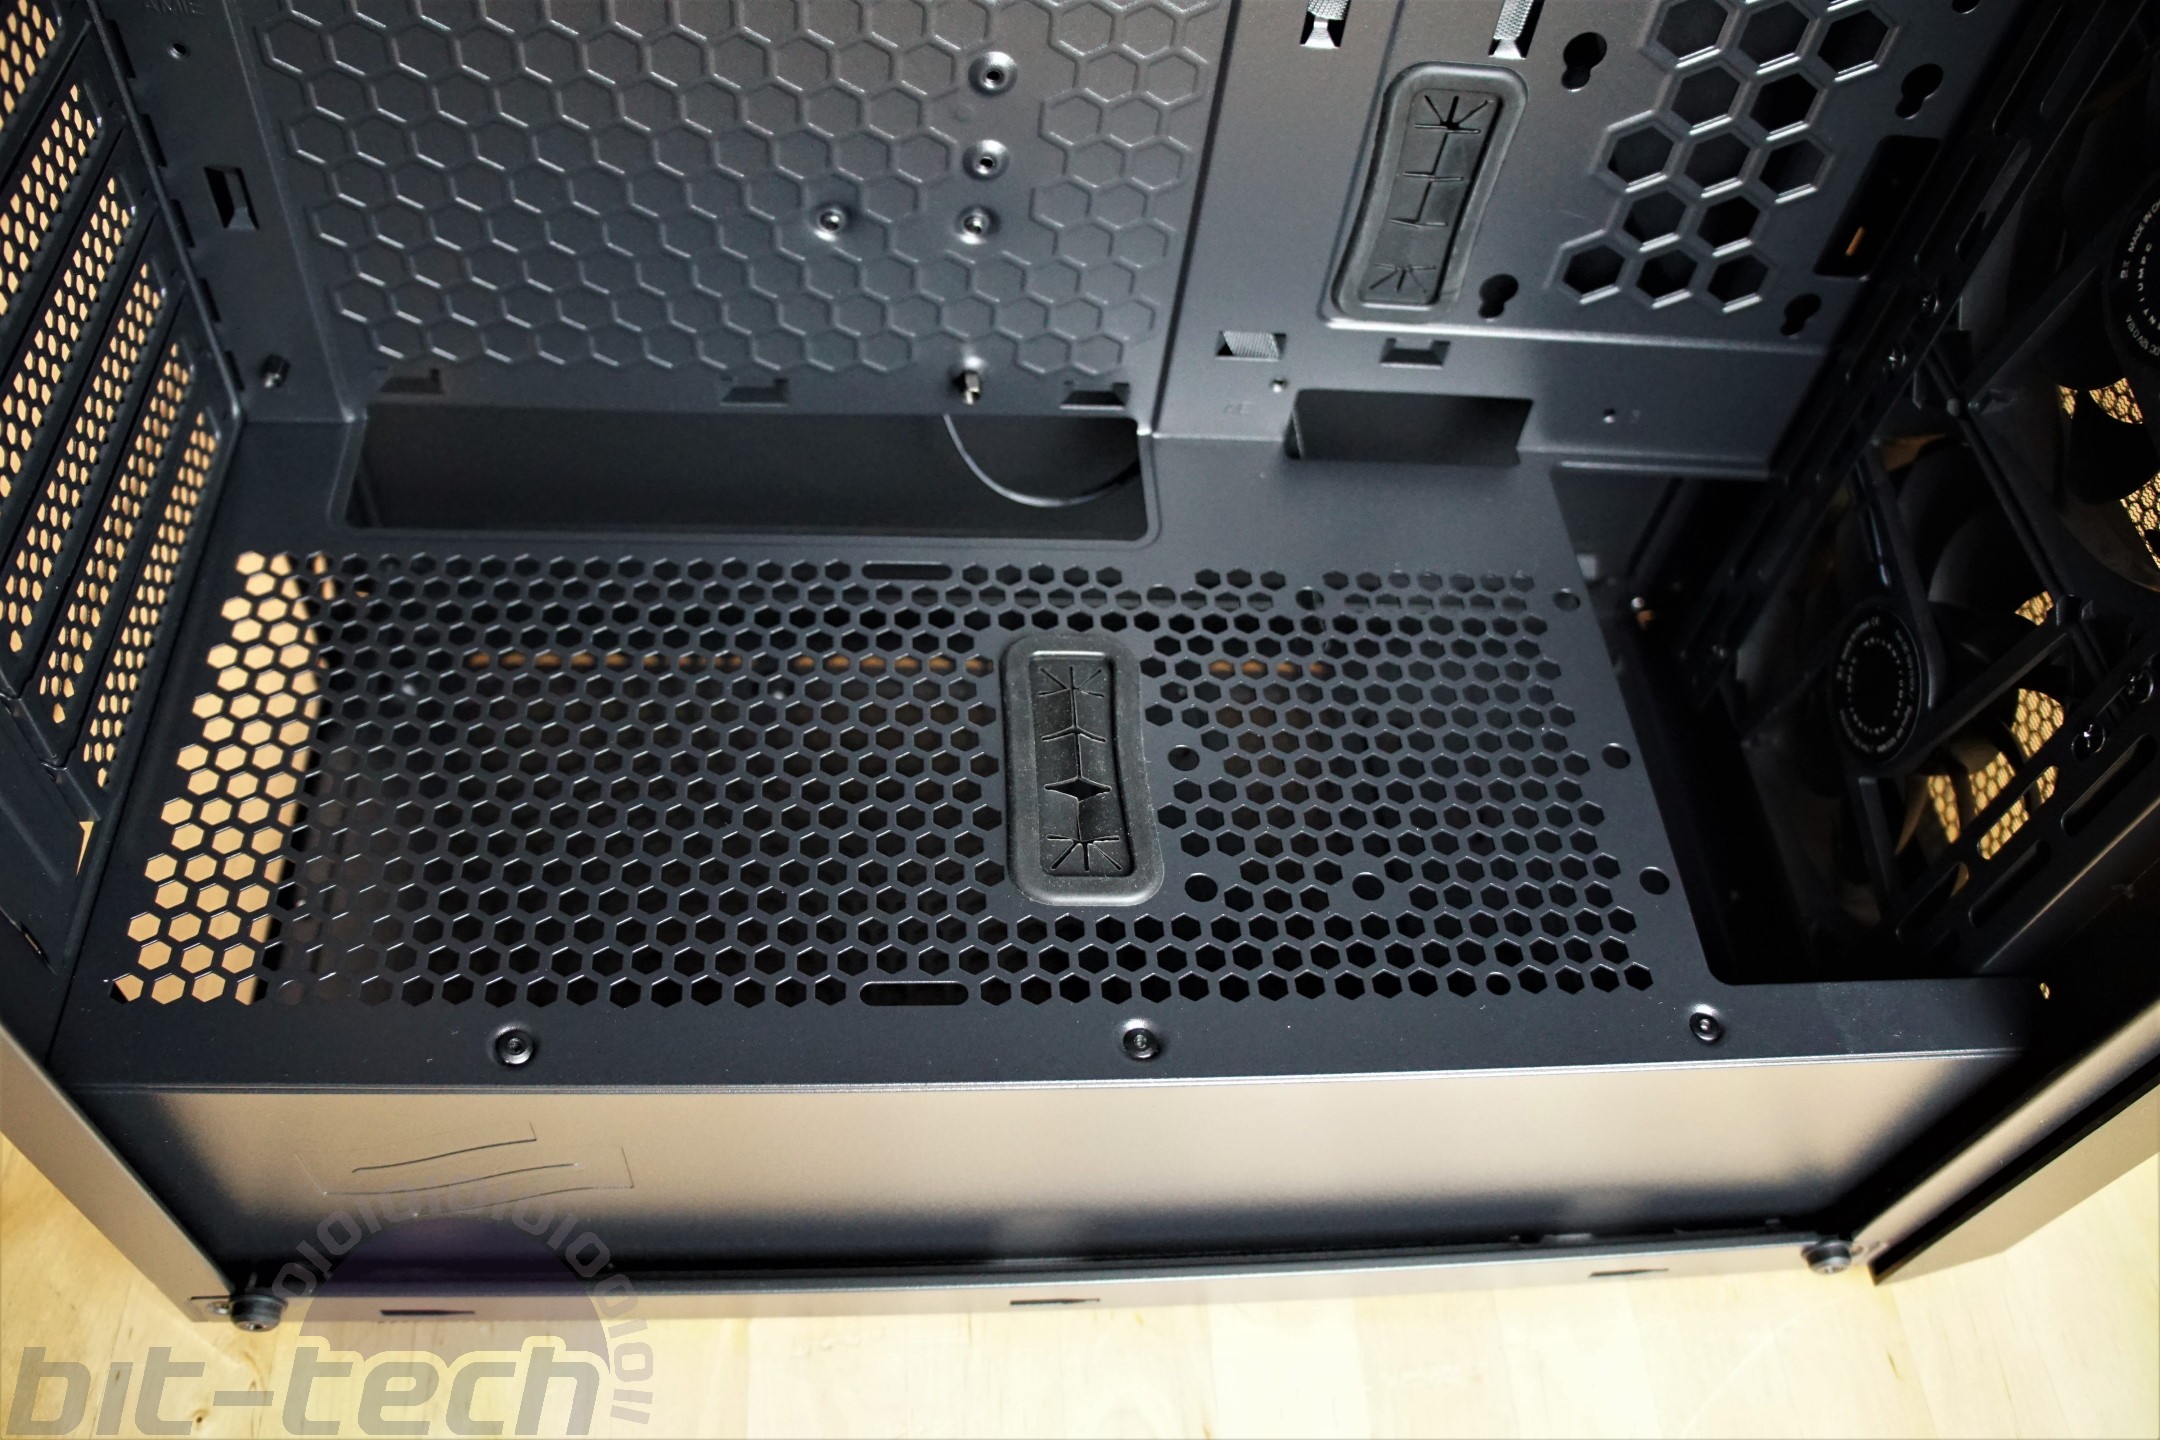
In the front compartment we’re met with a raft of case manufacturers' current favourite non-rectangular shape, the hexagon. This is pressed into the motherboard tray below a generous CPU cut-out, pressed and cut into the section to the right of the motherboard and punched through the PSU shroud, PCI covers and rear fan section for ventilation.
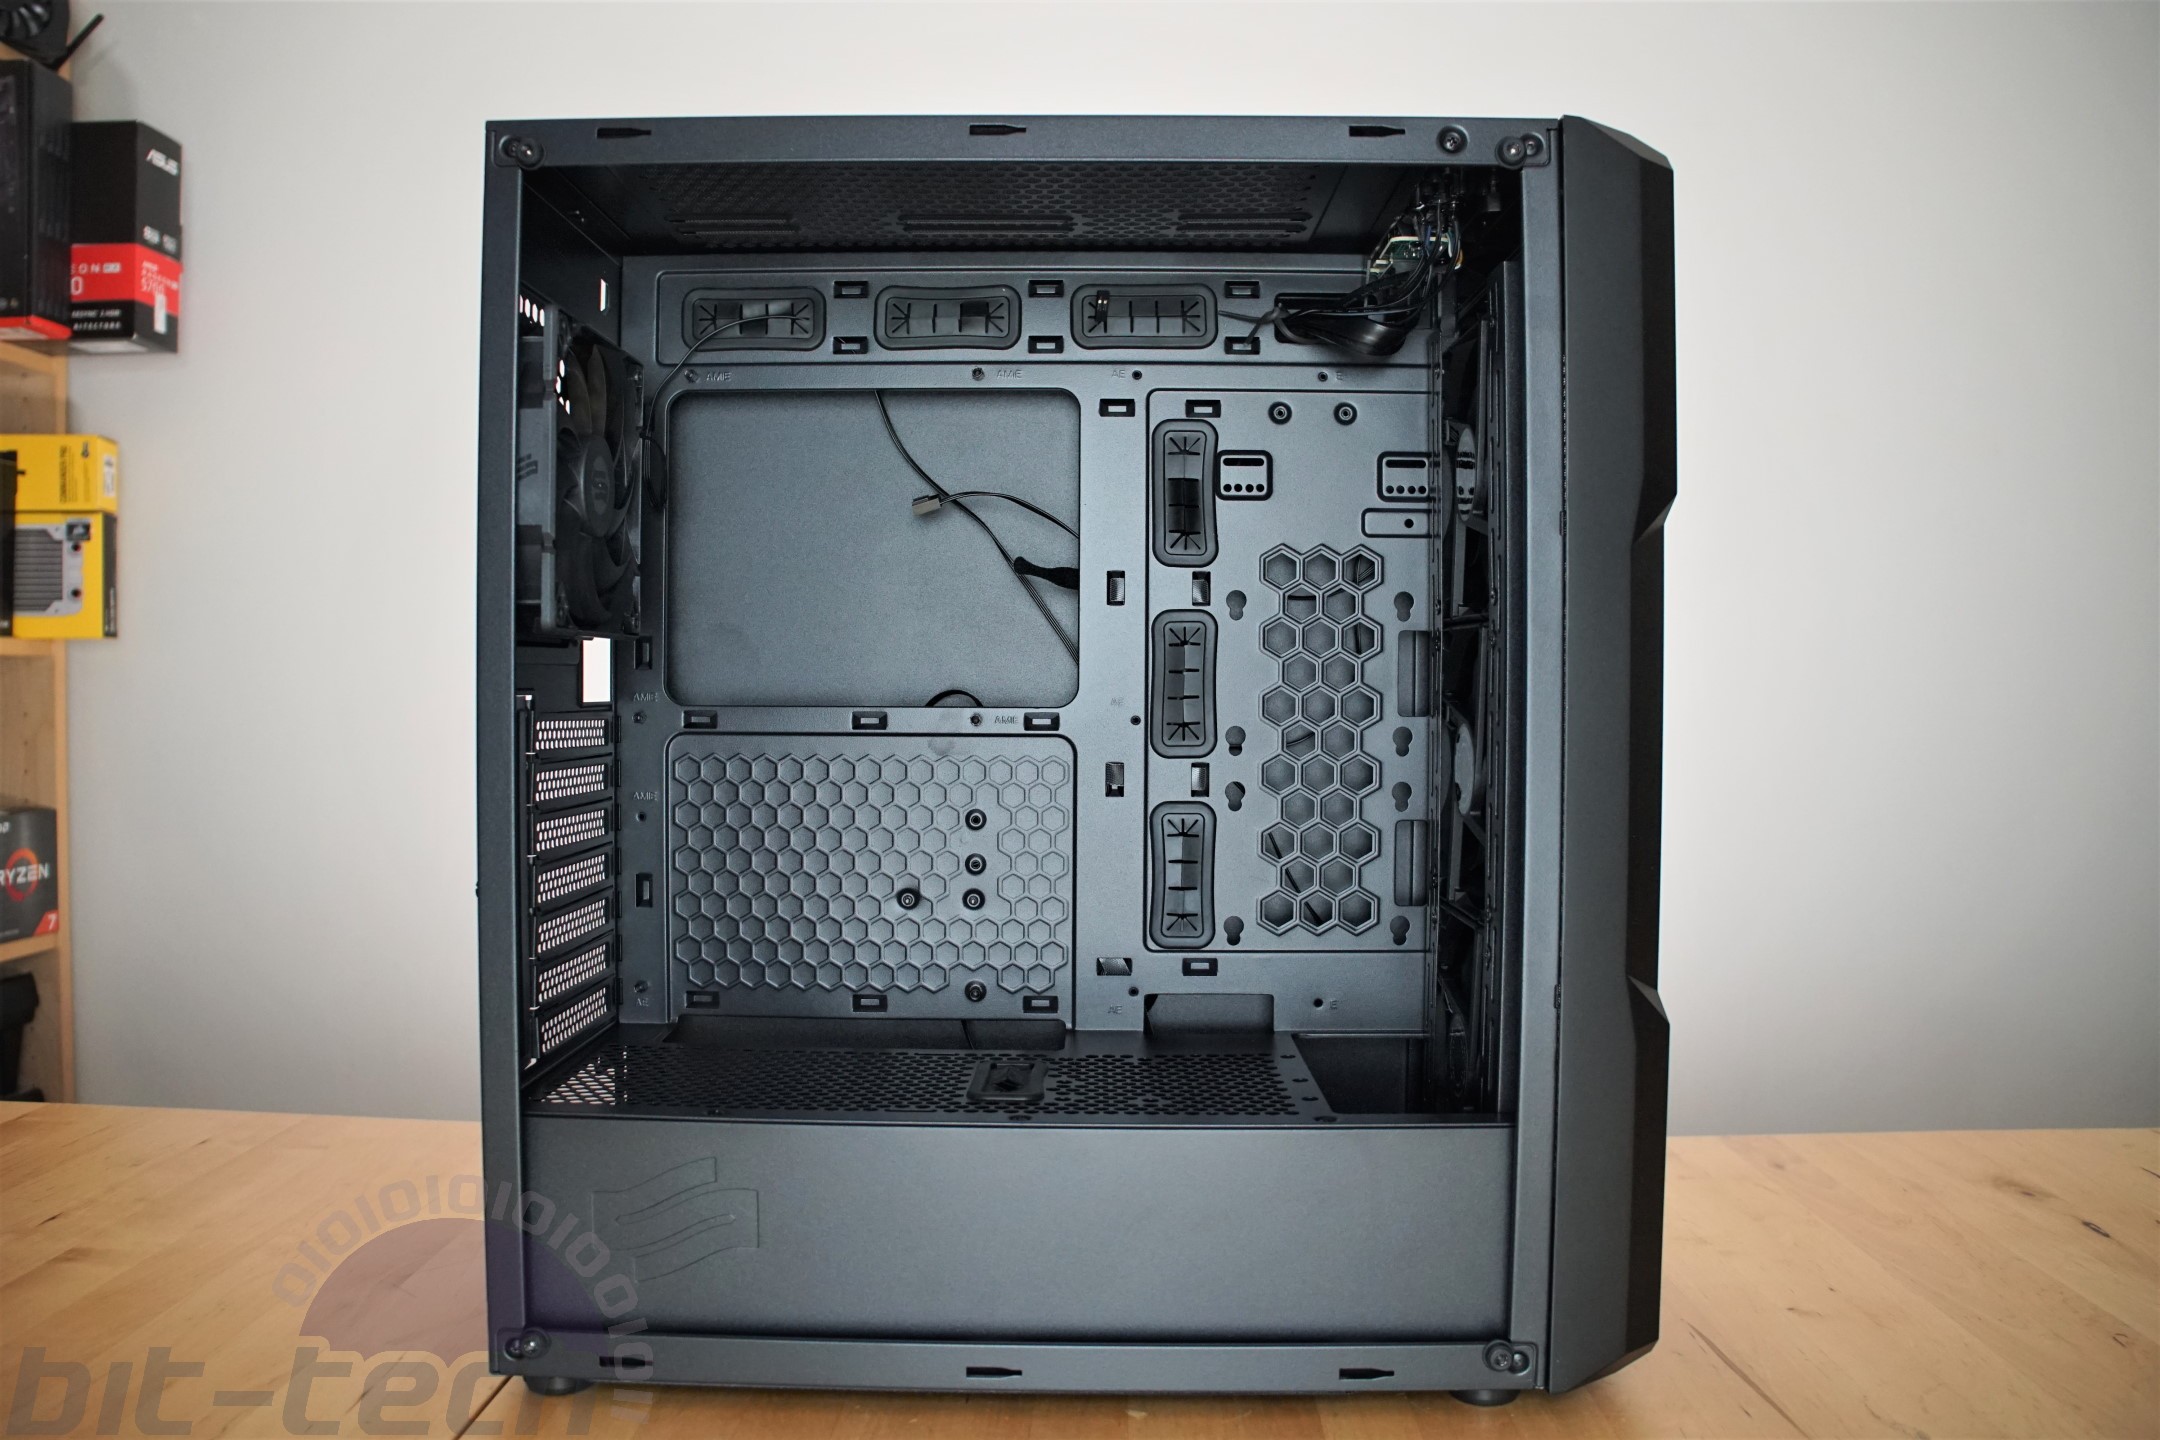
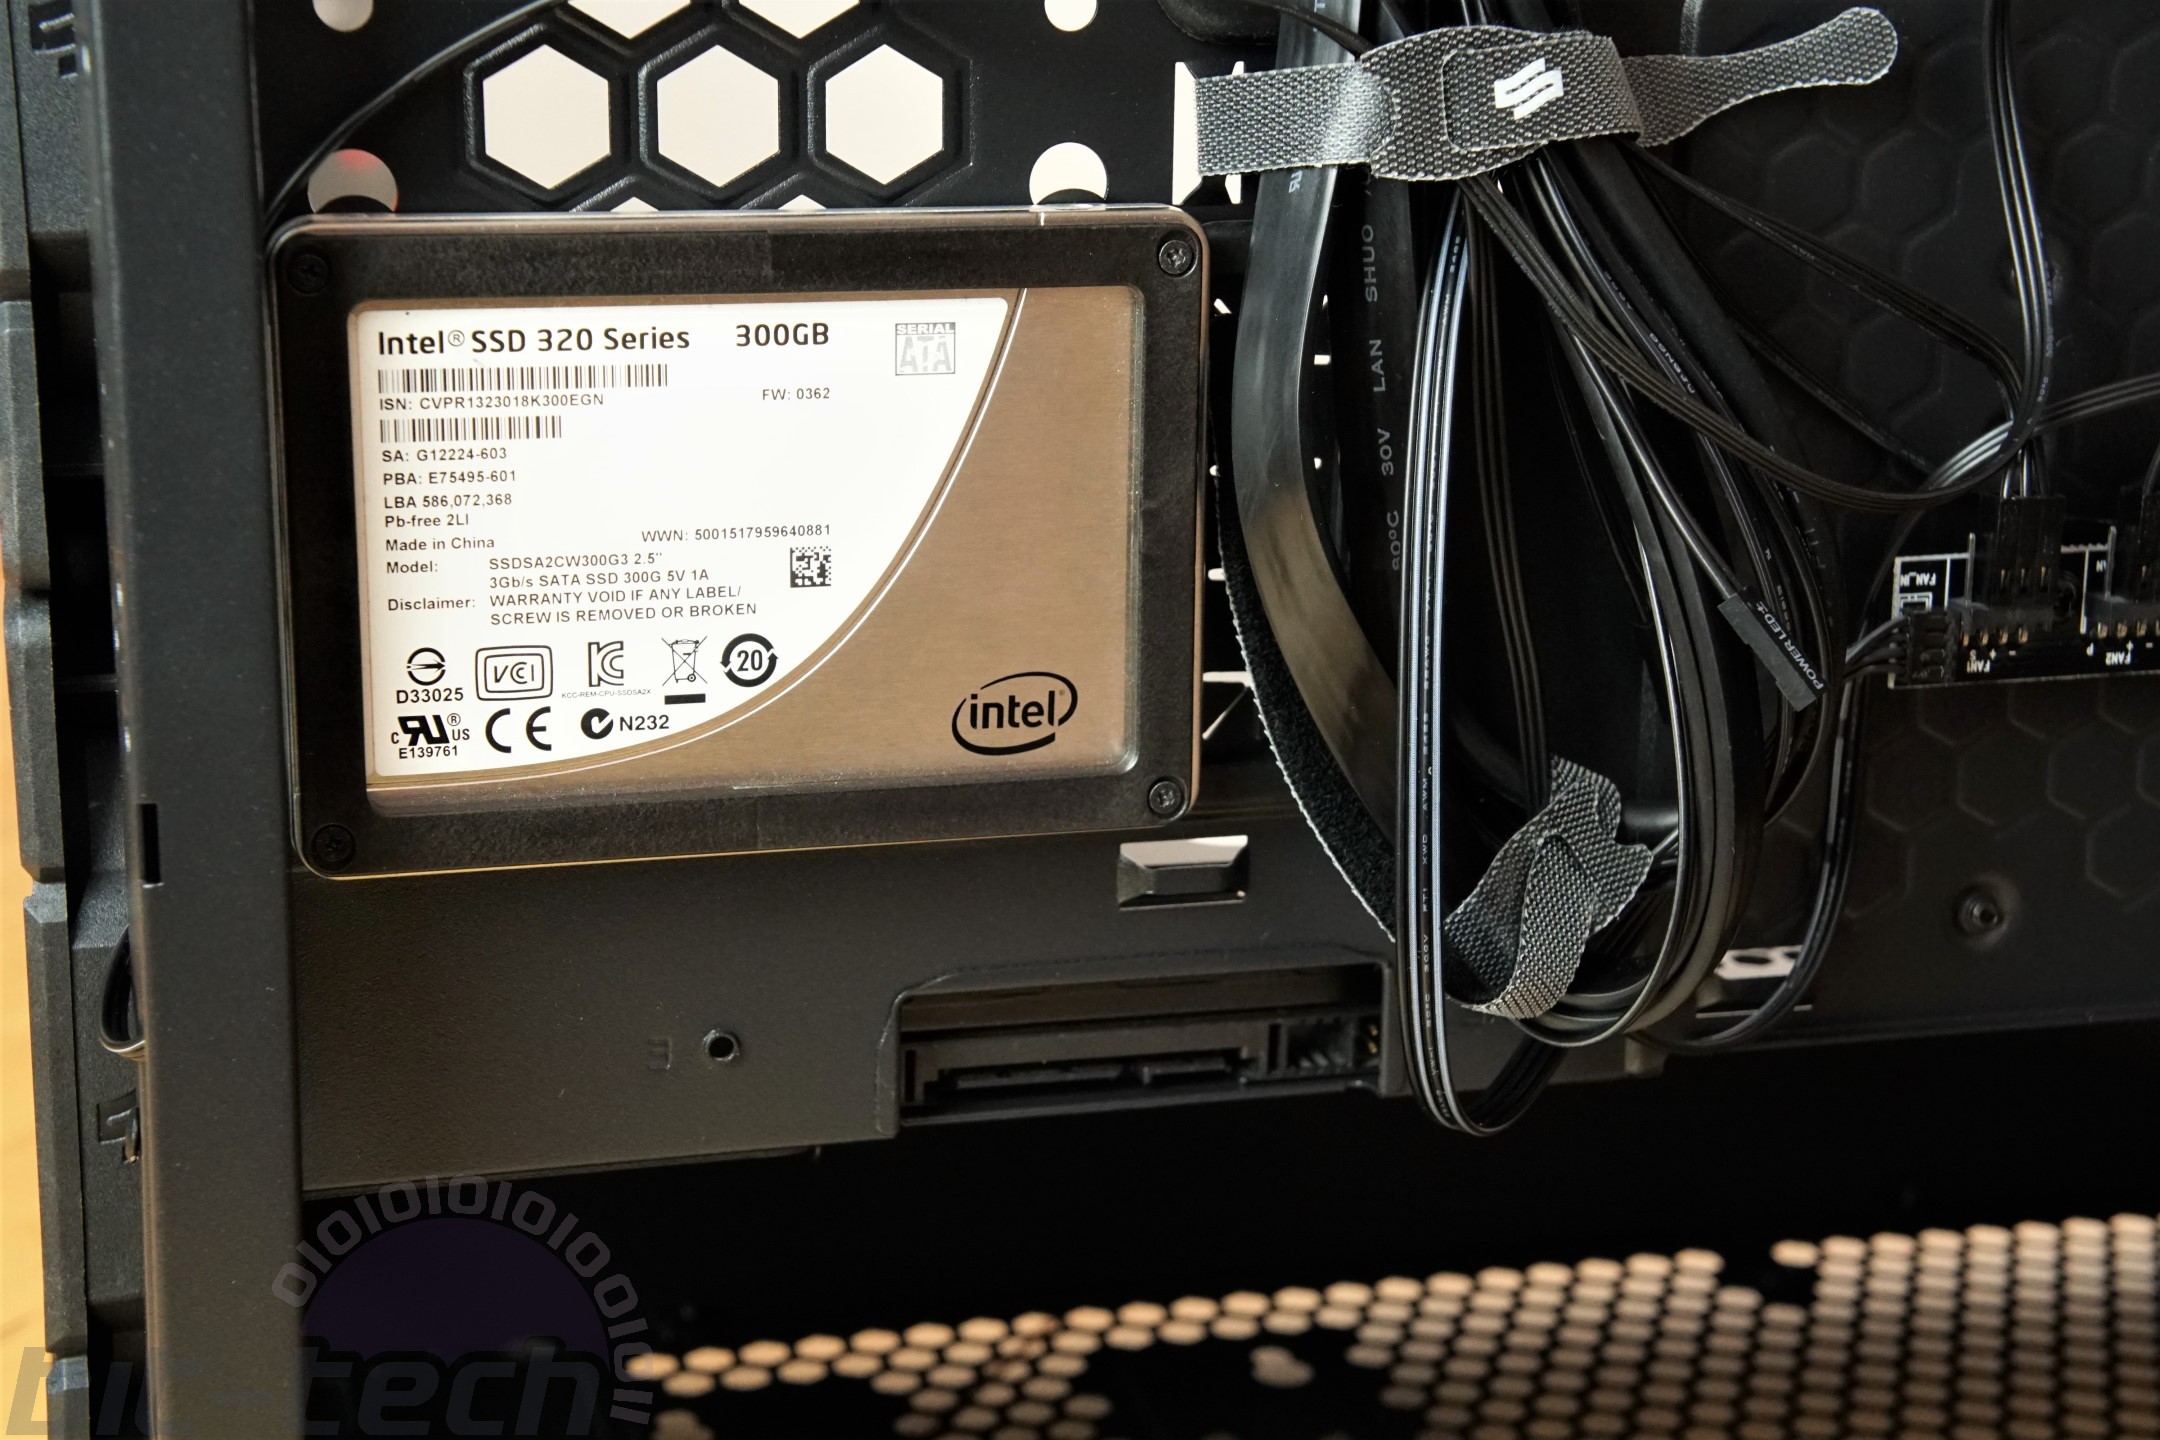
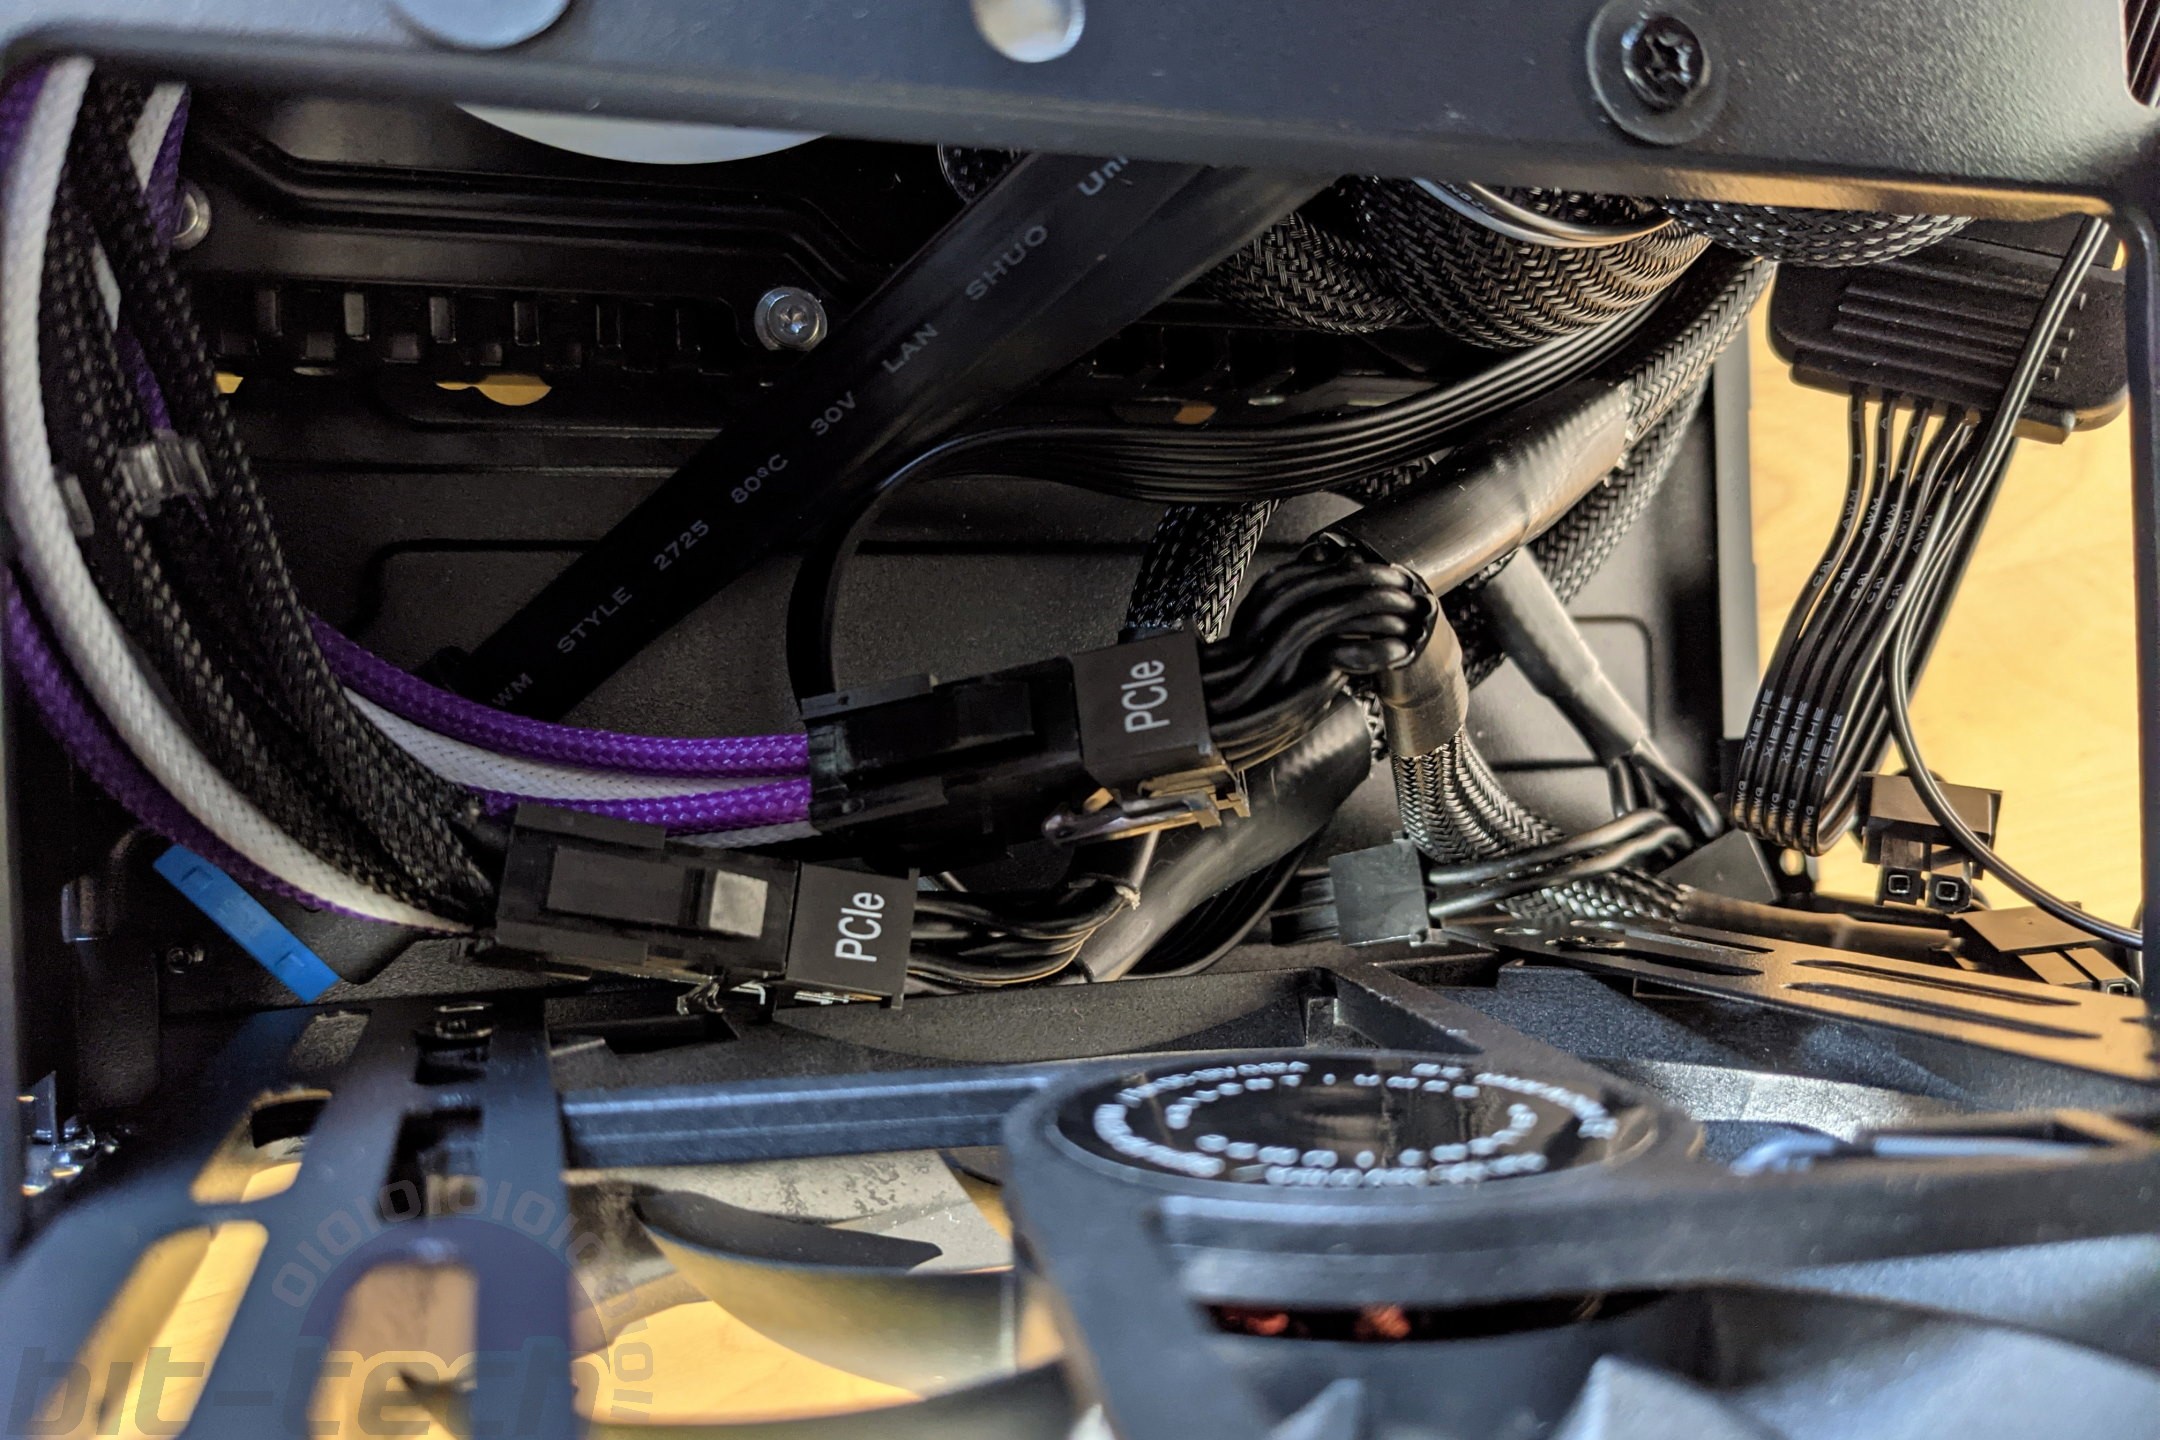
The well-ventilated PSU shroud sports a cable passthrough for GPU power cables at around the midpoint of the case, which is a welcome addition to cut the clutter behind the motherboard tray. In amongst the hexagonal holes of the shroud there are a few circular ones that enable the shroud to carry a couple of other functions; some for 2x 120mm fans with the possibility of mounting a 240mm rad there as well, and the right-hand side has eight slightly larger circular holes which is used for mounting either a 2.5in or 3.5in hard drive to the underside of the shroud.
It’s another clever little trick to use the PSU shroud to mount a drive, making use of an existing structure with only a few holes required to make it possible. The mounting process is a touch cumbersome though; first put four rubber grommets into the holes that correspond to the size of hard drive you’re mounting, then while holding the drive underneath with one hand you screw it in from the top with the other. Getting the screws in the grommets beforehand makes it a touch easier, although be careful not to knock them out with the drive, or alternatively, find something the right sized to sit under the drive and hold it in place, leaving both hands free for the screws and 'driver.
Thankfully the other hard-drive placements are a much easier to install, with the screws and rubber grommets being attached to the drive outside the case. These then slot into keyhole mounts on the floor of the case for another 3.5in or 2.5in drive, with two further mounts to the right of the motherboard tray which can have the drives in the front or rear, but they will be upside down in the front.
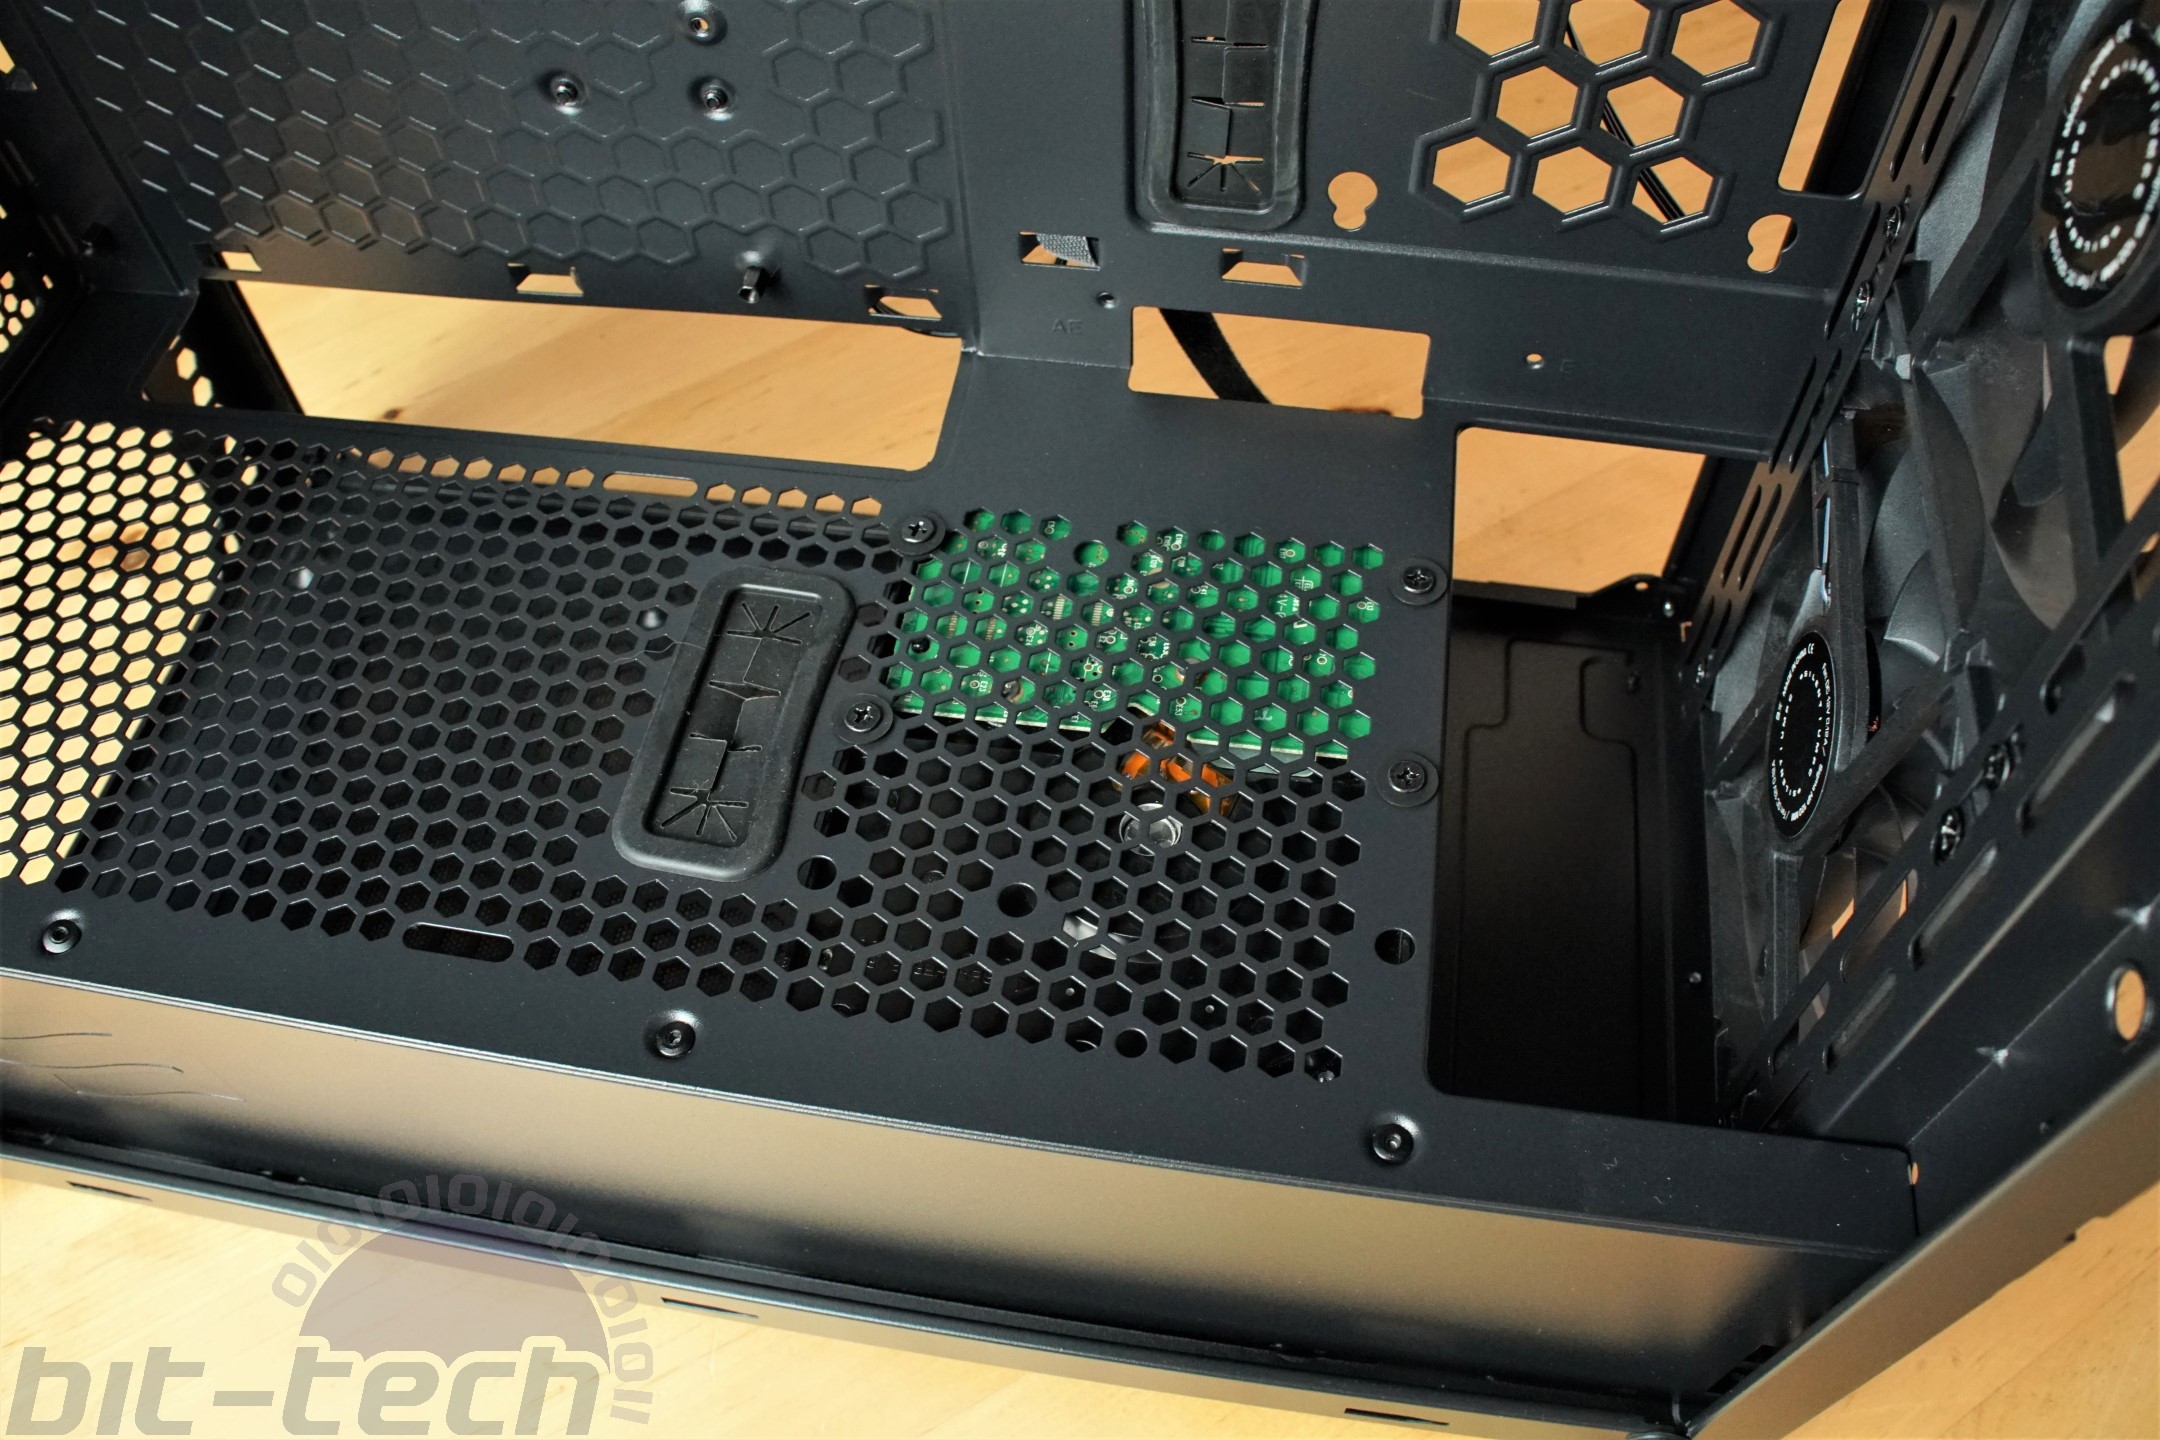
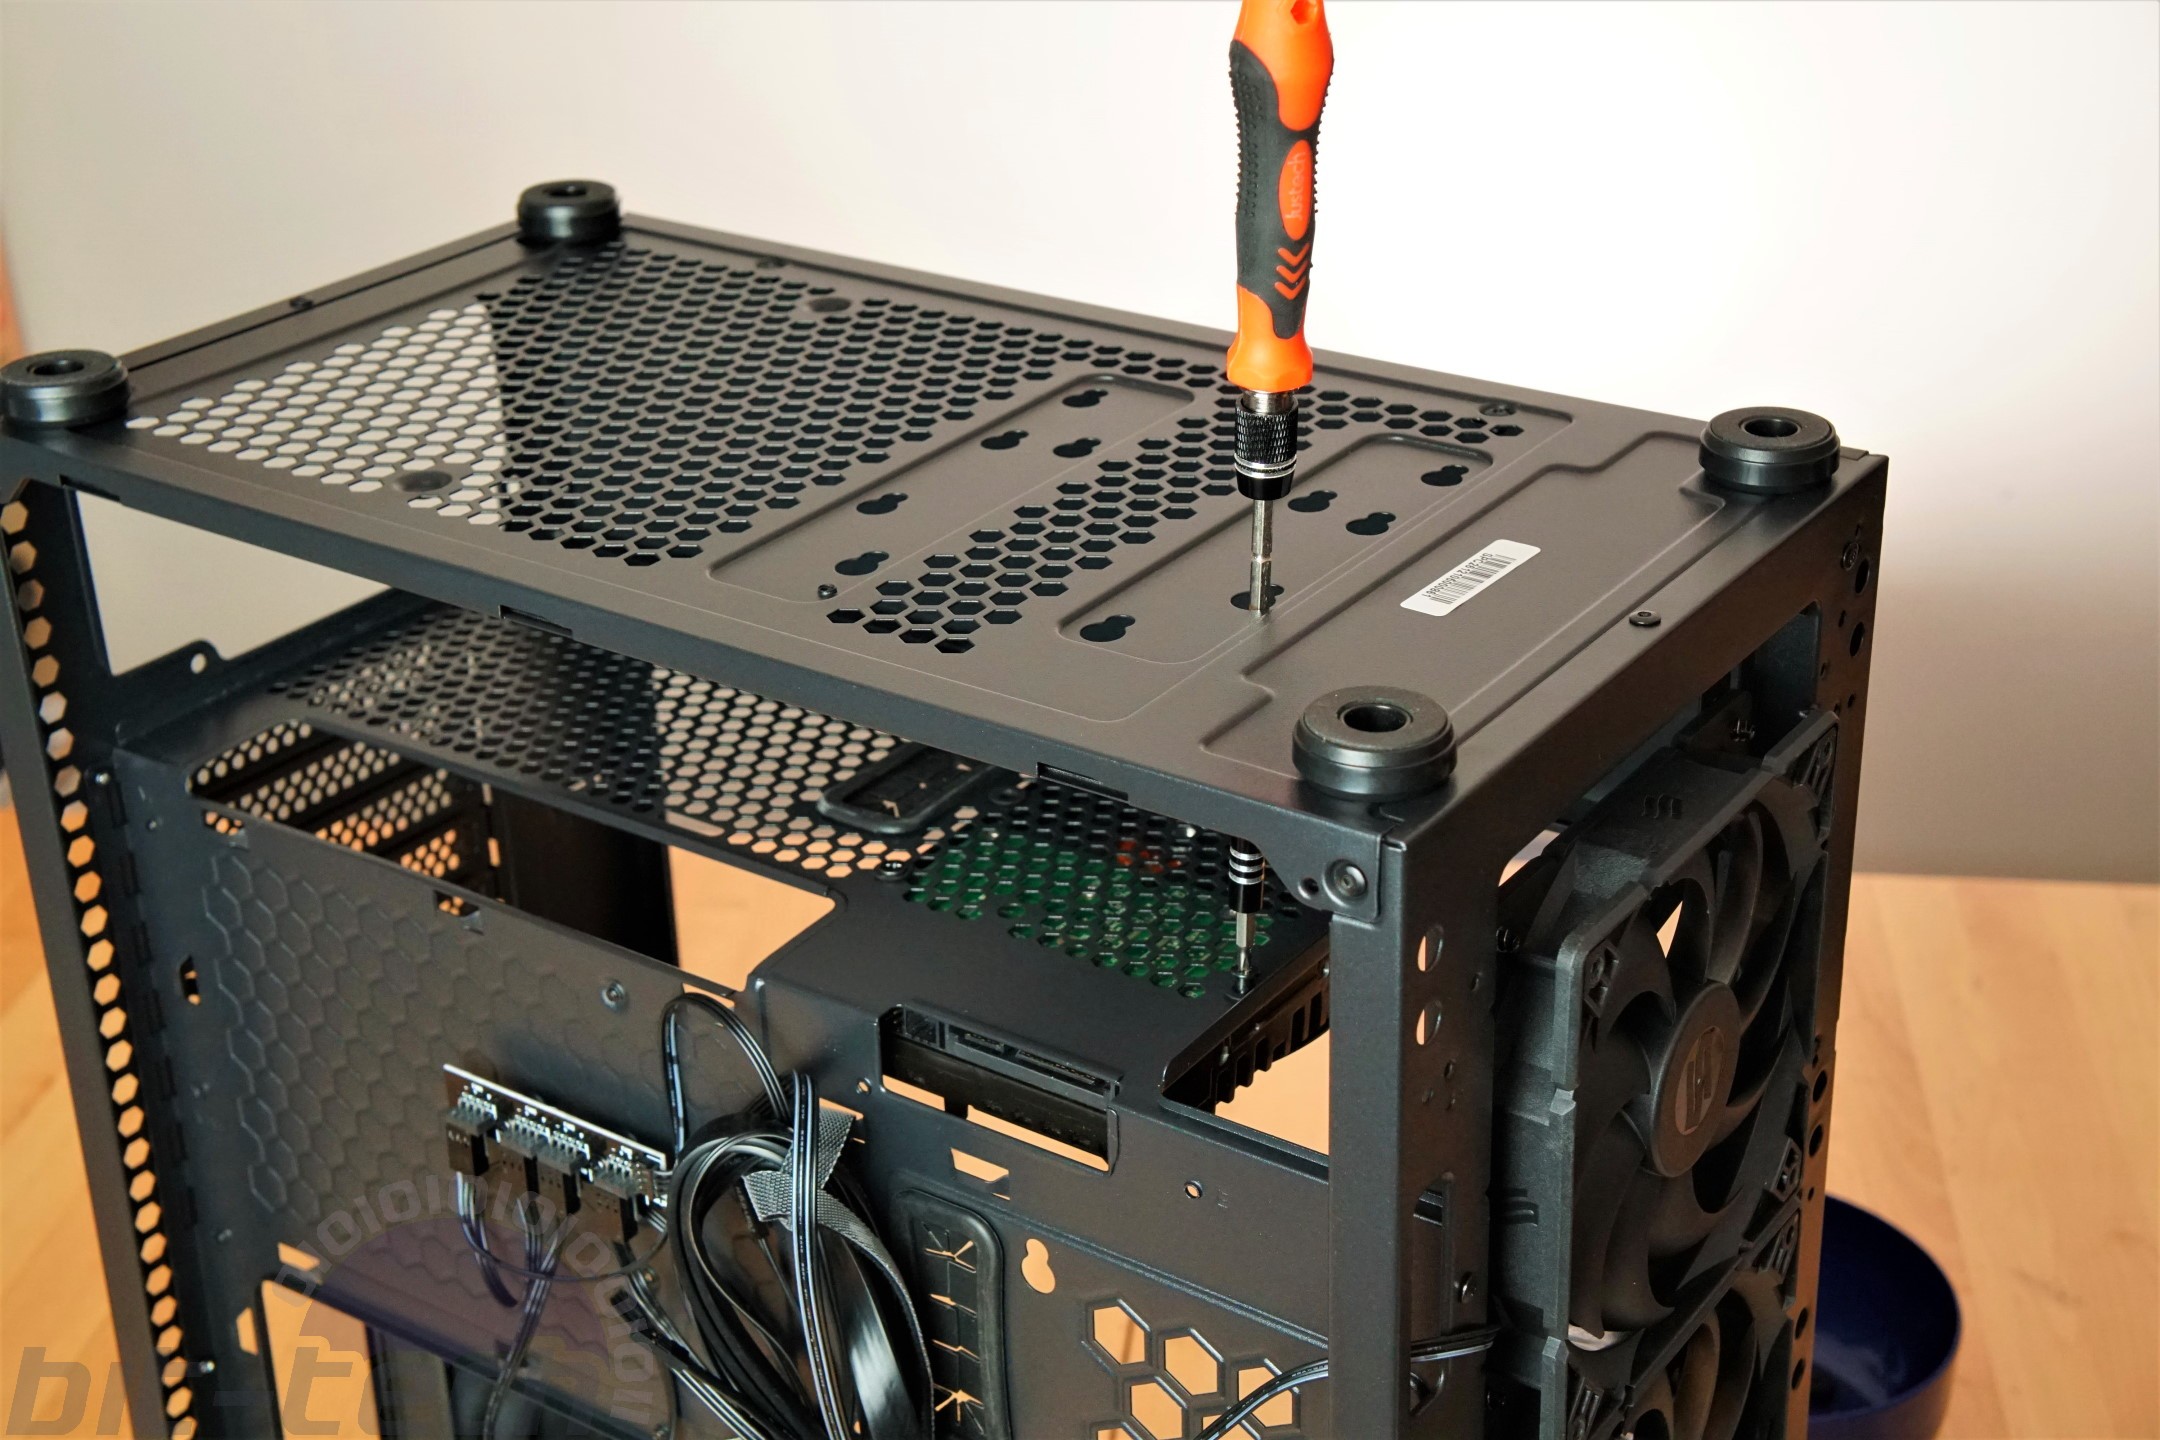
I’m unsure why that method isn’t also used for the PSU shroud mount, as it would make it miles easier, but possibly to make it blend in with the rest of the ventilation when unused. That ventilation also gives you an upside down up-skirt of the drive, which for a 3.5in HDD, is an unsightly PCB. I actually found it easier to mount a drive on top of the shroud, as with the case upside down you can get a screwdriver through the floor mounting holes and you’ve got better sight of what you’re doing and an easier hold, but while a 2.5in will comfortably fit on top, a 3.5in drive fouls on the motherboard, which is a shame as both data and power ports line up perfectly with a cut-out in the corner of the tray and shroud.
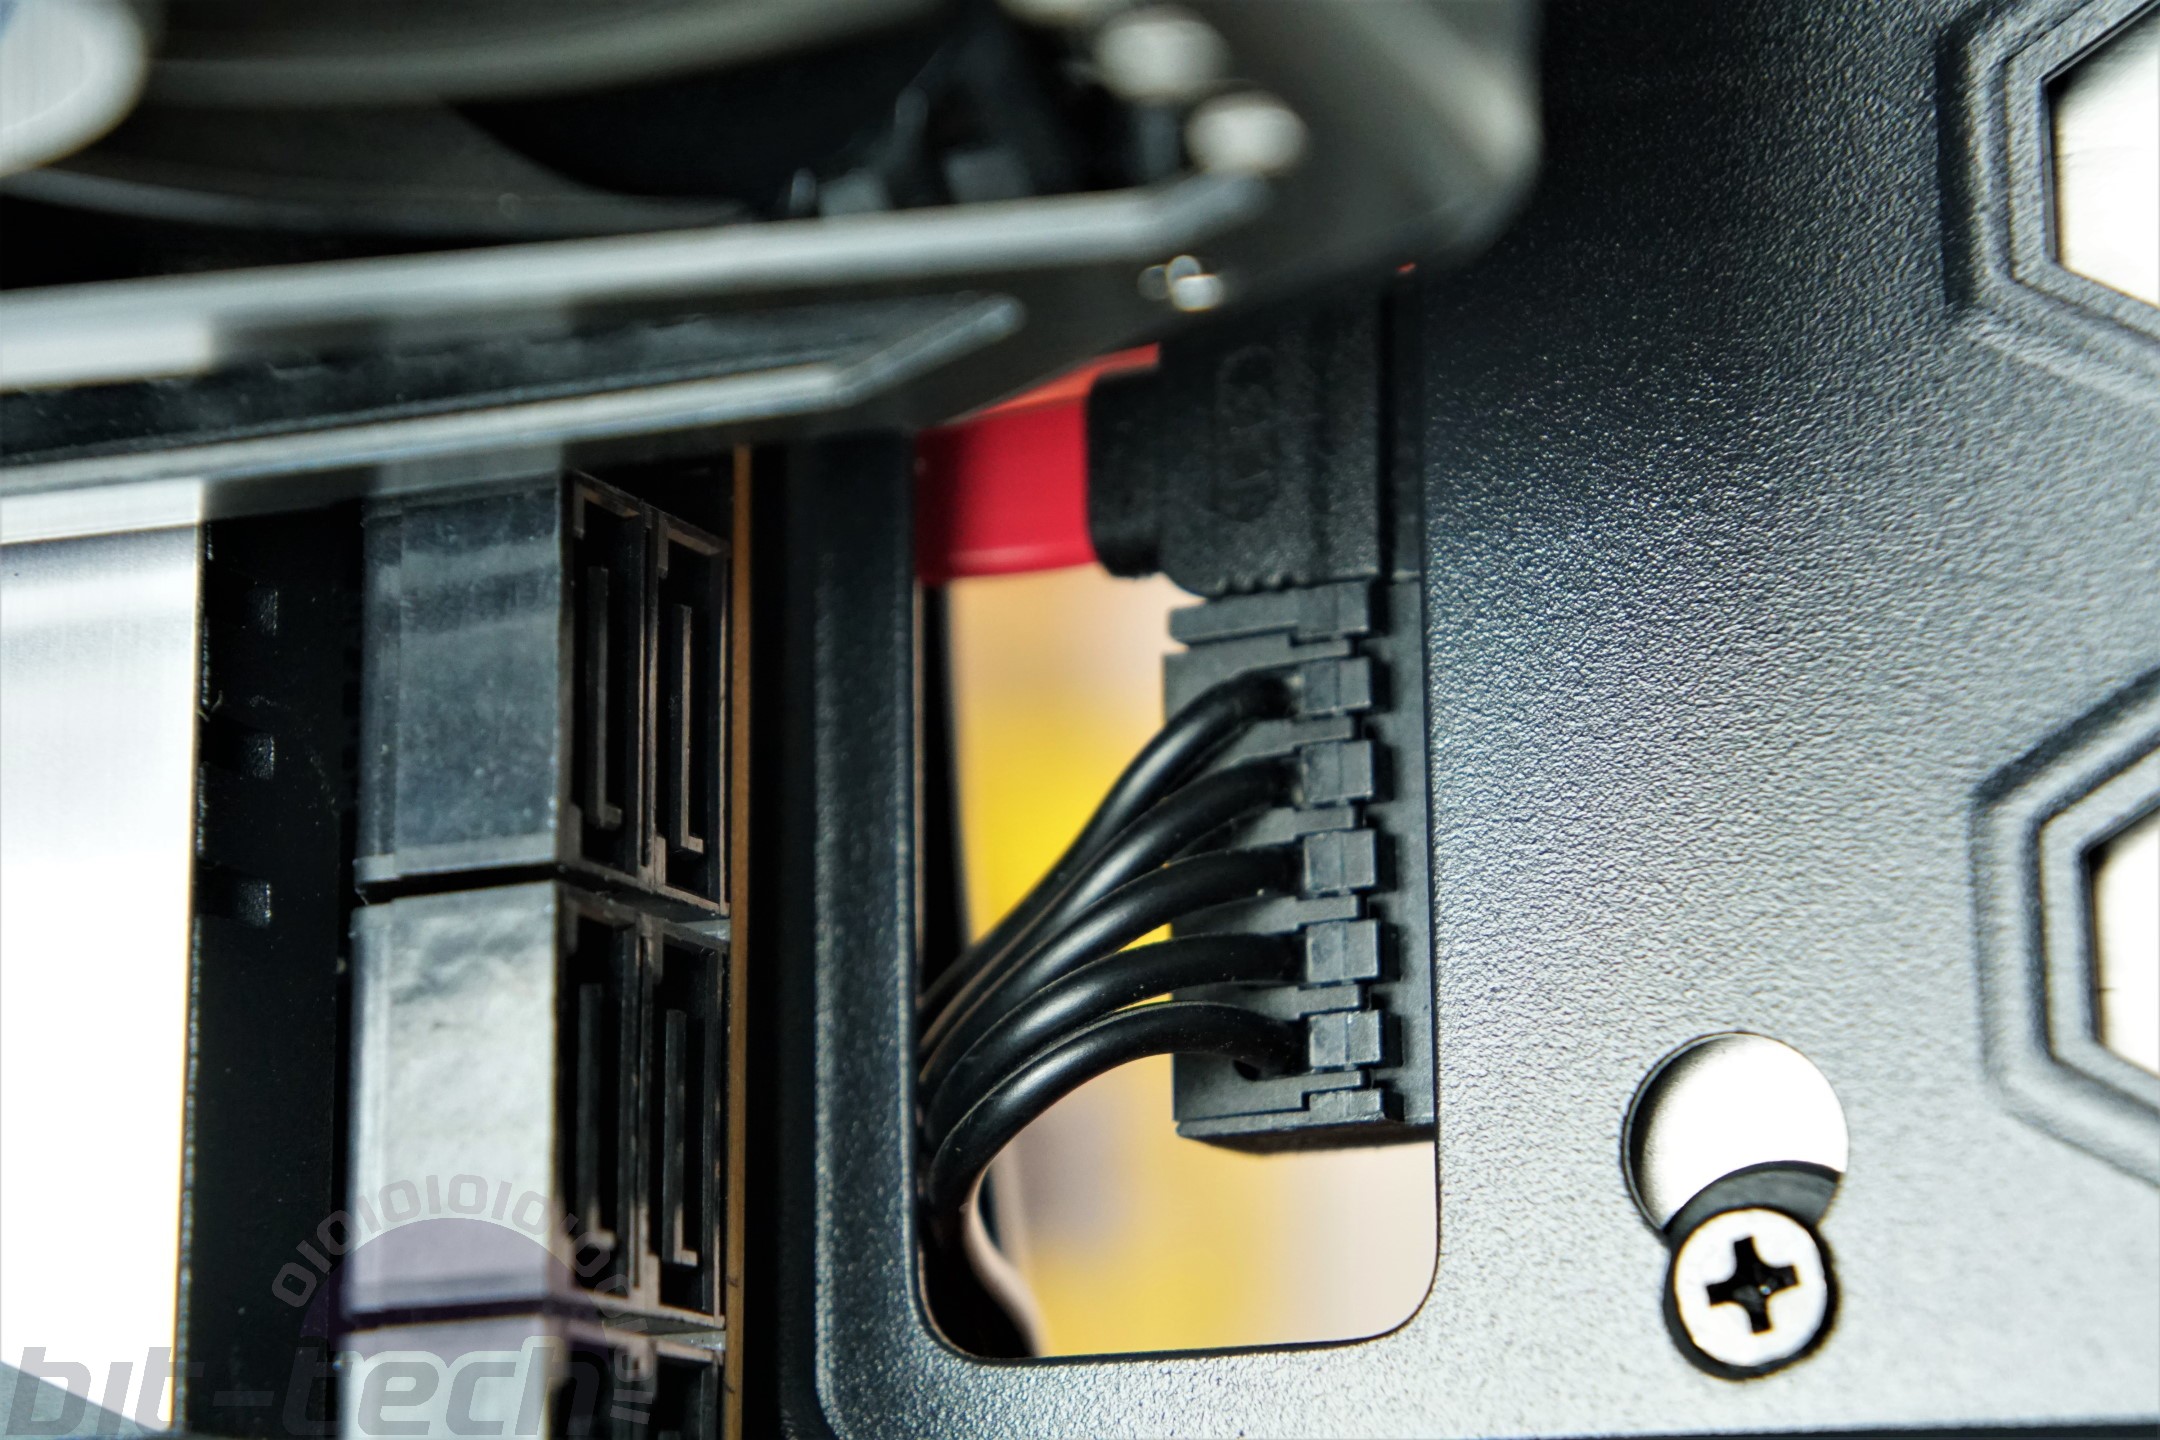
The practicality of the drive mounts leaves a little to be desired. The drive on the floor is practically flush with it, the mounts having a mere modicum of height above the rest of the floor, requiring cables being bent to uncomfortable angles to fit. The 2.5in drives on the mid-wall are a tight fit and protrude into the motherboard tray passthroughs, so it’s good job there’s a 3rd that sits above the two drive spaces for your 24-pin and that shroud cut-out for PSU cables.
Surprisingly, there’s no 2.5in mounts directly behind the motherboard, but this is where the company has chosen to mount the included fan hub, or the Aurora Sync EVO PWM ARGB Controller in the ARGB version of the case. It’s a nice little touch that this is a PWM hub despite the fans only being 3-pin DC models, making it usable for any fan upgrades you might bestow upon the case.
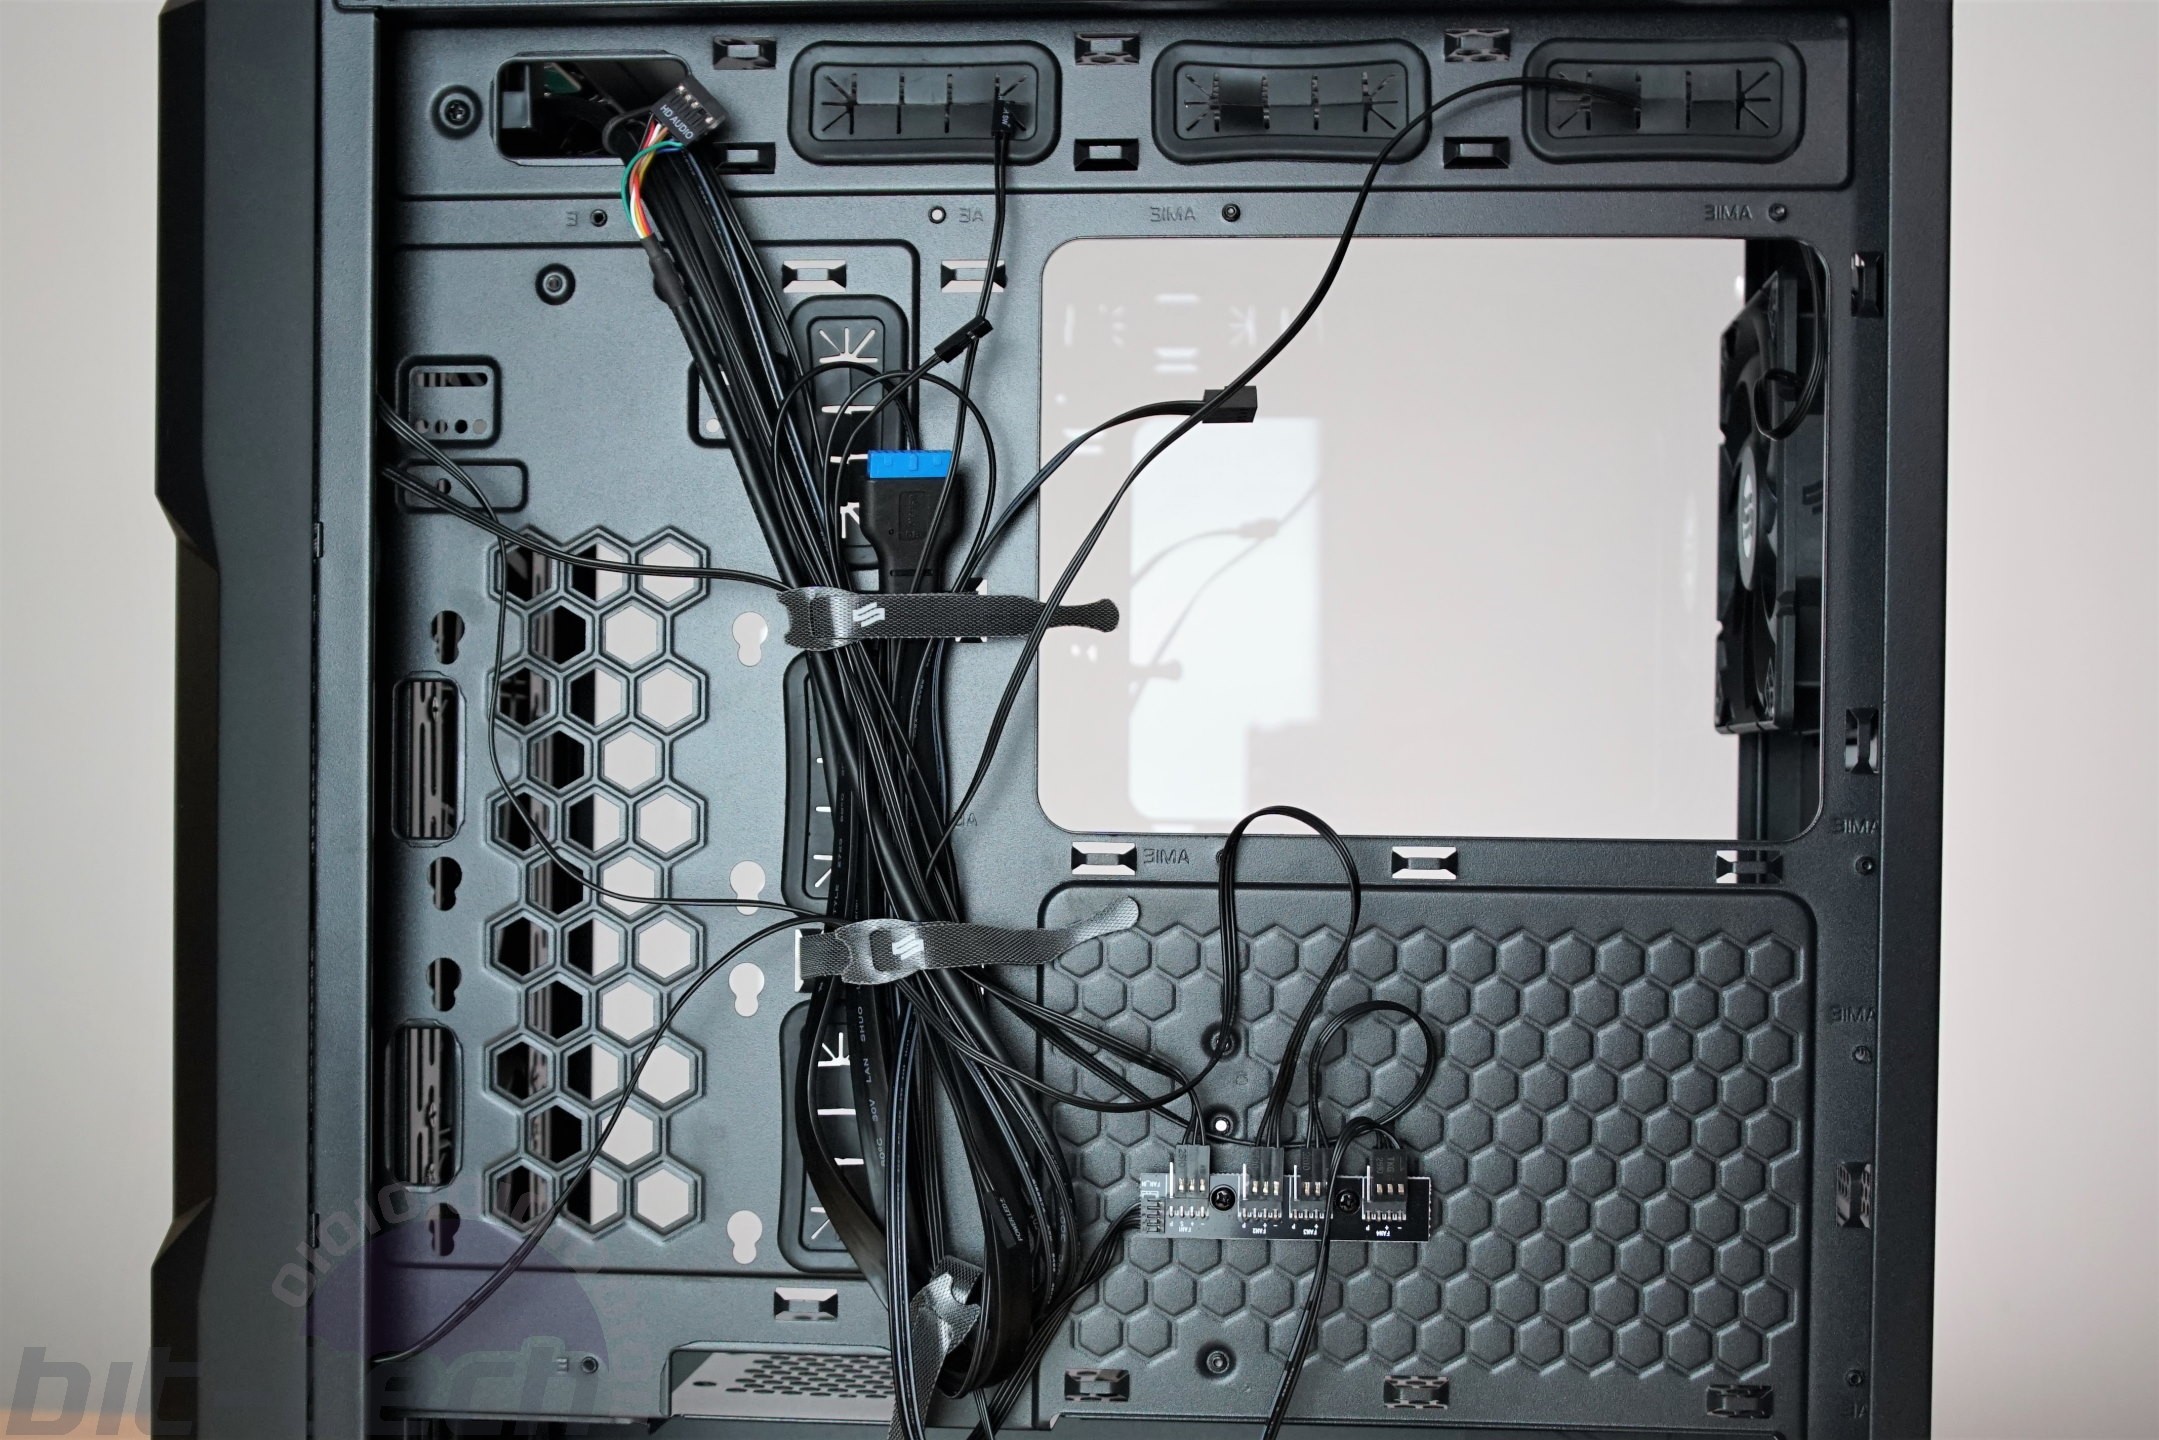
For general cable management we have 28mm of room behind the motherboard tray, which should be plenty, even for the thicker `bunched-and-sleeved’ type of PSU cables. There’s also plenty of cable-tie points across the back of the tray and SilentiumPC provides three Velcro straps and a few zip-ties, not a lot, but I wouldn’t expect a case in this price bracket to come with a scratch paddle’s worth of Velcro. At least there's provision for some drive dampening, and a standoff nut unlike the MSI Velox 100R I’d just reviewed.

To round out the cable management there’s a trio of cable pass-throughs above the motherboard on top of the one for the front I/O, and a further two right at the front of the case for any fans mounted inside the front fan rails. There’s also a quite large generous cut-out on the PSU shroud just in front of the motherboard for USB, HD audio, fans, etc.
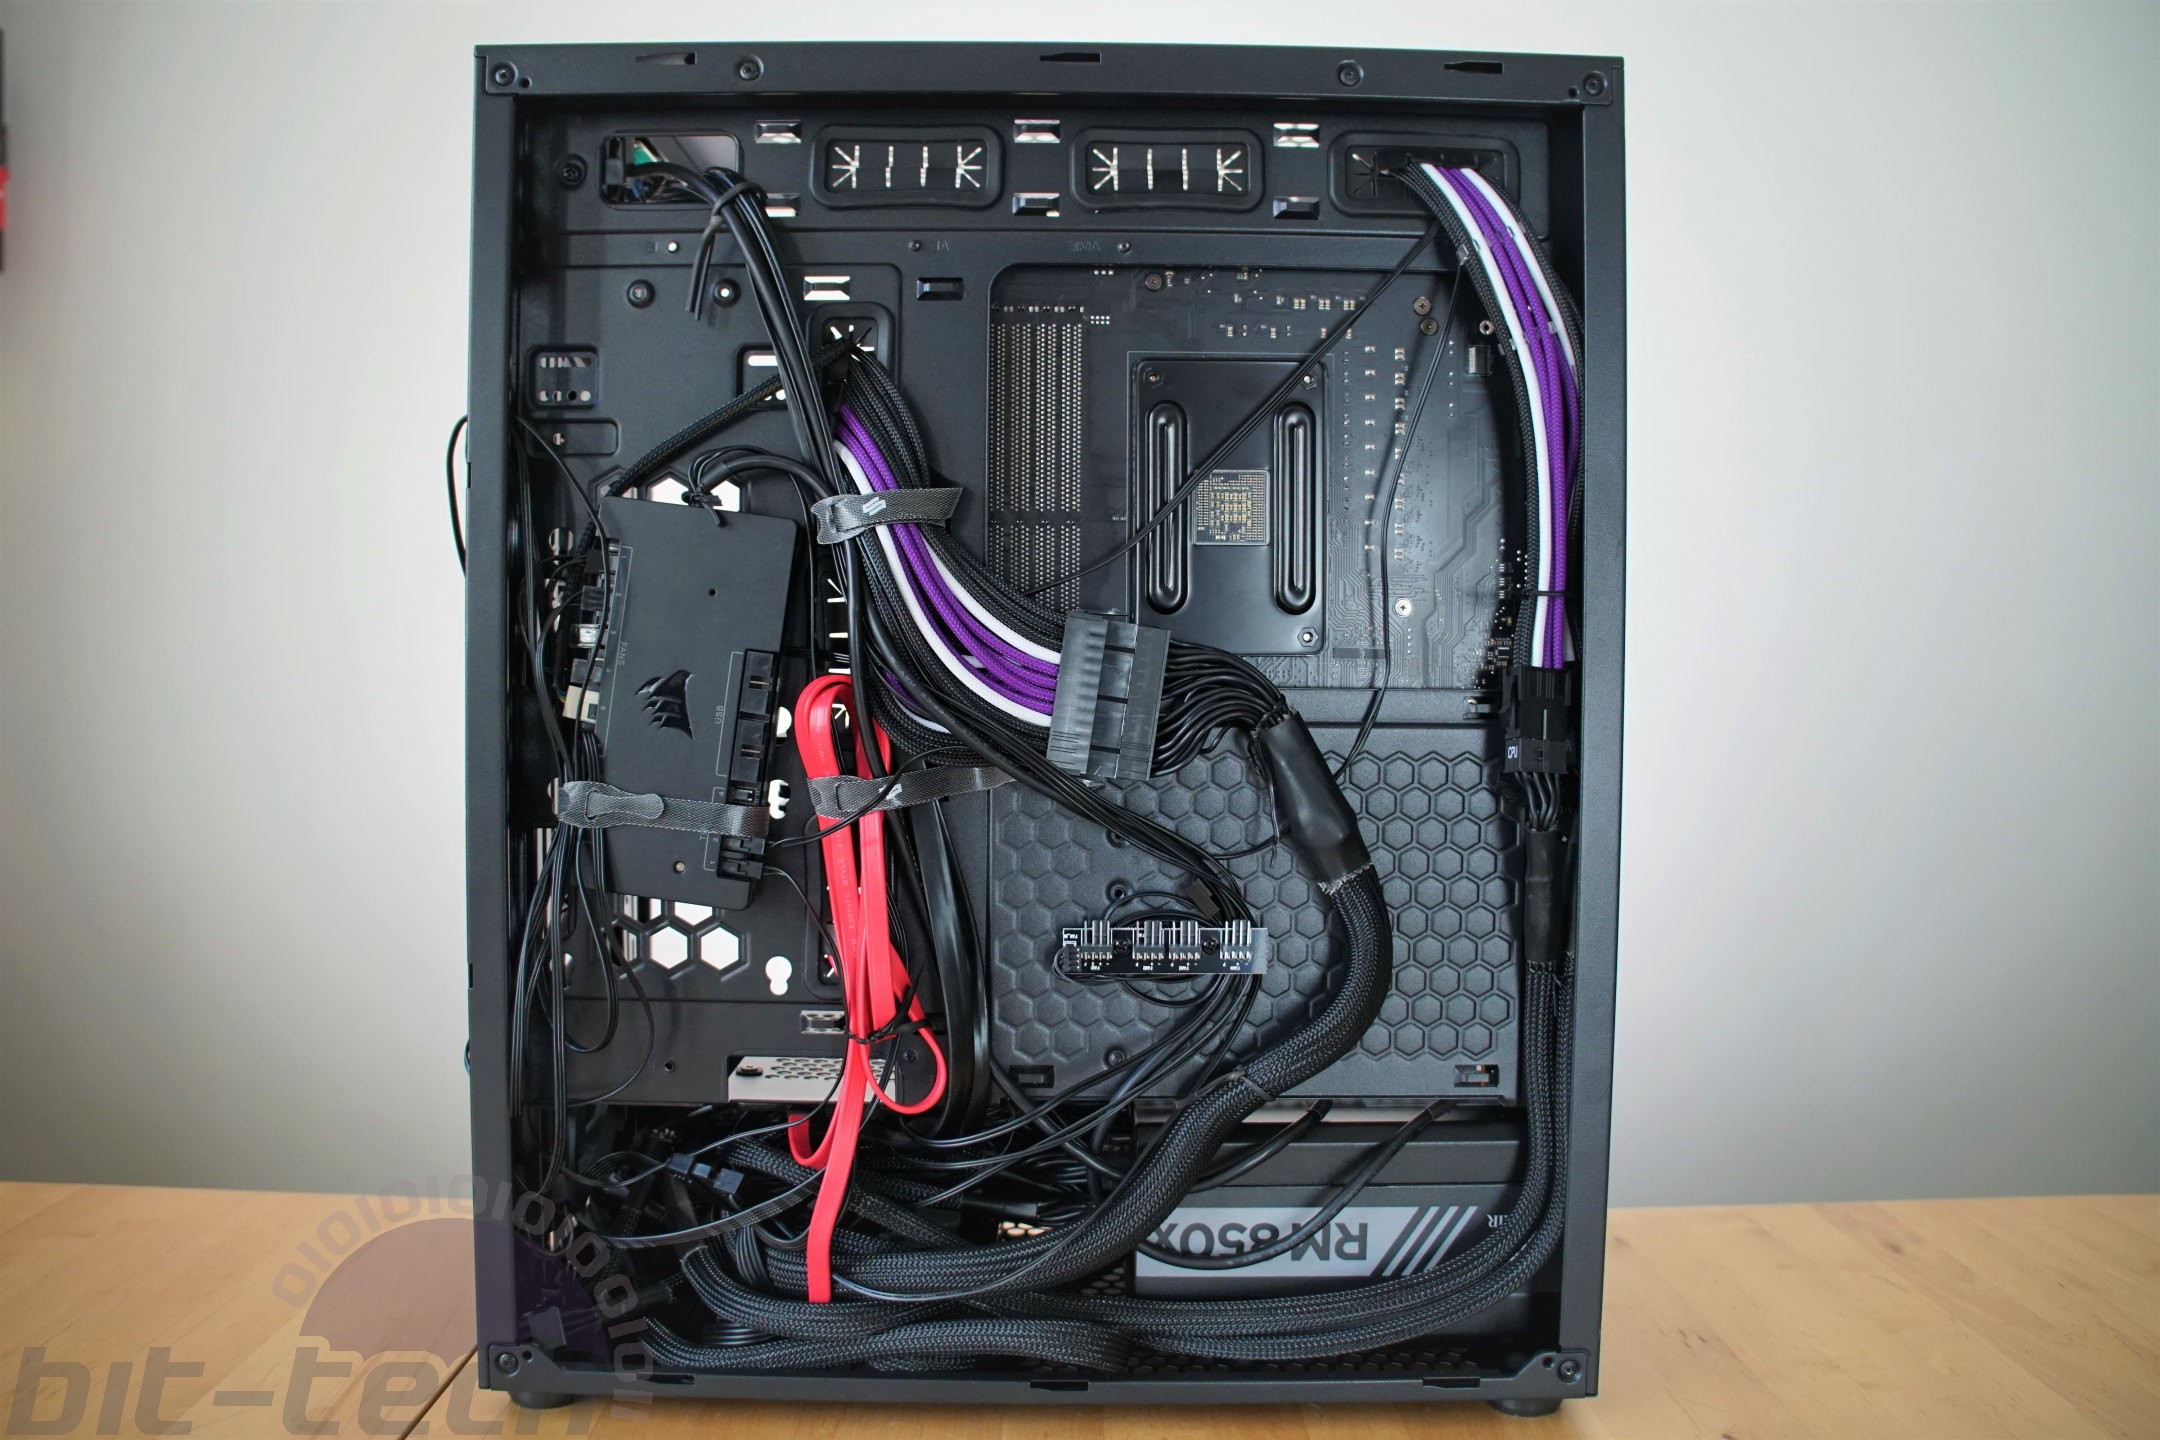
I was able to get the test system installed without too many problems, complete with the sleeved extensions, Corsair Commander Pro and with a 3.5in drive in the floor and a 2.5in drive under the PSU shroud. It got a little tight under the shroud with both the drives installed, which might cause conflicts with a front-mounted radiator depending on your cable make-up, but is doable with a modular PSU.
There was also very little room to spare above the rear I/O shield, with the case having a flat rear panel design rather than the I/O being inset into the case, something to consider with the big, bulky special edition motherboards.


MSI MPG Velox 100R Chassis Review
October 14 2021 | 15:04

Want to comment? Please log in.