
Interior
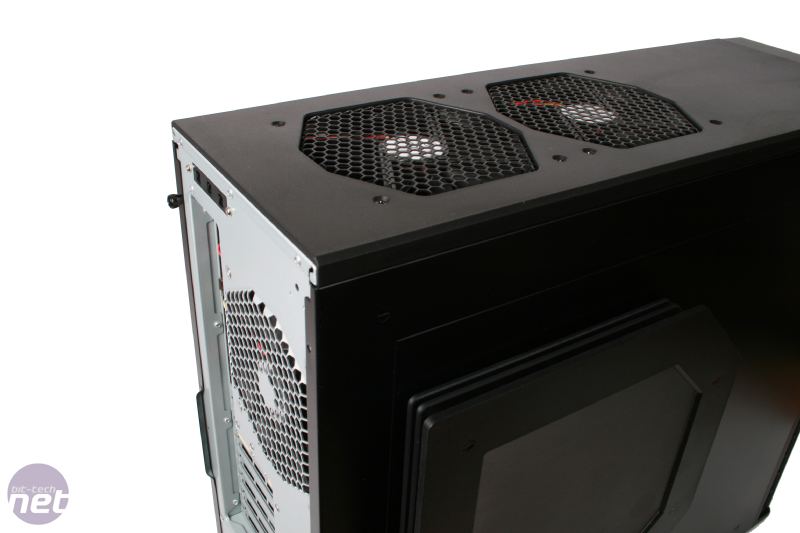
The Antec Performance One series cases all feature very similar interiors. If you’ve either read the reviews or used a P180, P182, P190 or any other case in the range, then you pretty much know what the expect. For the purposes of this review though, we’ll run you through some of the features which has made the range such so popular.The first thing you notice when you pop the side panels is that they’re heavier than a chopped up corpse in a potato sack full of rocks. Upon closer inspection you find that this is due to a heavy duty layer of plastic bolted on to the side of the steel panel. This sound insulation layer is a main factor in making the Performance One range the low-noise models that they are. The side panel that holds the fan mount weighs in at 3.3kg alone, contributing to the overall weight of around 4,389 metric tonnes.
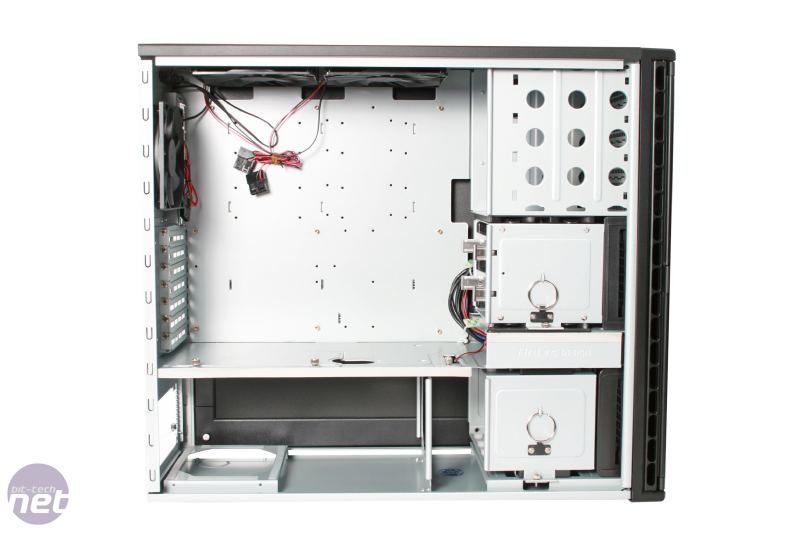
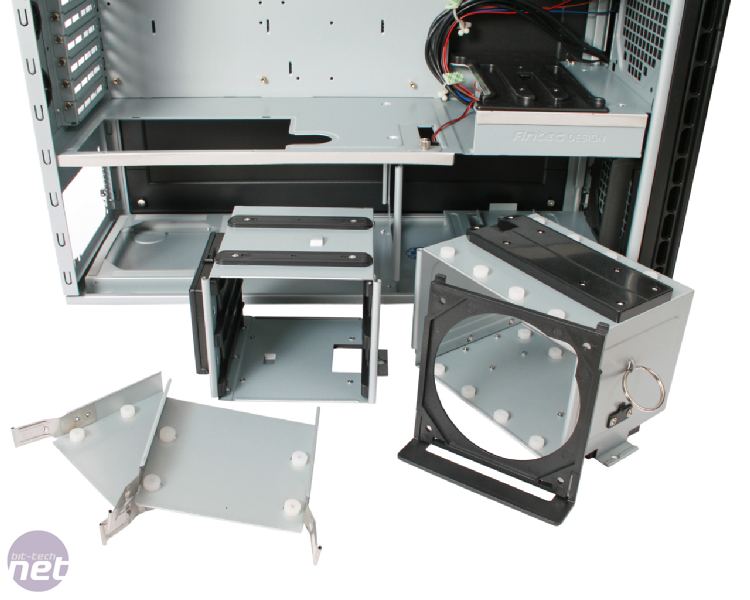
The main chamber is divided in to three main portions. Down the bottom can be found the PSU mount and one of the two hard disk caddies. Gone is the totally redundant dual-PSU mount in favour of a more sensible single unit mount. That was one willy waving marketing competition that thankfully never really built up much momentum. Above that are the rest of the drive bays, including the 5.25in bays. Finally, there is the main chamber where all of your shiny core hardware resides.
Click to enlarge
There are four external 5.25in device bays which use a bracket mounting system. To install an optical drive you have to screw a plastic rail either side of your drive and then slot it into place in the bay from the front. Why Antec decided to use this approach rather than just screwing the drive directly into the case is a bit of a mystery. The only benefit we can think of would be to quickly change which bay the optical drive occupied, but we cant think of a reason that anyone would want do so. Going some way to compensate for this is the satisfying click that the optical drives make when they slot into place which is almost reason enough to buy the case in itself.

Click to enlarge
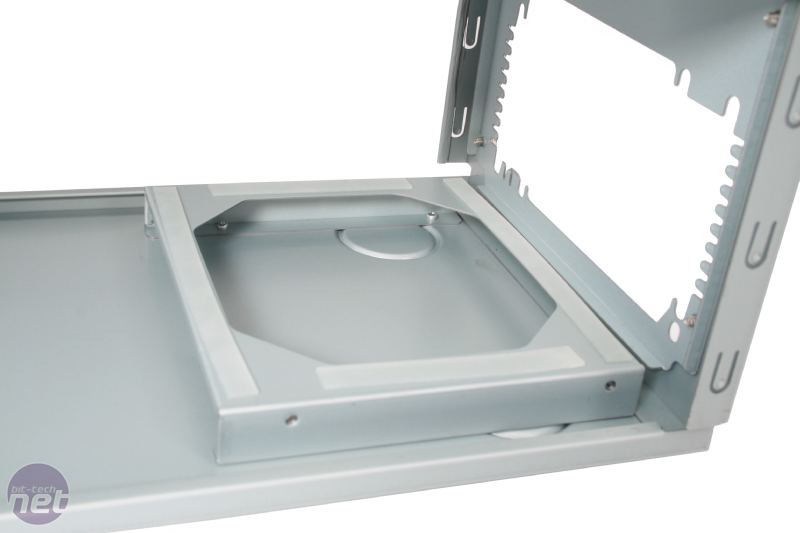
Another eye catching aspect is the two rings on the hard disk caddies which look like they’ve been borrowed from the bonnet of a race car. After removing the thumb screws below, these two key rings allow you to slide out caddies for easy installation of your disks. It’s a nice touch and it means that if you have to change your hard disks at any point then you won’t have to remove the graphics cards or anything else that may be in the way. The hard disk mounts use rubber grommets at every screw-in point, suspending them in vibration dampening rubber, a sentence not easily written while avoiding innuendo.
Click to enlarge
The top bay can house two 3.5in devices while the lower bay houses a further four hard disks which screw directly to the casing rather than having their own removable trays. In between these two hard disk caddies is a bay for your external 3.5in device. You could sneak another hard disk in here if need be but if you do so, it won’t receive any airflow from the intake fans which, surprisingly aren’t fitted as standard.
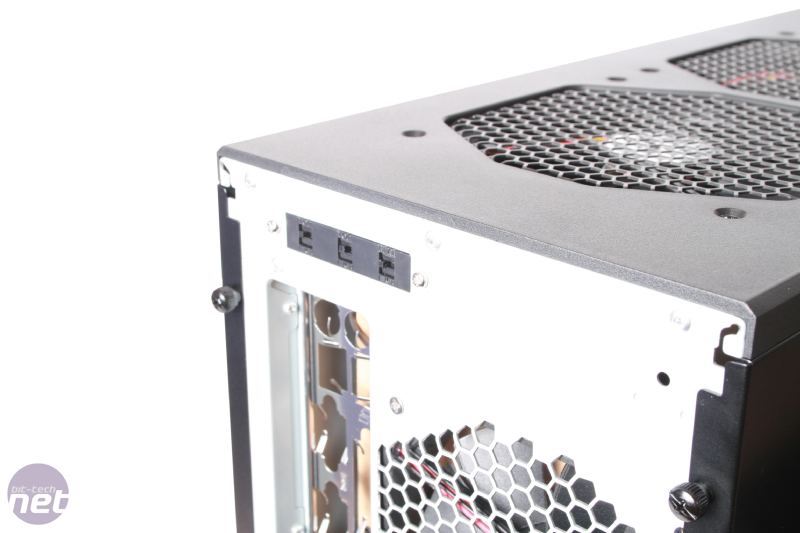
This leaves the job of sucking air in to the case solely in the blades of the side panel fan. There’s two 120mm fan mounts at the front of the case each directly behind the two hard disk caddies and there are dust filters in place and ready to filter dust. We’d absolutely recommend filling these slots with fans, especially if you’re running scorchio hard disks such as Western Digital Raptors.
RELATED ARTICLES


MSI MPG Velox 100R Chassis Review
October 14 2021 | 15:04

Want to comment? Please log in.