Interior
The side panels use a standard notches and rails system and are released using thumbscrews, with small handles to help. As mentioned, the front panel is easy to pull off with a firm tug to get at the front filter, and the full roof panel (i.e. not just the mid-section) can also be removed in a similar manner, although there's little reason to – it doesn't give you any extra access to the roof fan mounts and it's connected to some of the IO cables as well, meaning it doesn't come away cleanly.
Click to enlarge
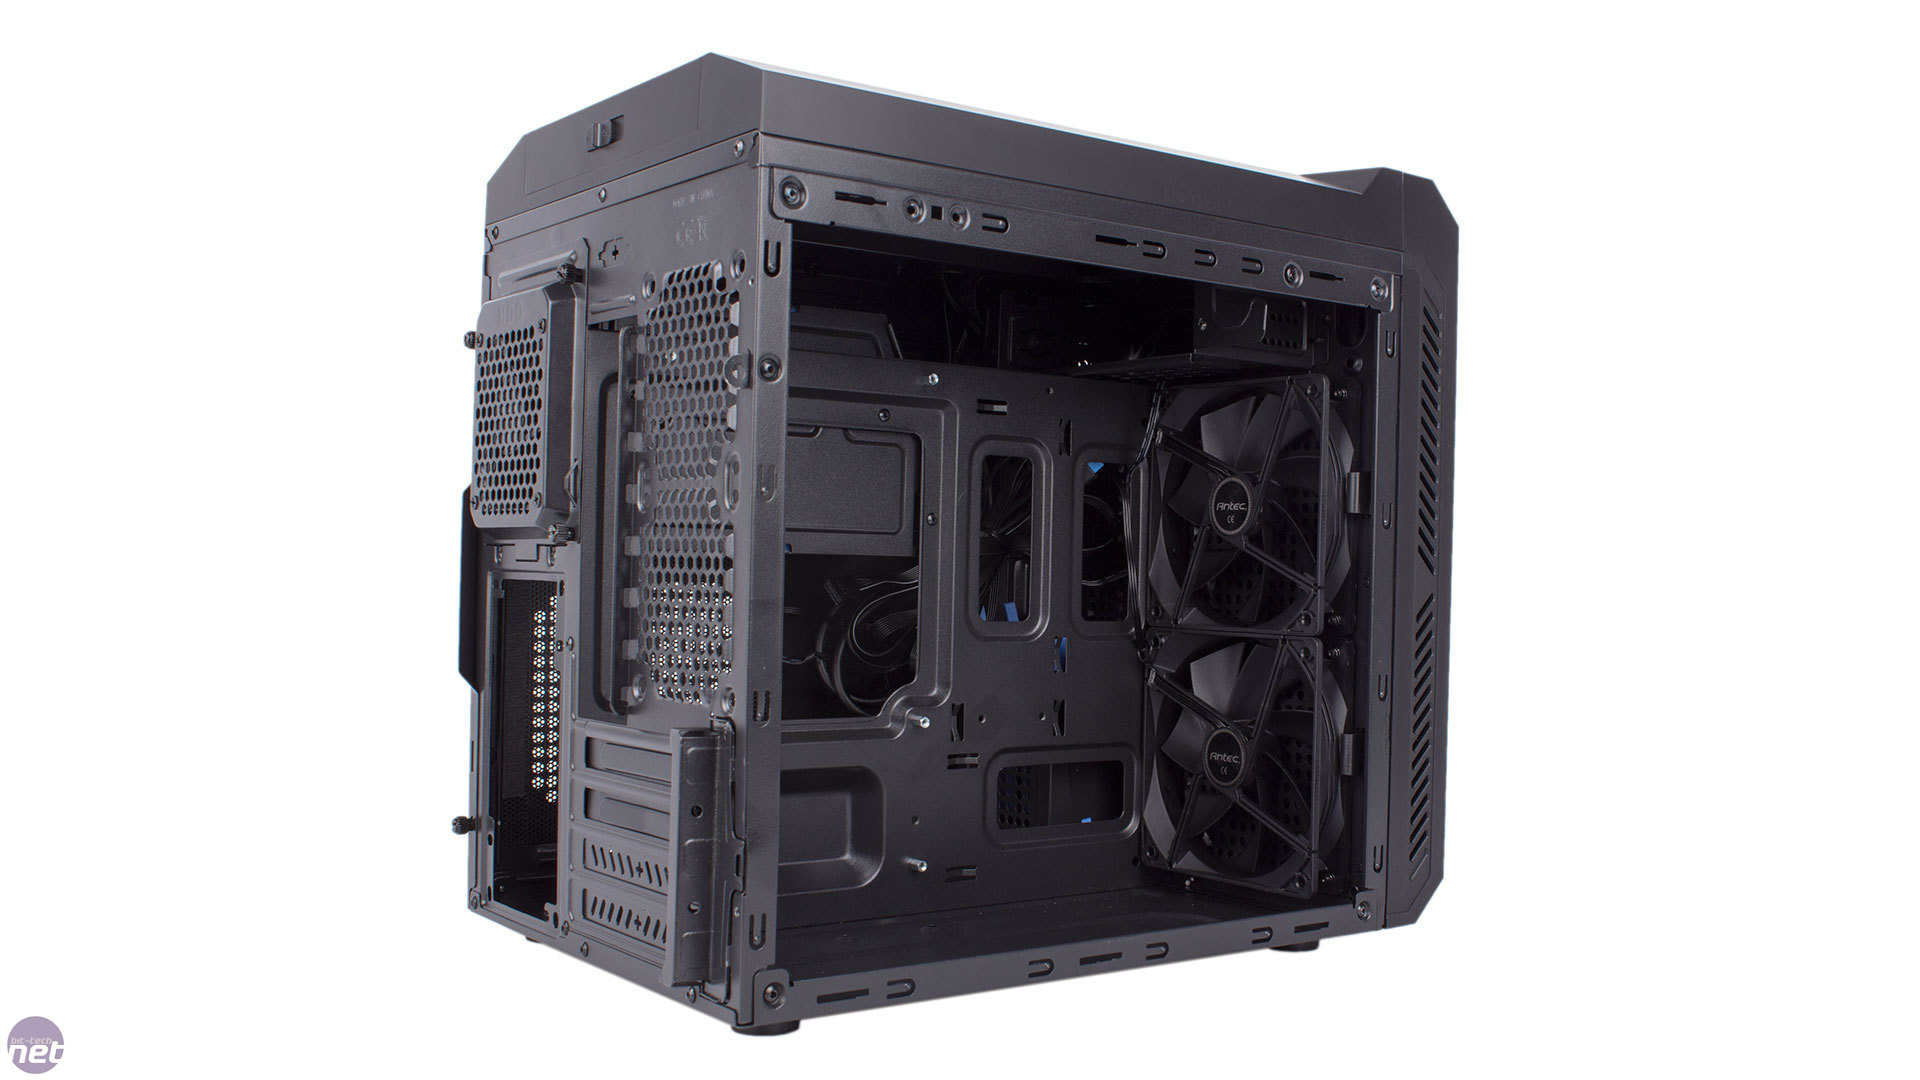
In the main chamber, Antec's P50 Window comes with some pre-installed standoffs as well as a large cutout in the motherboard tray, although this latter feature is pointless as the rear of the tray is partially blocked by the non-removable rear HDD cage. As such, you'll definitely want to install your CPU cooler first. These are limited to 130mm, so full tower coolers aren't possible but smaller ones are. There's a healthy 300mm of clearance for graphics cards, but note that the limited width of this chamber means that cards with bulky coolers that extend past the edge of the PCI bracket are unlikely to fit.

Click to enlarge
The ODD cage doesn't use tool-free clips, though a few extra turns of a screwdriver is hardly challenging. More important, the whole cage is removable in order to give the P50 a modicum of water-cooling support. With the cage gone, those roof mounts are available for a 240mm radiator. There's around 60mm of clearance in total, which is enough for a standard all-in-one cooler. Depending on your radiator dimensions and spacings, you may also be able to use the front 120mm mounts for a 240mm setup, though again you'll certainly need to remove to ODD cage to do so.
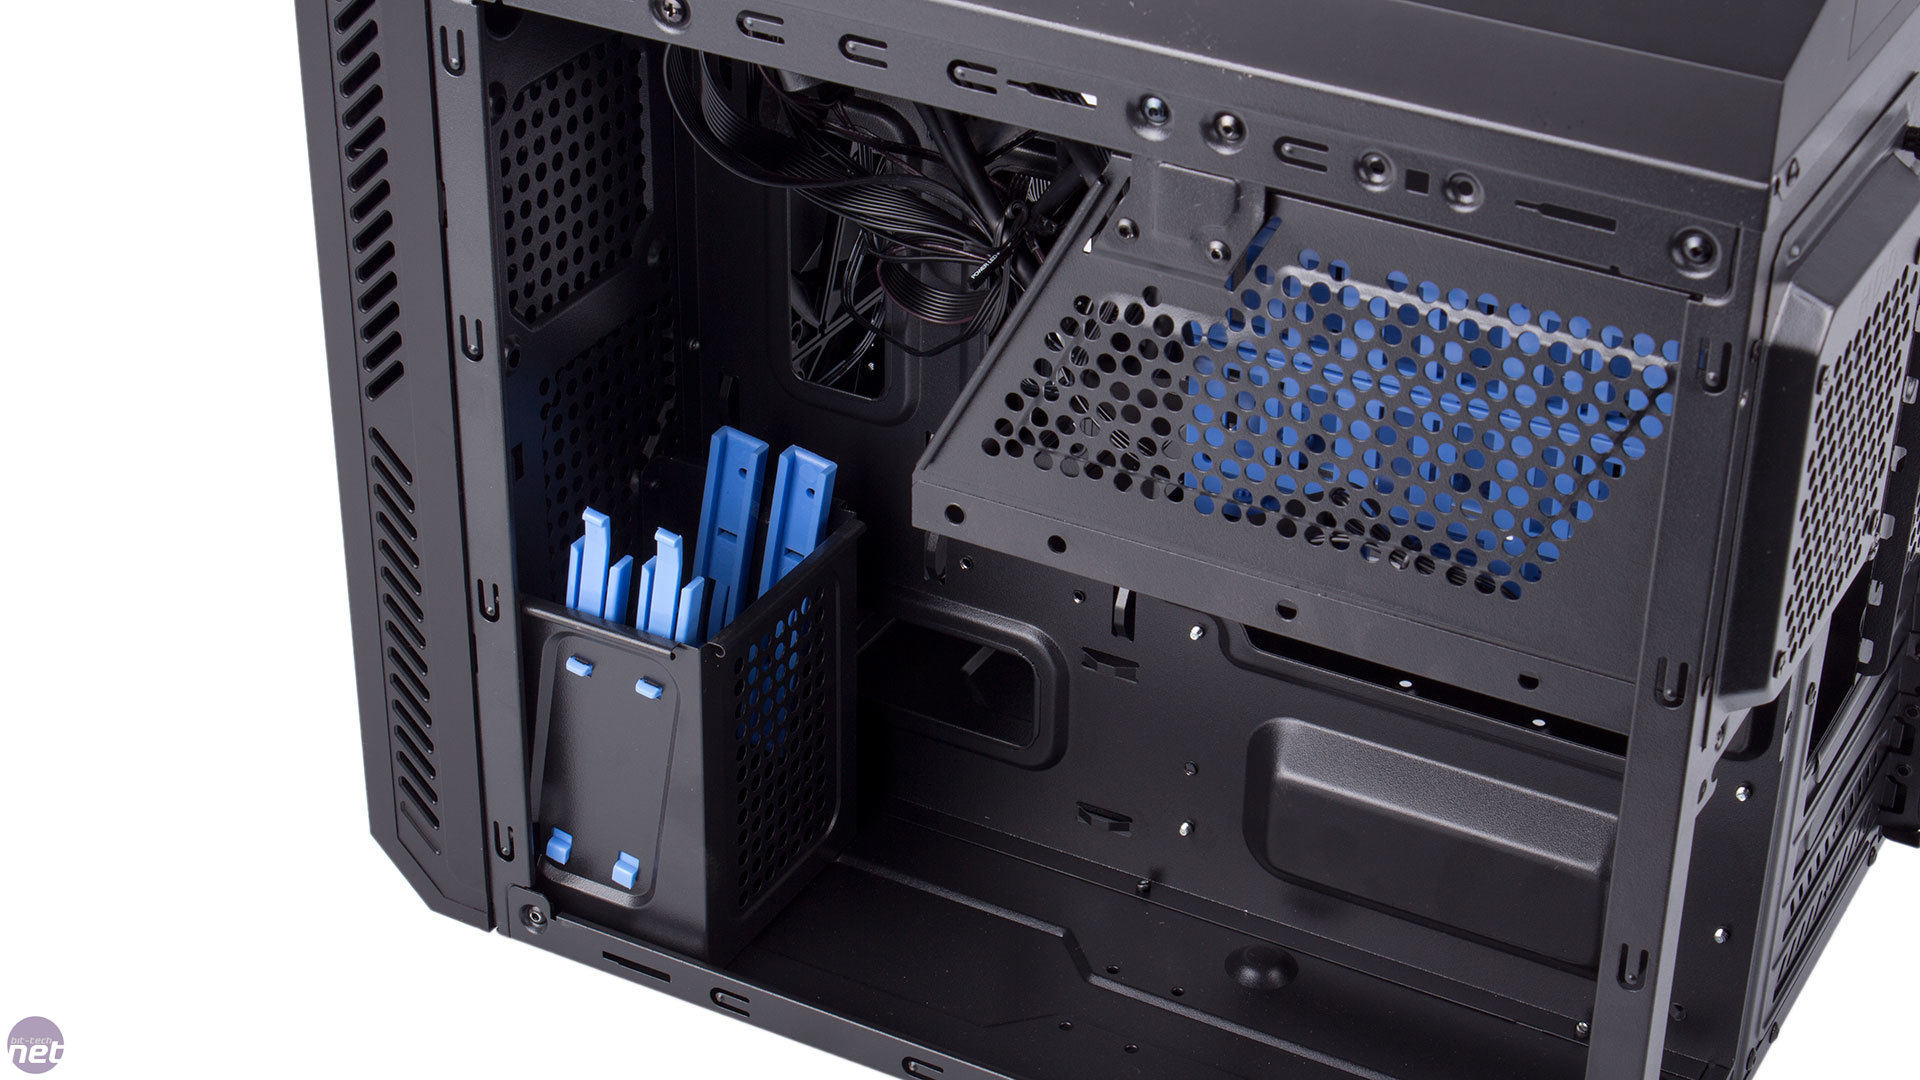
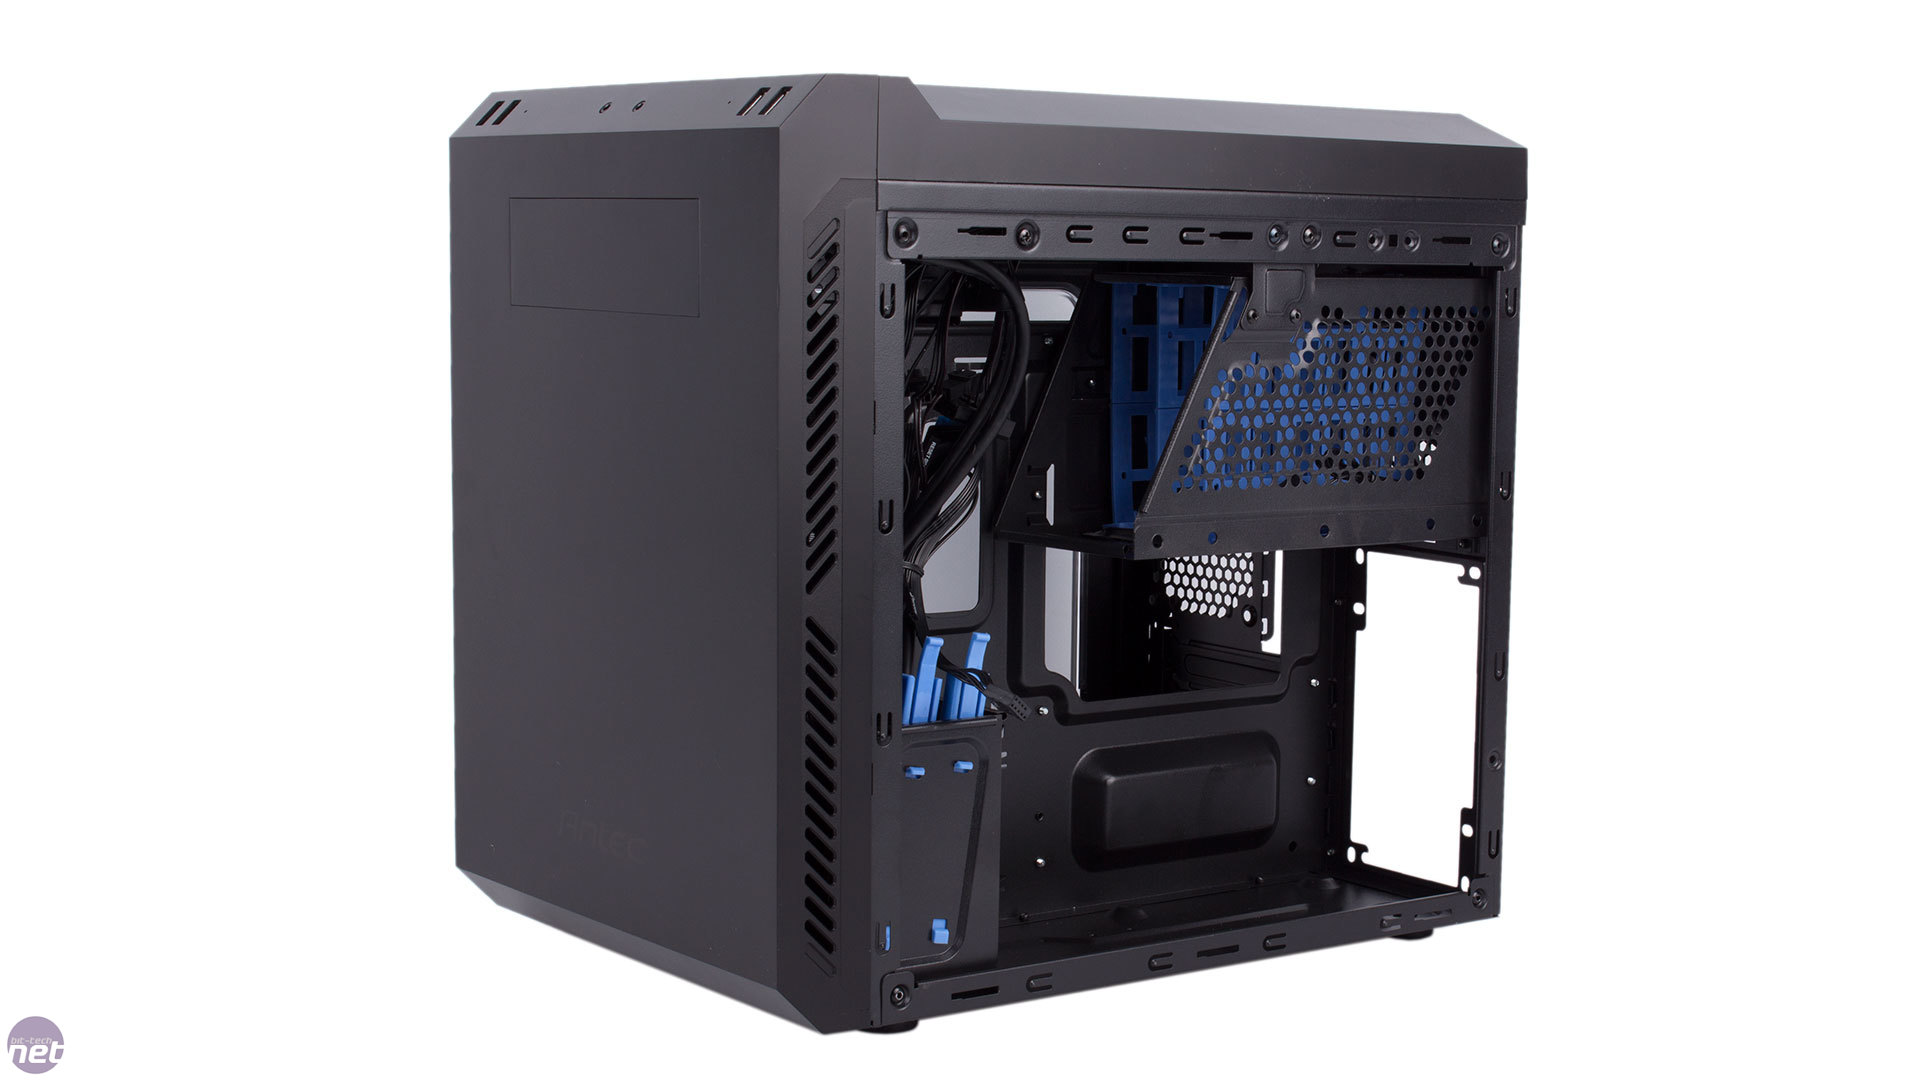
Moving round to the other chamber, we see that the PSU mount at the back, while being easy to use, doesn't have any form of anti-vibration. Meanwhile, at the front, there's a cage for two 2.5in drives, and these are installed tool-free by simply sliding them in. Just above this is where you'll find the aforementioned front 80mm fan mount.

Click to enlarge
The plastic HDD trays in the top cage can only be accessed from the outside. This means it's best to let there be some slack on the rear 80mm fan's cable, because you'll have to partially move it out the way if you ever need to remove, add or replace a hard drive. Alternatively, you could just move this fan to the front intake or one of the rear exhaust mounts in the other chamber, but we recommend leaving it in place if you'll be filling this cage up. The plastic trays, which can house 3.5in drives tool-free or 2.5in drives with screws, are pretty low quality, using really weak and flimsy plastic. They also have no anti-vibration measures built in, but Antec does supply some separate washers.
Click to enlarge
All the internal cables are sleeved in black (something often overlooked by cheaper cases) and the two front fans are pre-connected to the fan controllers. By default, they each come connected to a different one, permitting you independent control of them out of the box. However, each controller supports up to two fans and the connectors are labelled separately so you can easily have one controlling a pair of roof fans and the other controlling the dual intakes. The rear 80mm fan is not pre-connected and uses a Molex connector only. In terms of routing, there's plenty of space above the motherboard and three holes to the side that are well-sized but grommet free. Still, the ample room in the secondary chamber means it's easy to stow excess cabling out of sight, and making things tidy was not a challenge.
RELATED ARTICLES


MSI MPG Velox 100R Chassis Review
October 14 2021 | 15:04

Want to comment? Please log in.