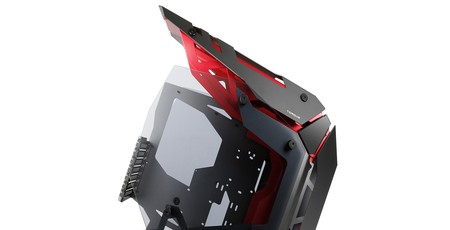
Interior
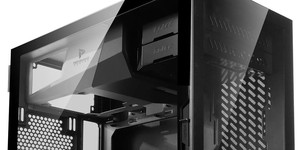
The instructions aren't particularly clear either, especially when it comes to the variety of nuts and standoffs. You also need to remove two plates to clear the side for installing your hardware, but we're grateful that we at least didn't have to build it from a mass of flat-packed aluminium panels.
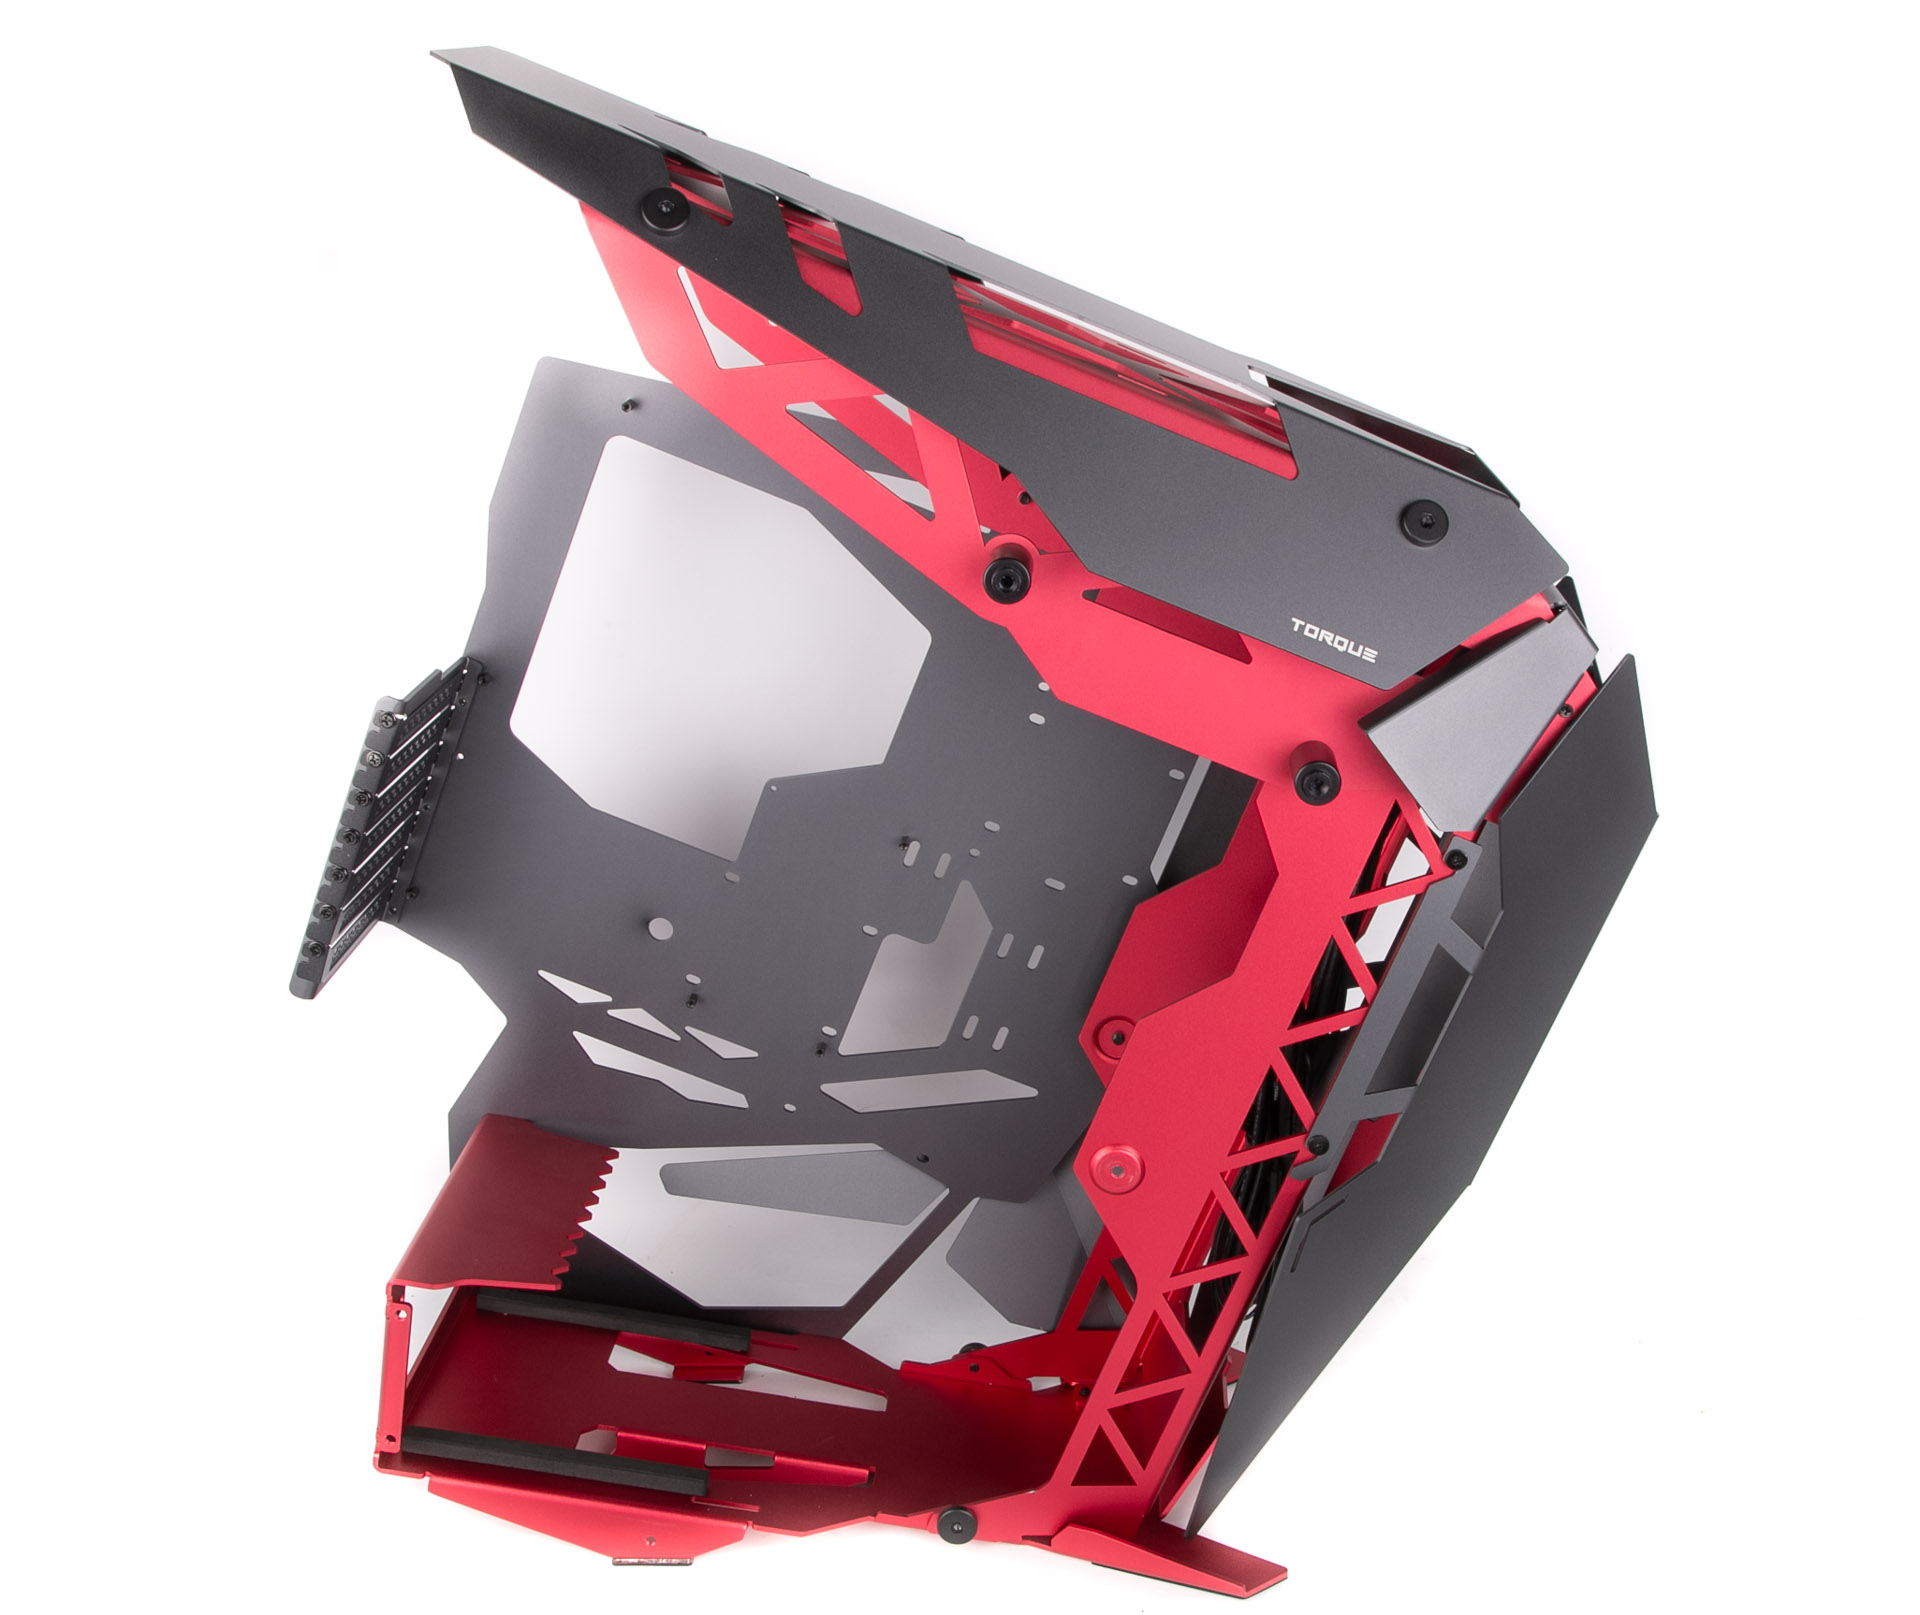
There are just two drive mounts too, catering for a single 3.5" or 2.5" drive and a secondary 2.5" drive. However, all drives just screw directly to the chassis - again, not a particularly elegant way of doing things. The PSU mount sports two rather basic foam pads for anti-vibration and support, but the rear end didn't seem to quite line up with our ATX PSU, with one of the holes always a little bit out of alignment and needing a good amount of persuasion to install it. You're also forced to mount the PSU with the fan facing downwards, but there's not much of a gap or ventilation beneath for airflow.
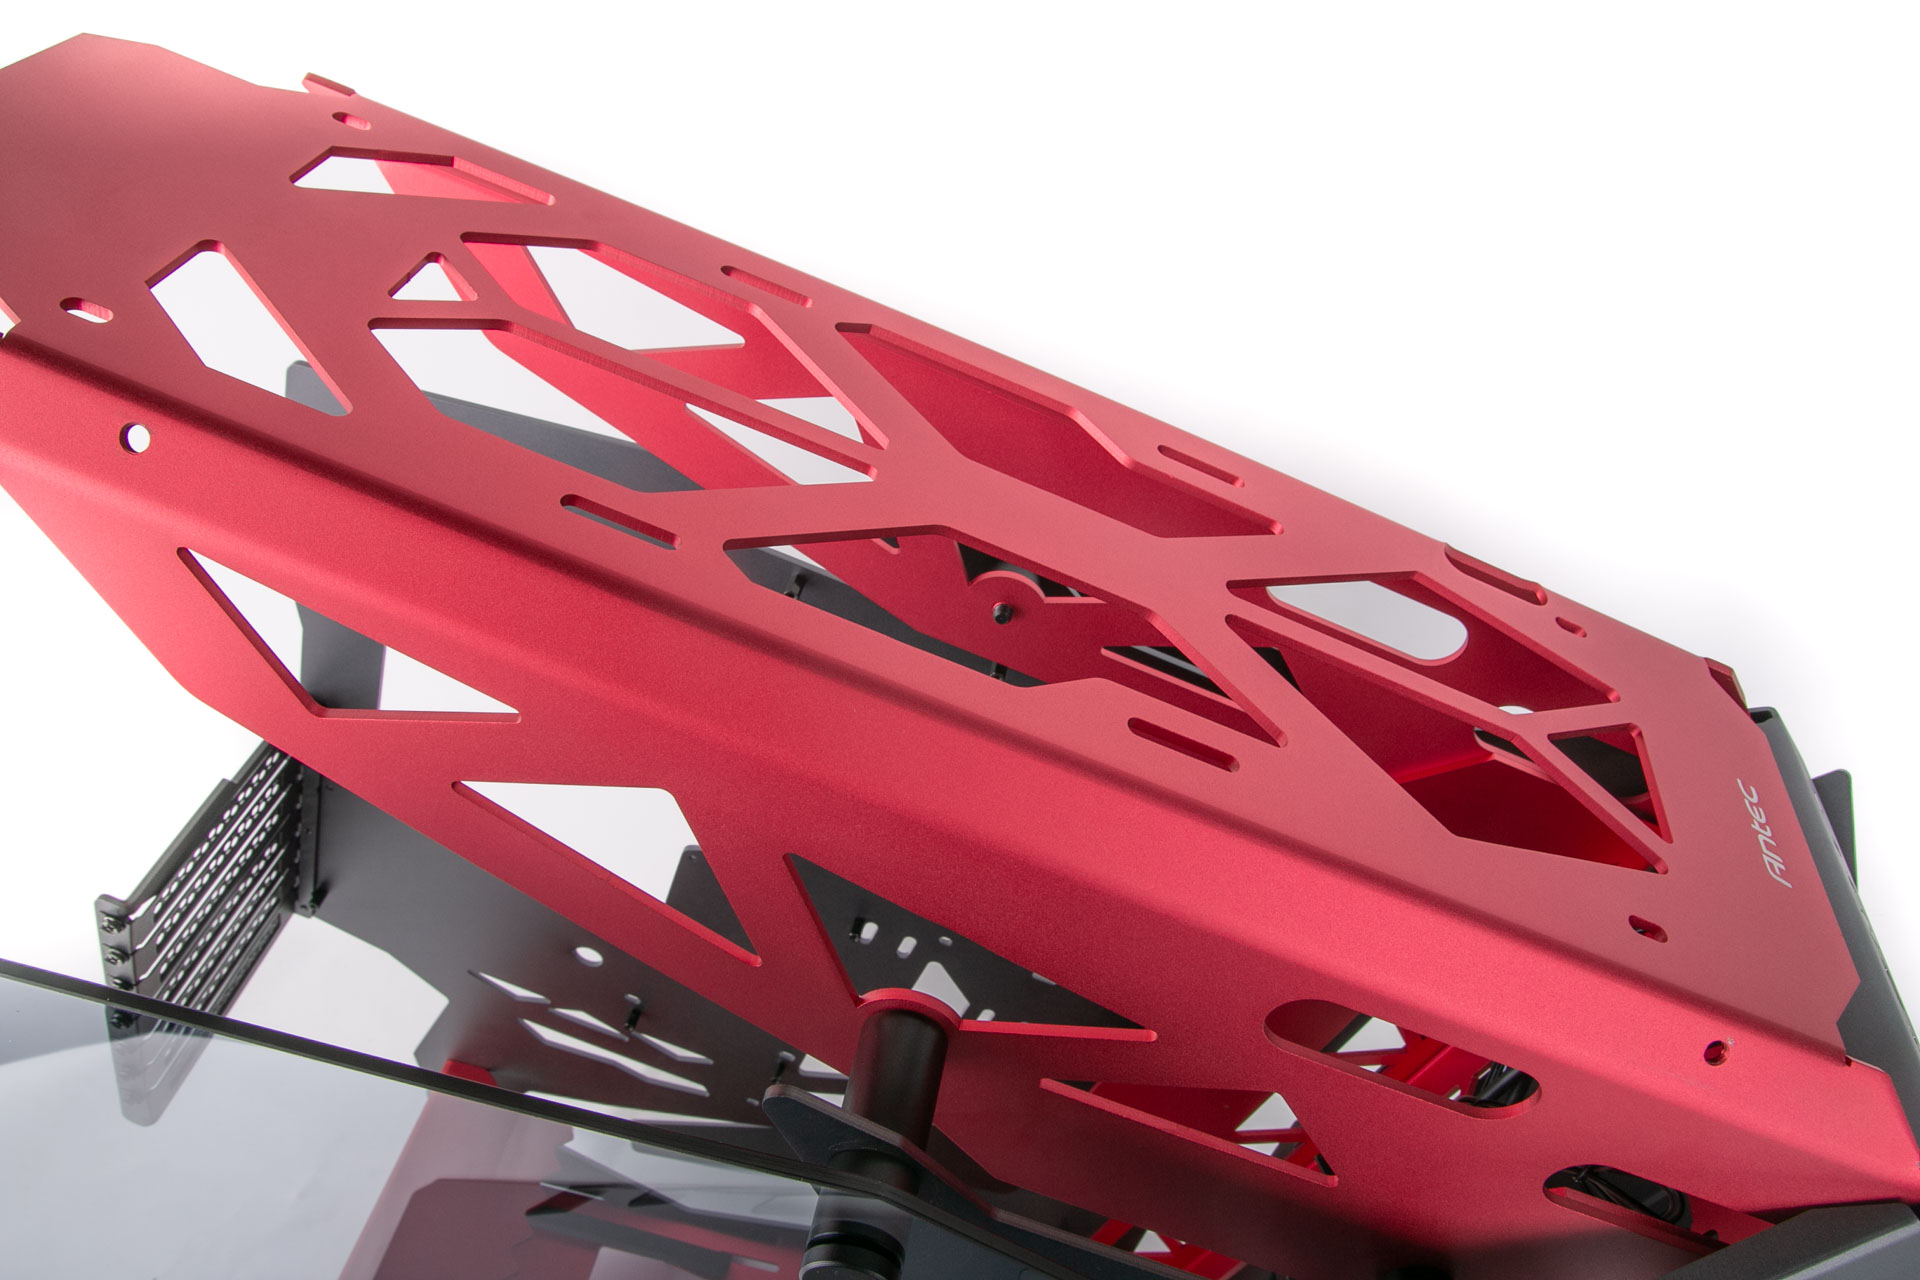
The case supports a pair of 360mm radiators with one in the roof and the other in the front section, and thankfully there's reasonable clearance in each, as they're spaced well away from the motherboard tray, allowing for reservoirs to be mounted here too, either on the radiators or directly into the fan mounts. Again, though, the panels that cover these areas need to be removed to access them, and if you're using RGB fans, they obstruct the view too.
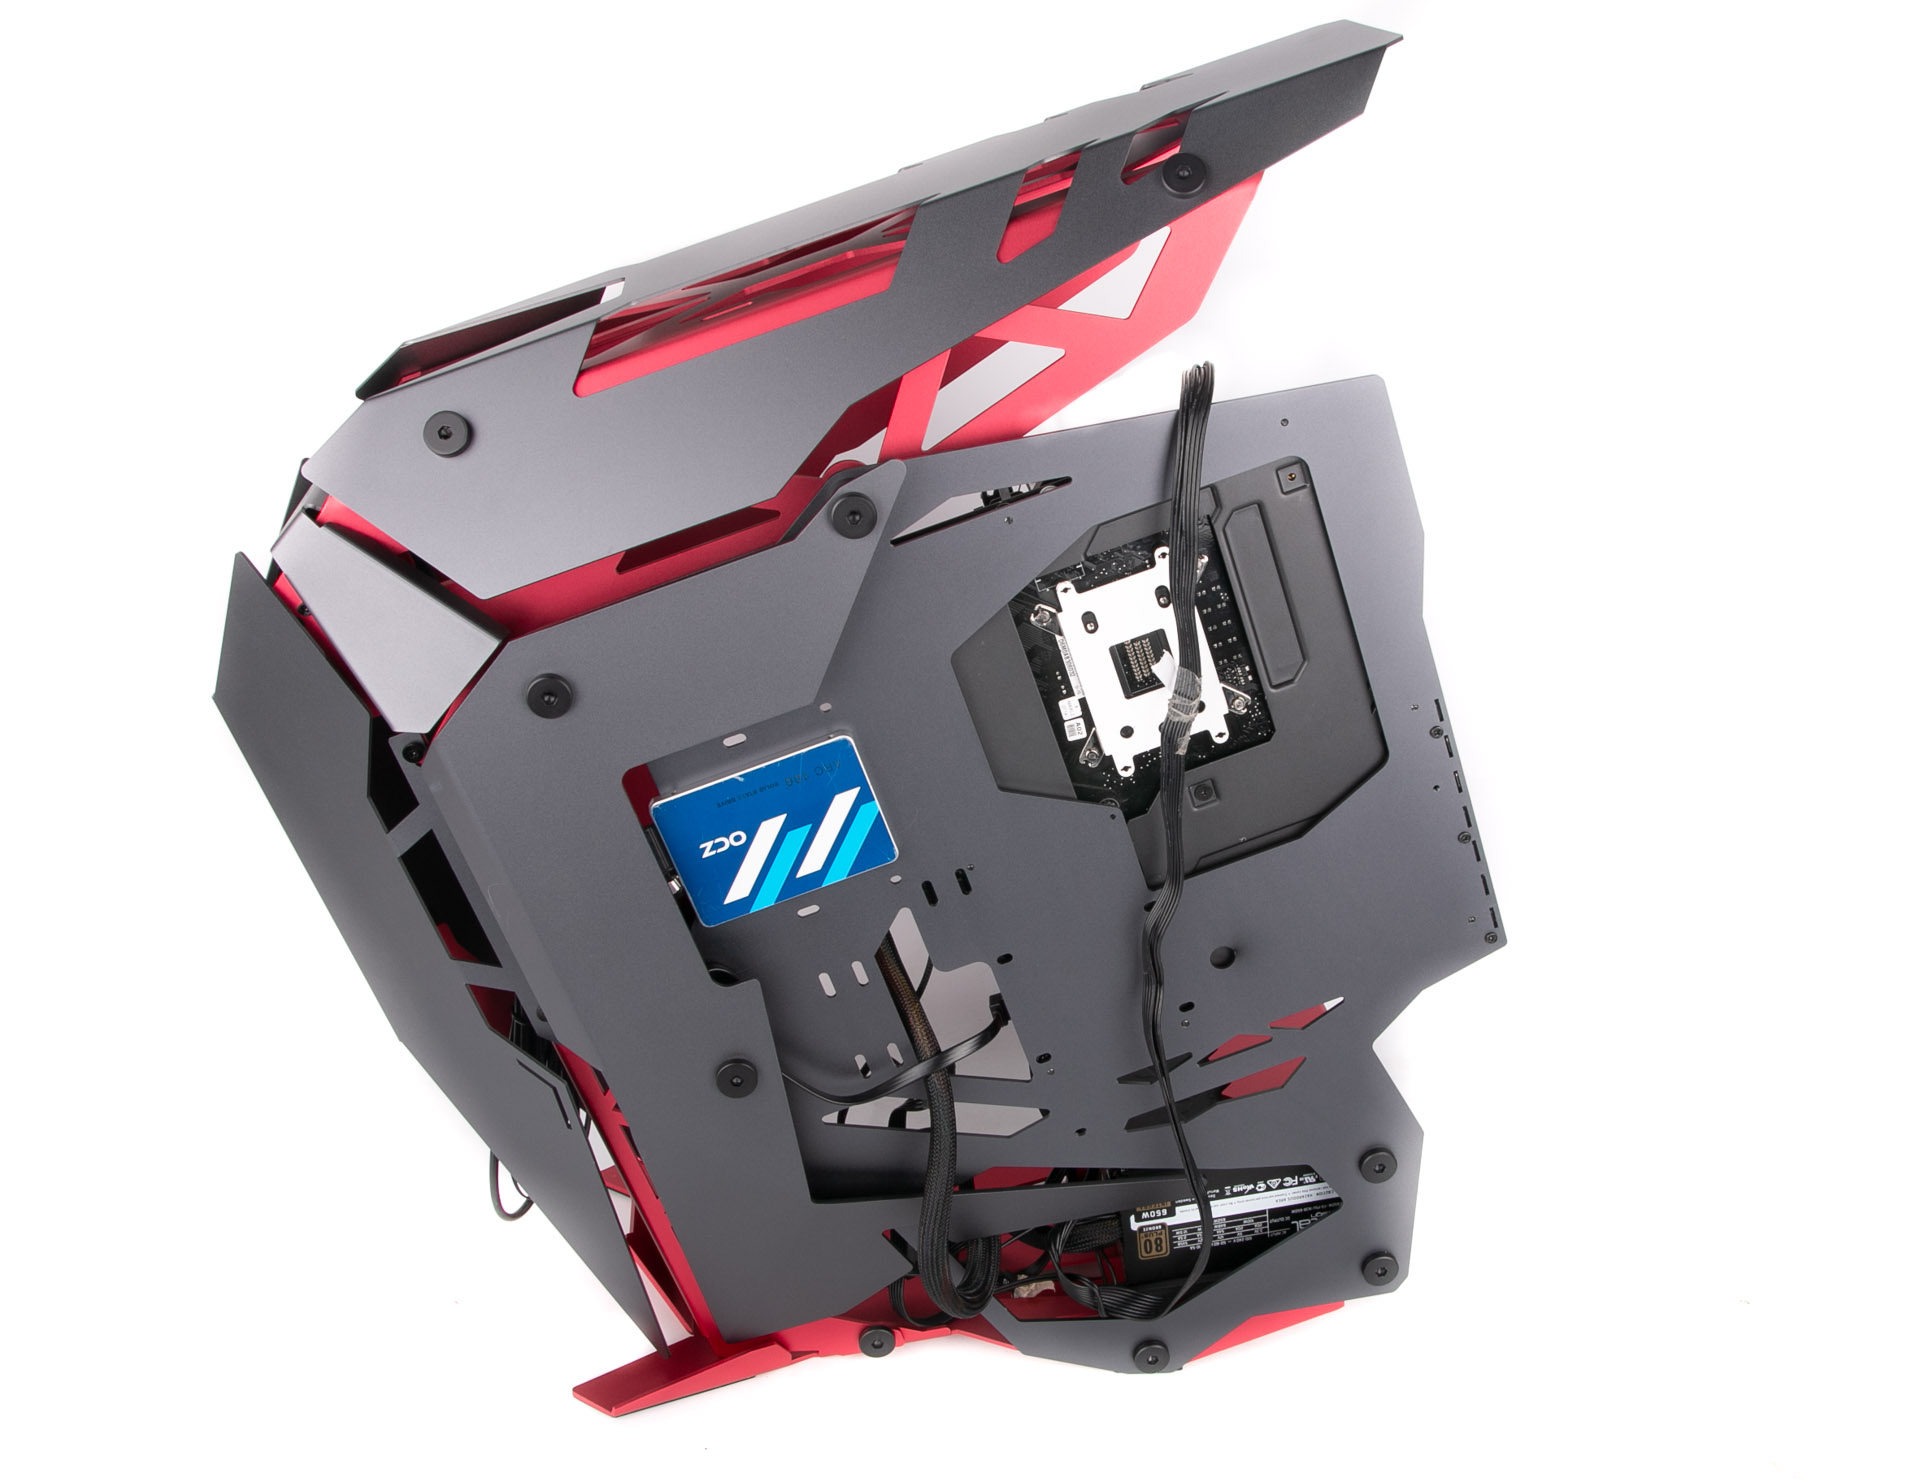
The biggest issue you'll face is with cable tidying, as there's precious little cable-stowing space and no cable ties included in the box, hence the relative mess we got into. Individually-braided PSU cables made to length would certainly help here; the Torque isn't a case best suited to building with standard hardware

MSI MPG Velox 100R Chassis Review
October 14 2021 | 15:04




Want to comment? Please log in.