Interior
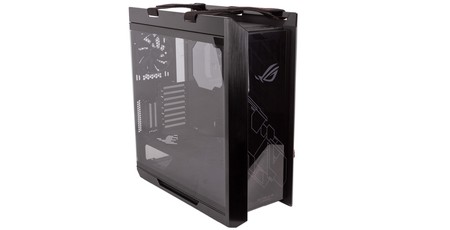
The two glass panels are secured to steel mounting aids, thus avoiding a need for any externally visible holes or screws. Both are attached securely yet each is released with a single push of a quick-release button on the back. It’s an excellent design that works very well.
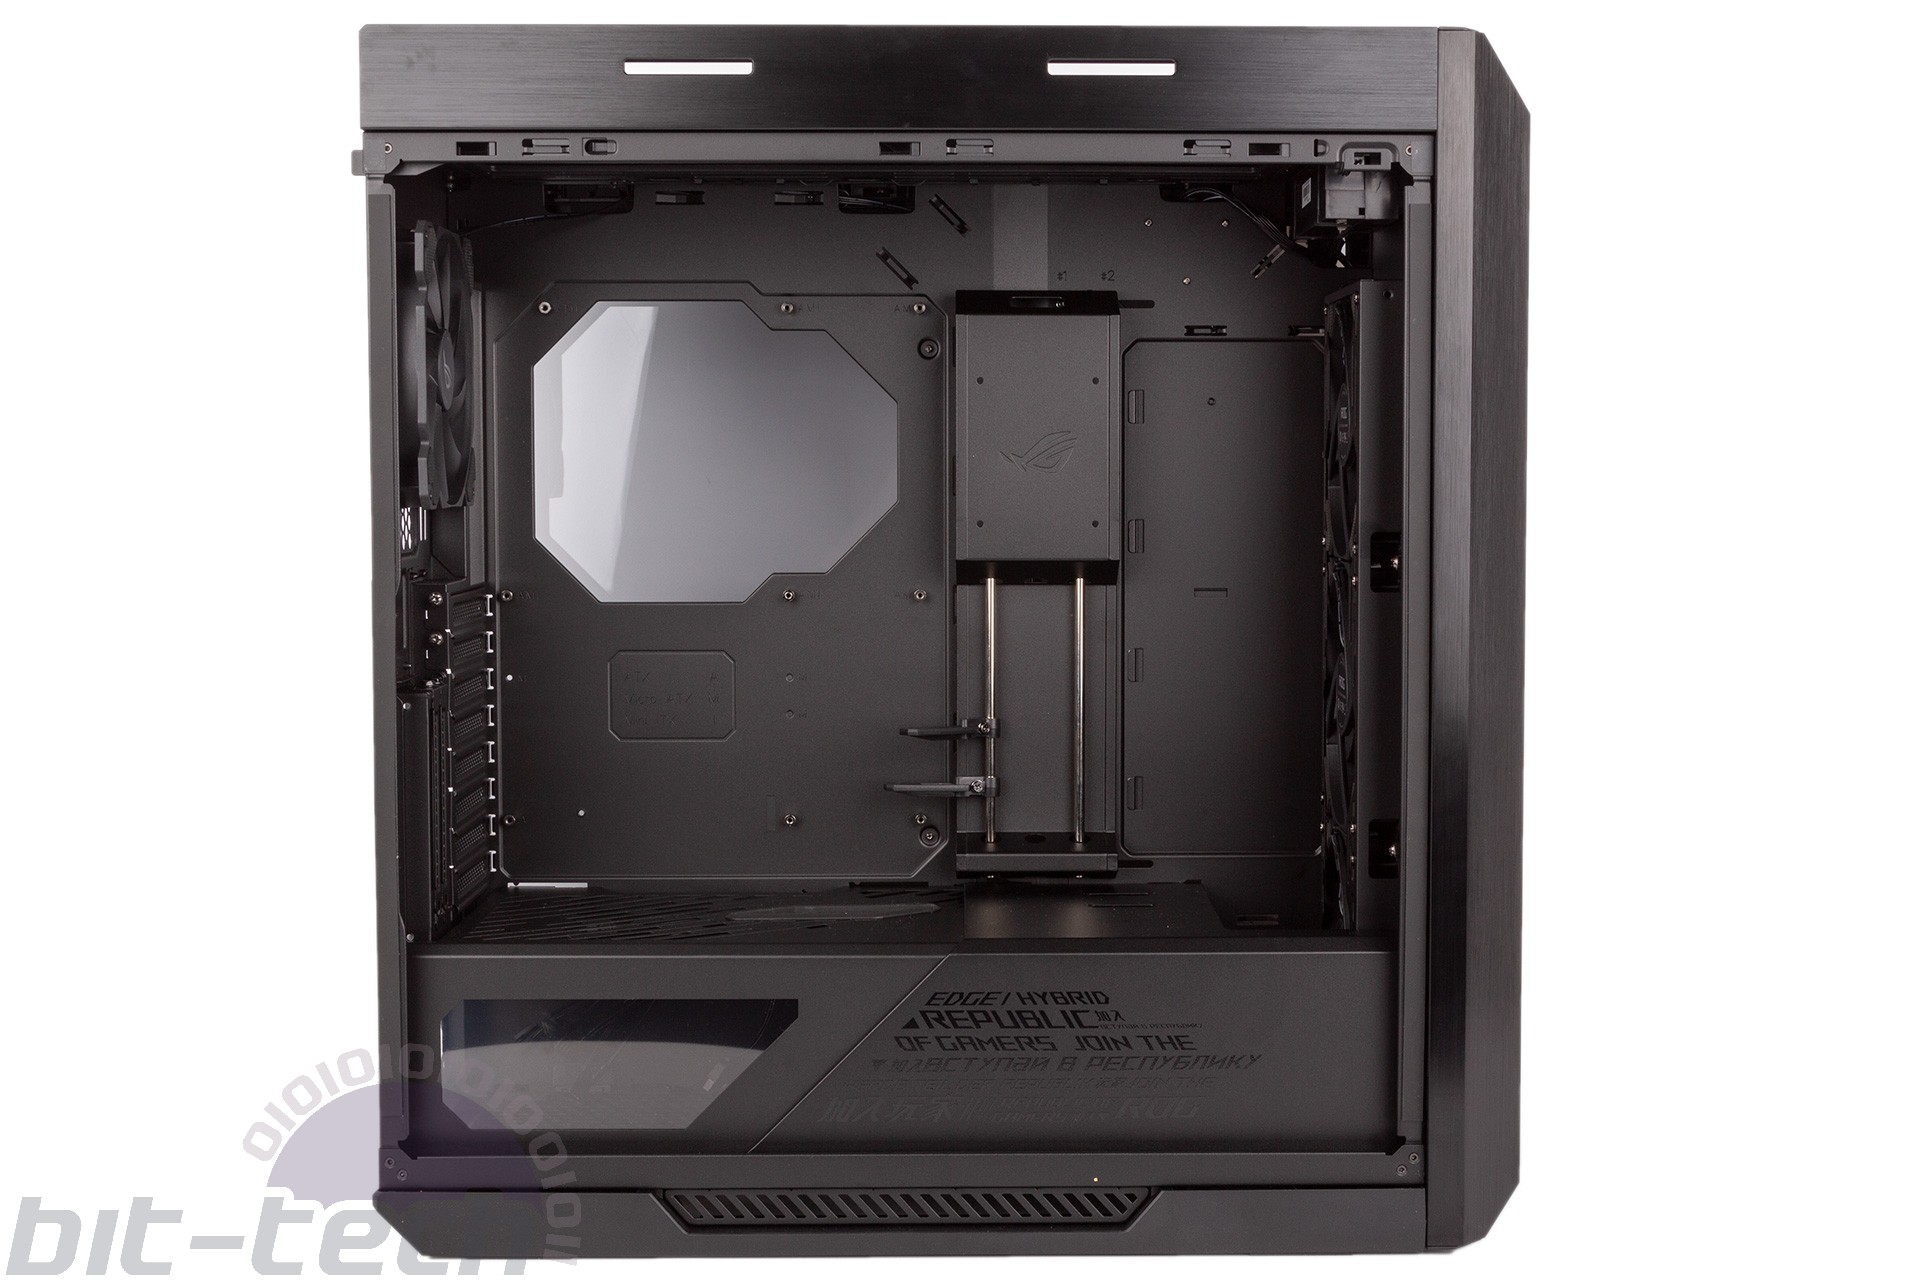
Inside, Asus uses a standard tower layout divided into two with a removable, two-part PSU shroud. Thankfully, both parts of the shroud are made from steel, and overall material quality inside continues to be high. We also like the acrylic window in the PSU shroud, as it lets you show off your unit and is in keeping with the showcase aspirations. The large dimensions also mean that clearances for components are large: 190mm for coolers and 450mm for GPUs.
Pre-installed motherboard standoffs include a longer middle one to hold the board in place as you reach for the first screw. For GPUs, however, the vertical GPU bracket impedes access to the regular horizontal ones, and you have to remove it entirely (four screws) just to access the necessary covers for a solo dual-slot card installation, which could surely have been avoided. A separate bracket is supplied for supporting double vertical GPUs, and this takes the place of the horizontal brackets.
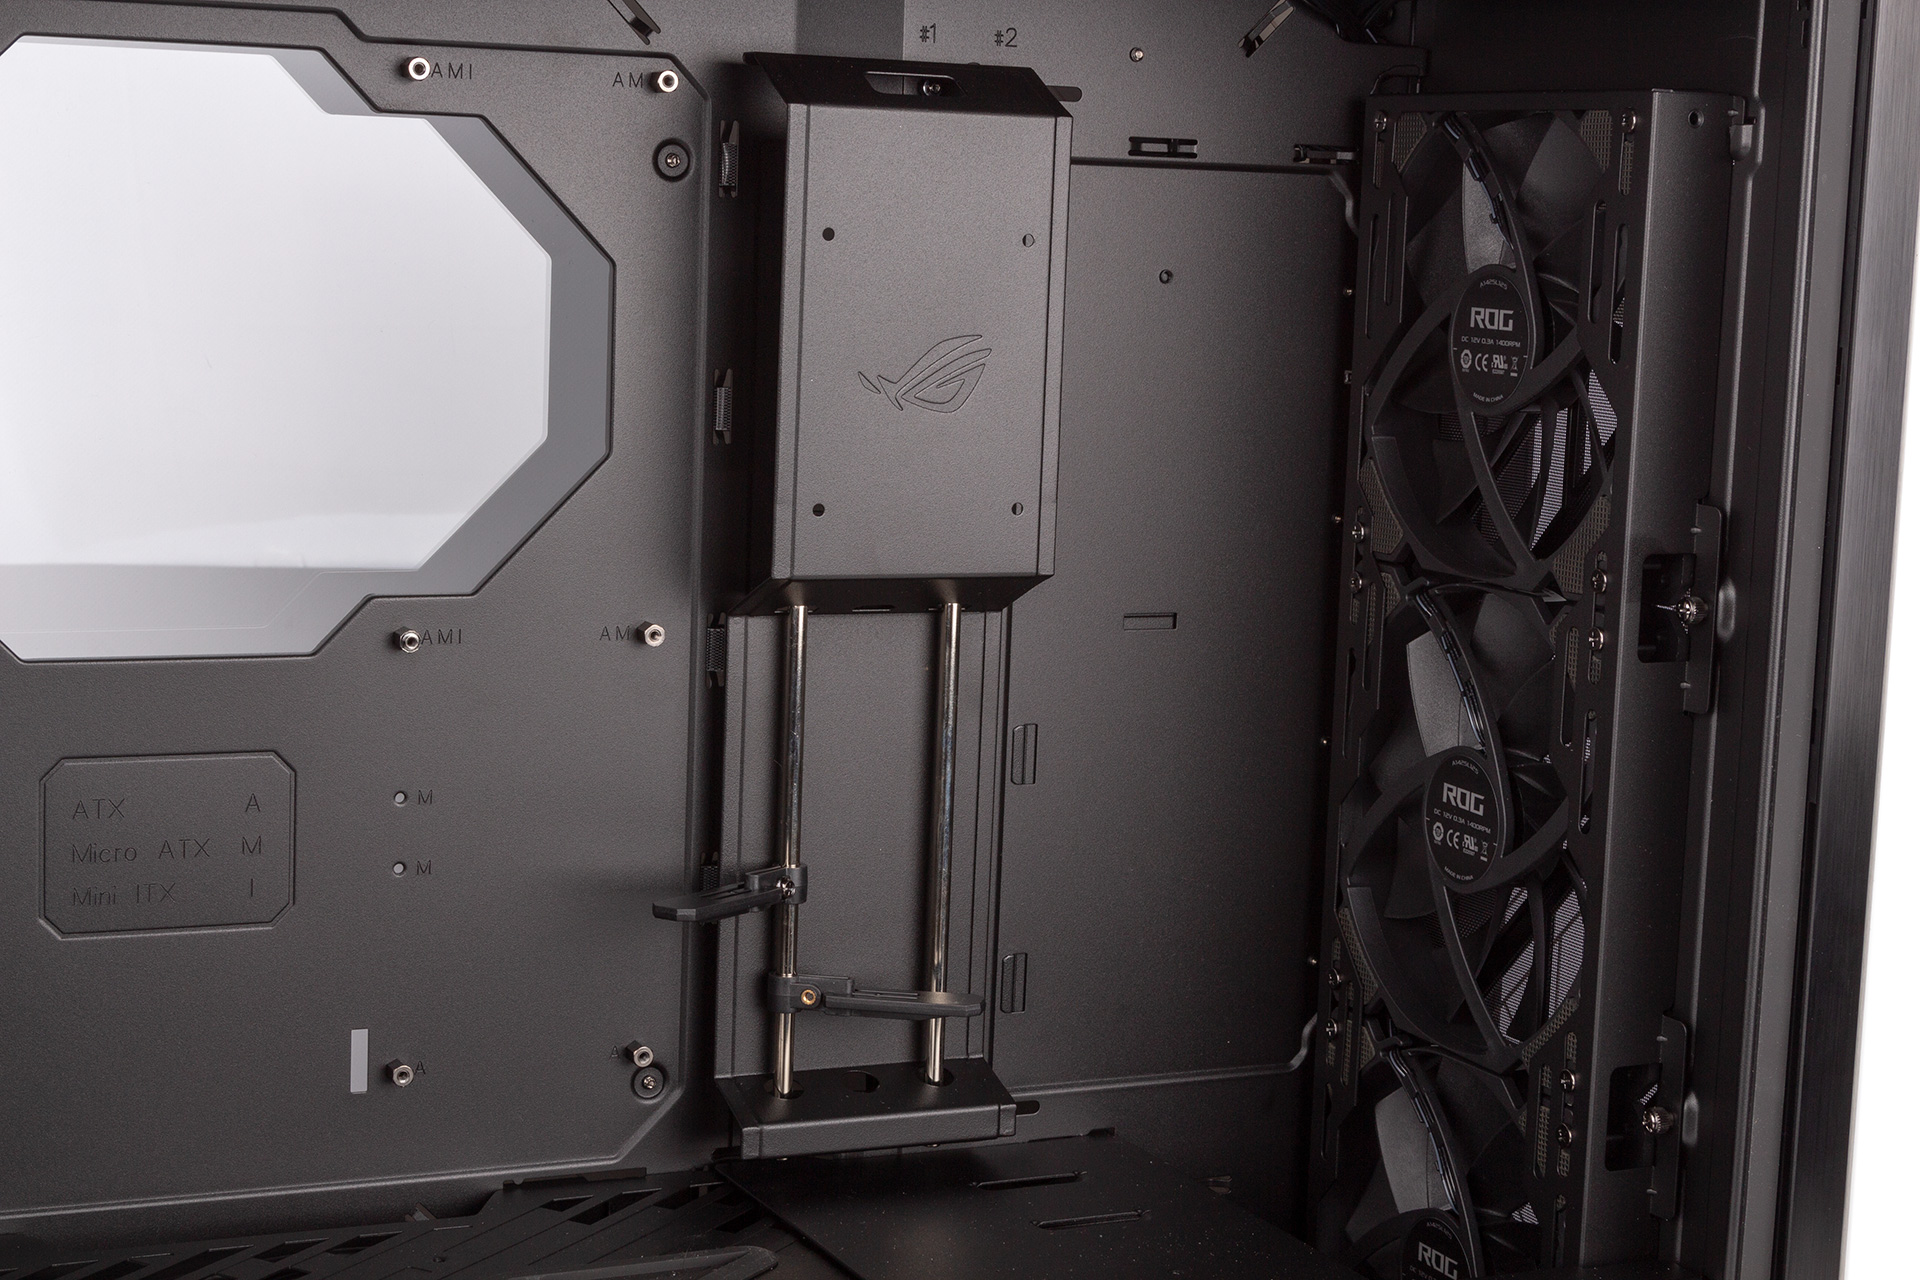
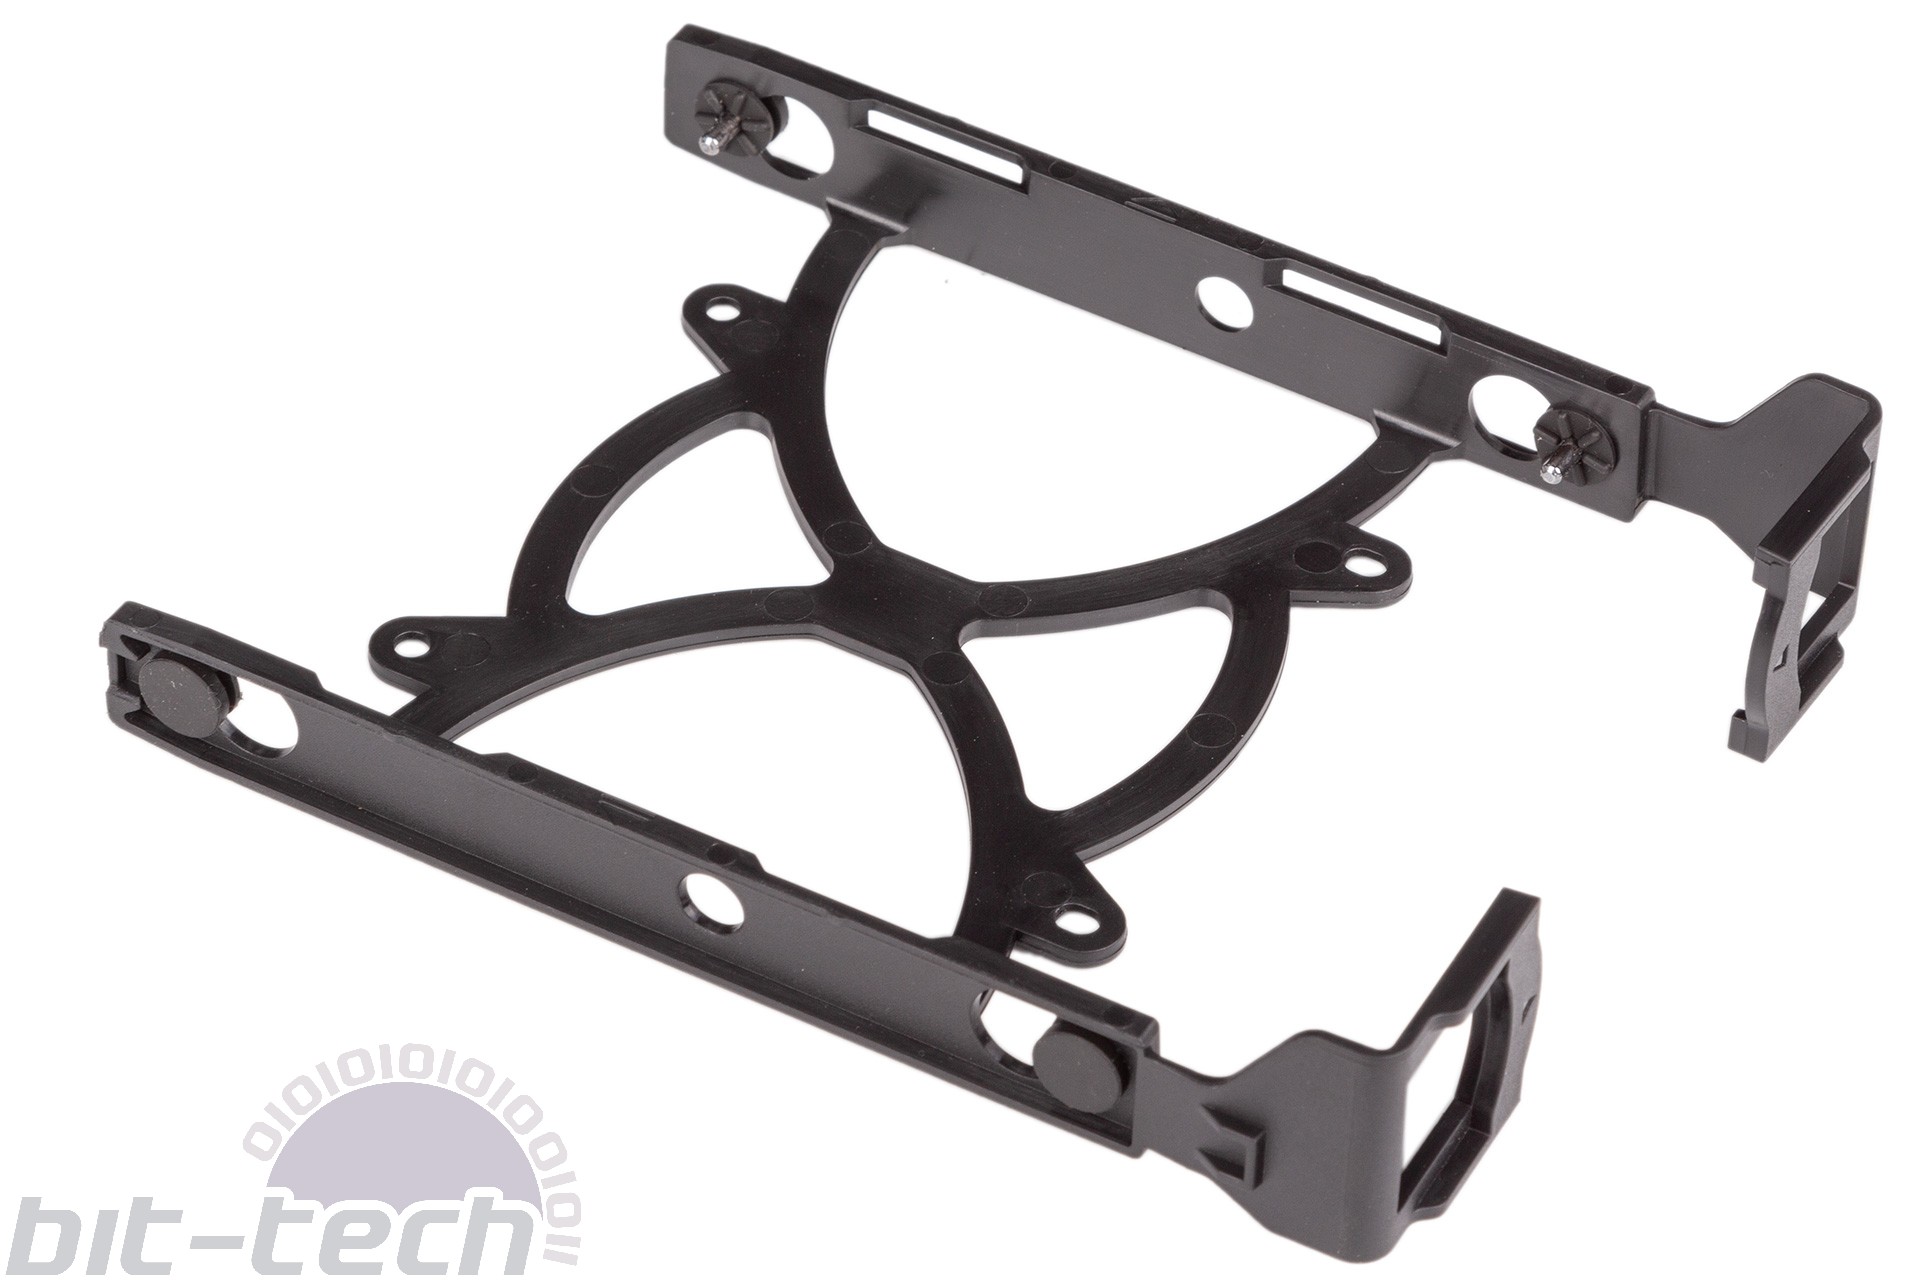
Breaking up the space is a ‘multi-function cover’. This includes two plastic GPU support beams to help combat sag, and the ability to reposition them is great for catering to different GPU heights and lengths. The cover also acts as a cable cover and has built-in 2.5” mounting points for a single device. You can also shift it towards the front of the case slightly, which is what you’ll need to do if you’re using an E-ATX board.
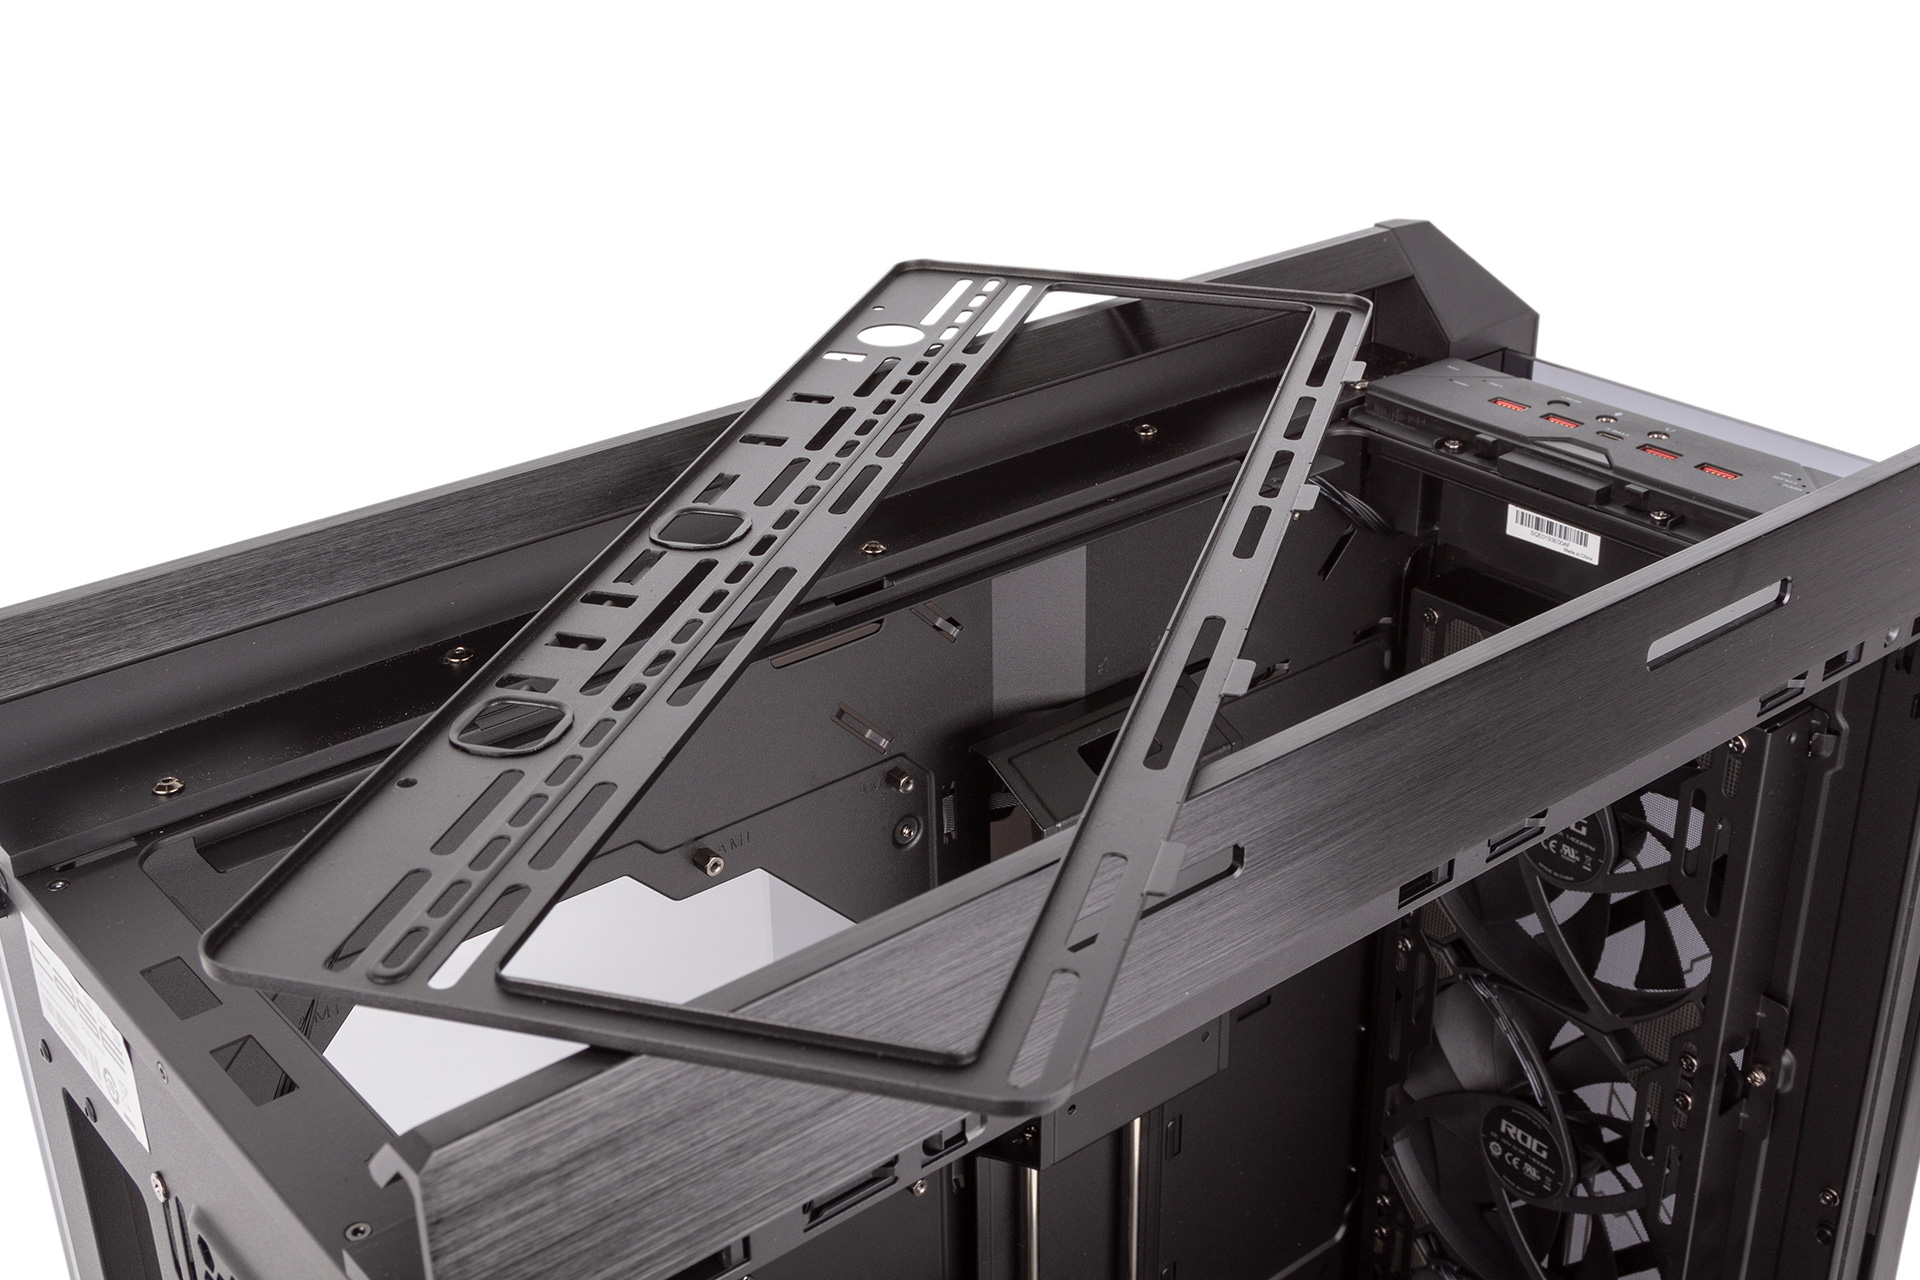
Both the roof and front feature removable brackets for fan/radiator installation. The roof one is externally accessible once you’ve lifted out the dust filter, and it’s held in with two screws. It makes for a simple way to deal with large radiators and multi-fan setups. Speaking of, 280mm and 360mm units are supported here with 60mm of clearance available for fans and radiator combined above the top of the motherboard. Offset mounts mean that 120mm-based radiators might be able to be thicker depending on your motherboard and memory, but no promises.
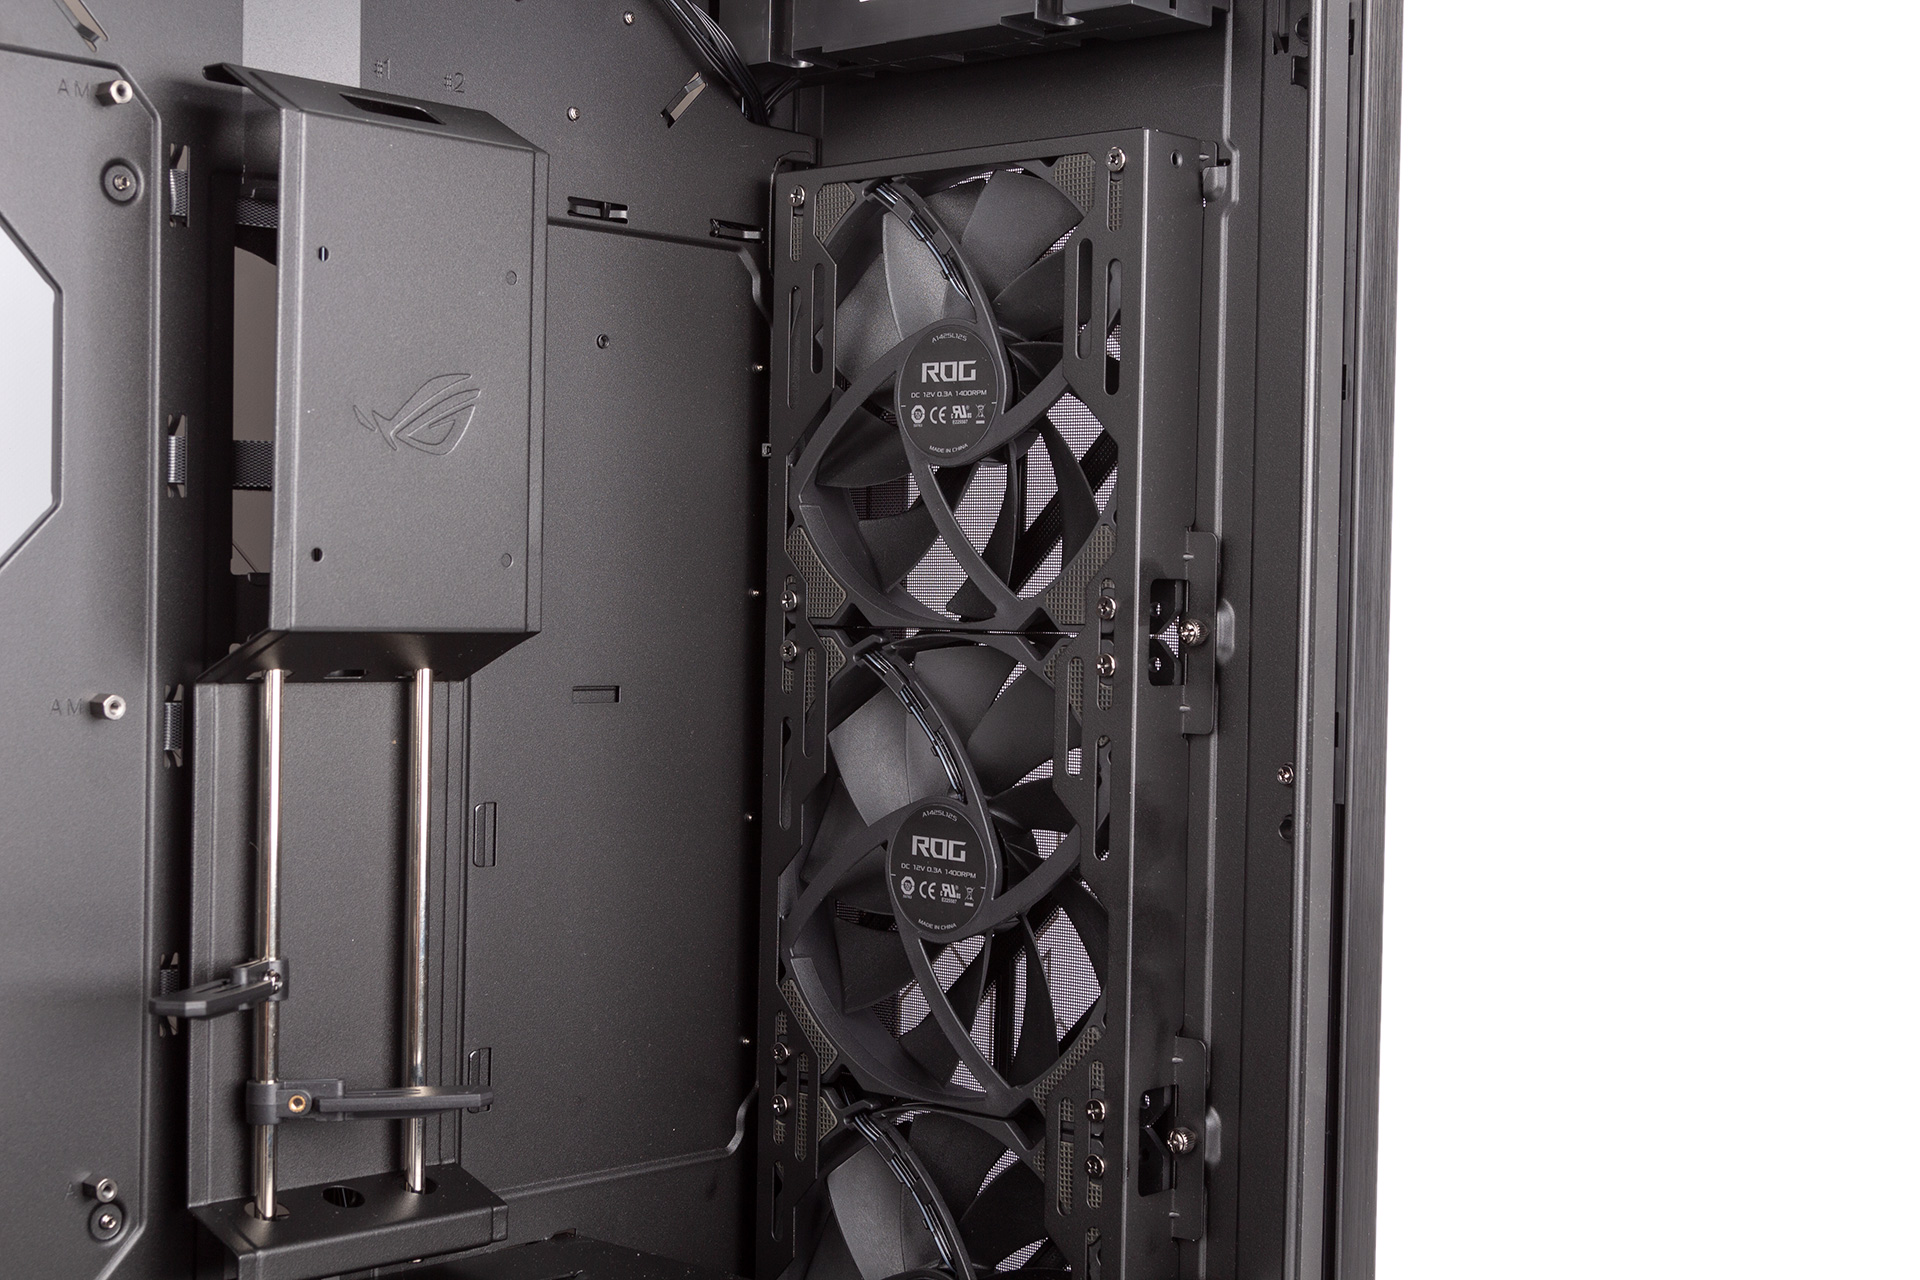
The front fan bracket is fully occupied by default, but even behind this there is about 65mm of clearance before you hit the PSU cover or HDD cage (both removable anyway). Both 360mm and 420mm radiators are supported, which is good. The bracket is held in with two thumbscrews, but annoyingly these are not captive and they are too tight to be undone with thumbs.
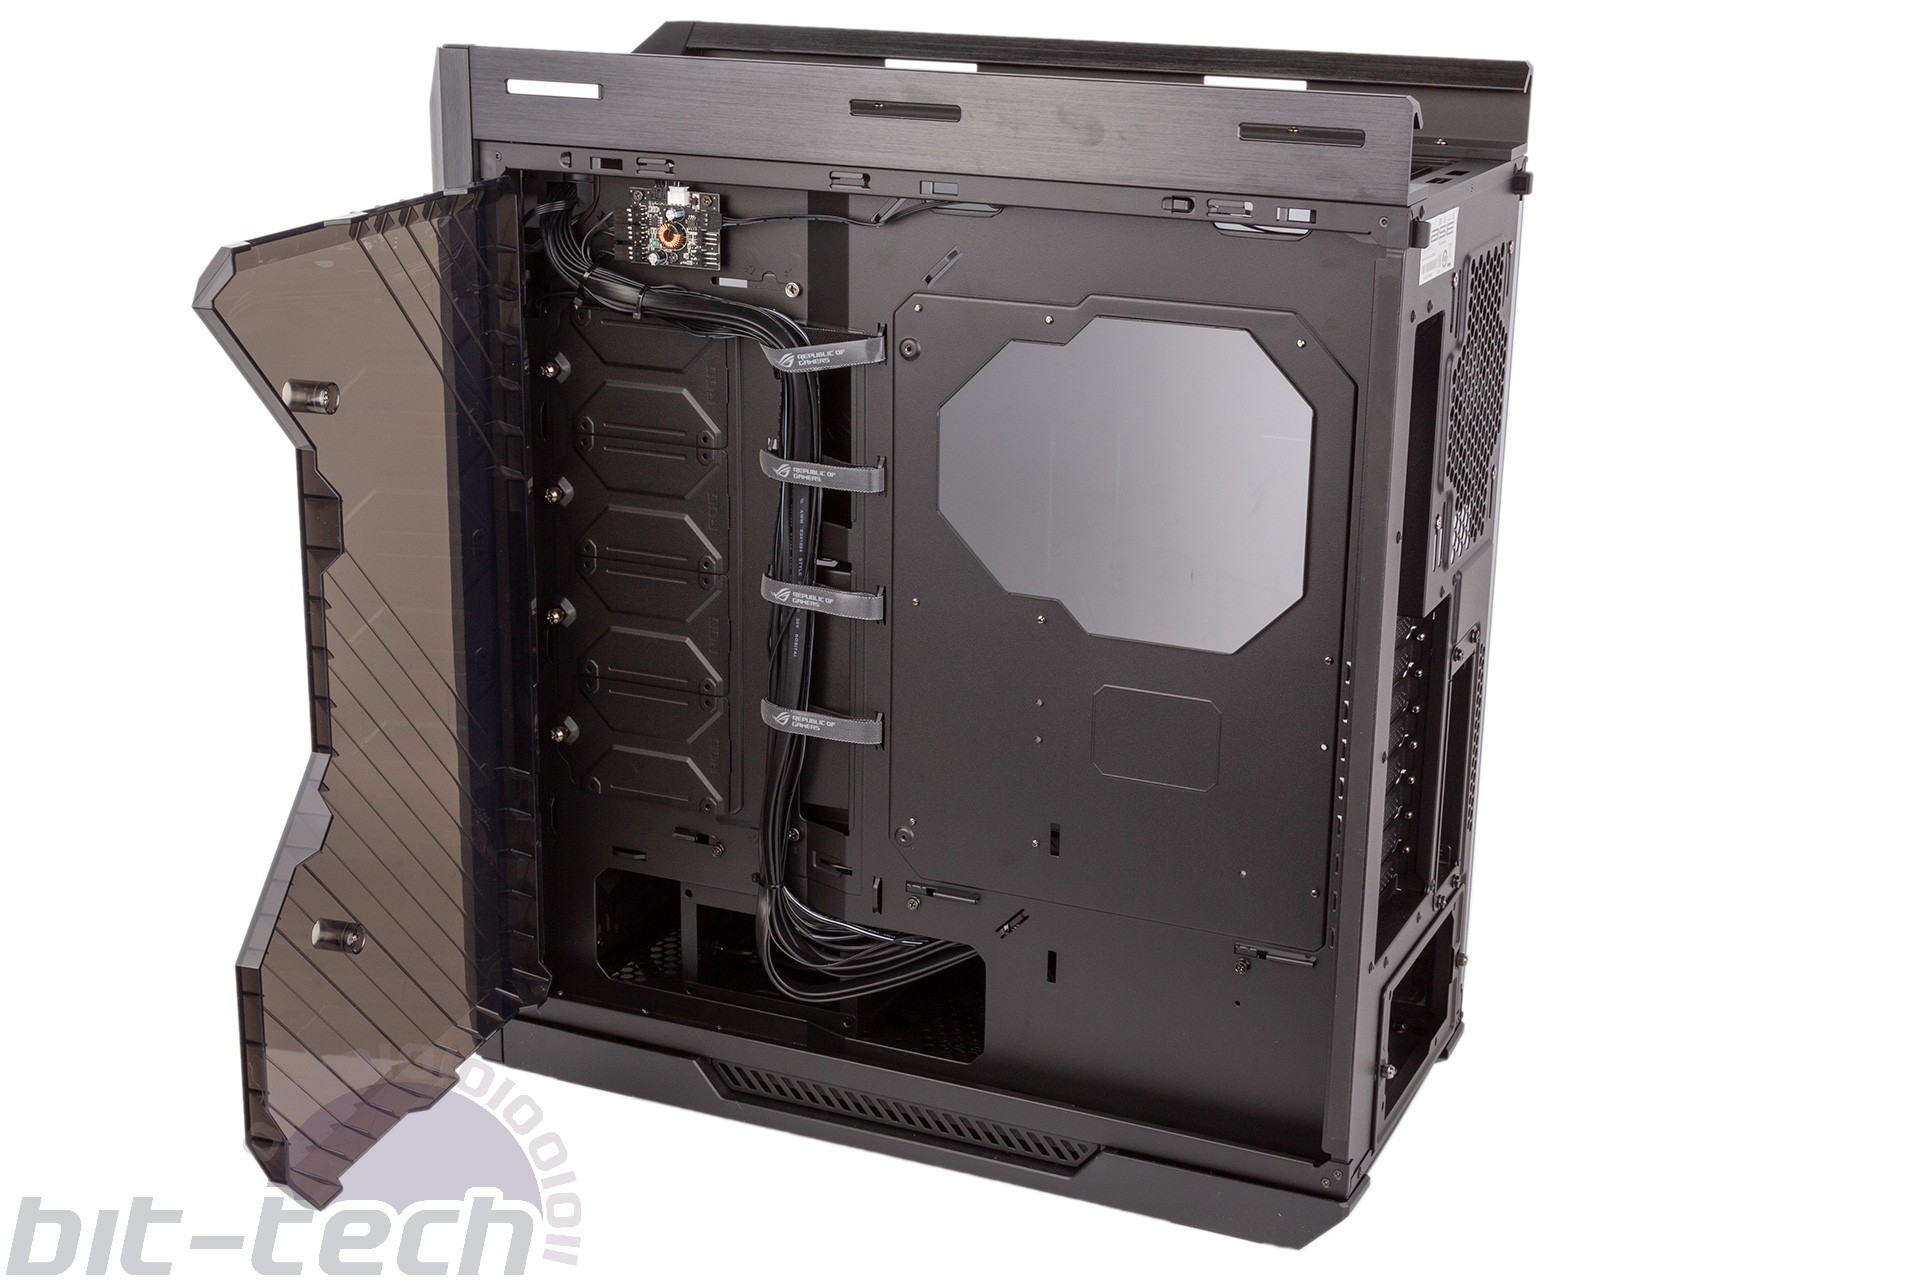
On the opposite side the most obvious feature is the plastic cable management bracket, which is actually a door. Translucent, it’s designed to hide unsightly cables when viewed from the outside while allowing LEDs on SSDs (or Asus Aura terminals) to shine through if used, and it’s very effective at keeping things clean and tidy. It’s secured with two captive screws, and then opens up to reveal that Asus has pre-routed all the cables very neatly already – good stuff. The door lifts off its hinges too if you want to get it completely out the way, which is very useful.
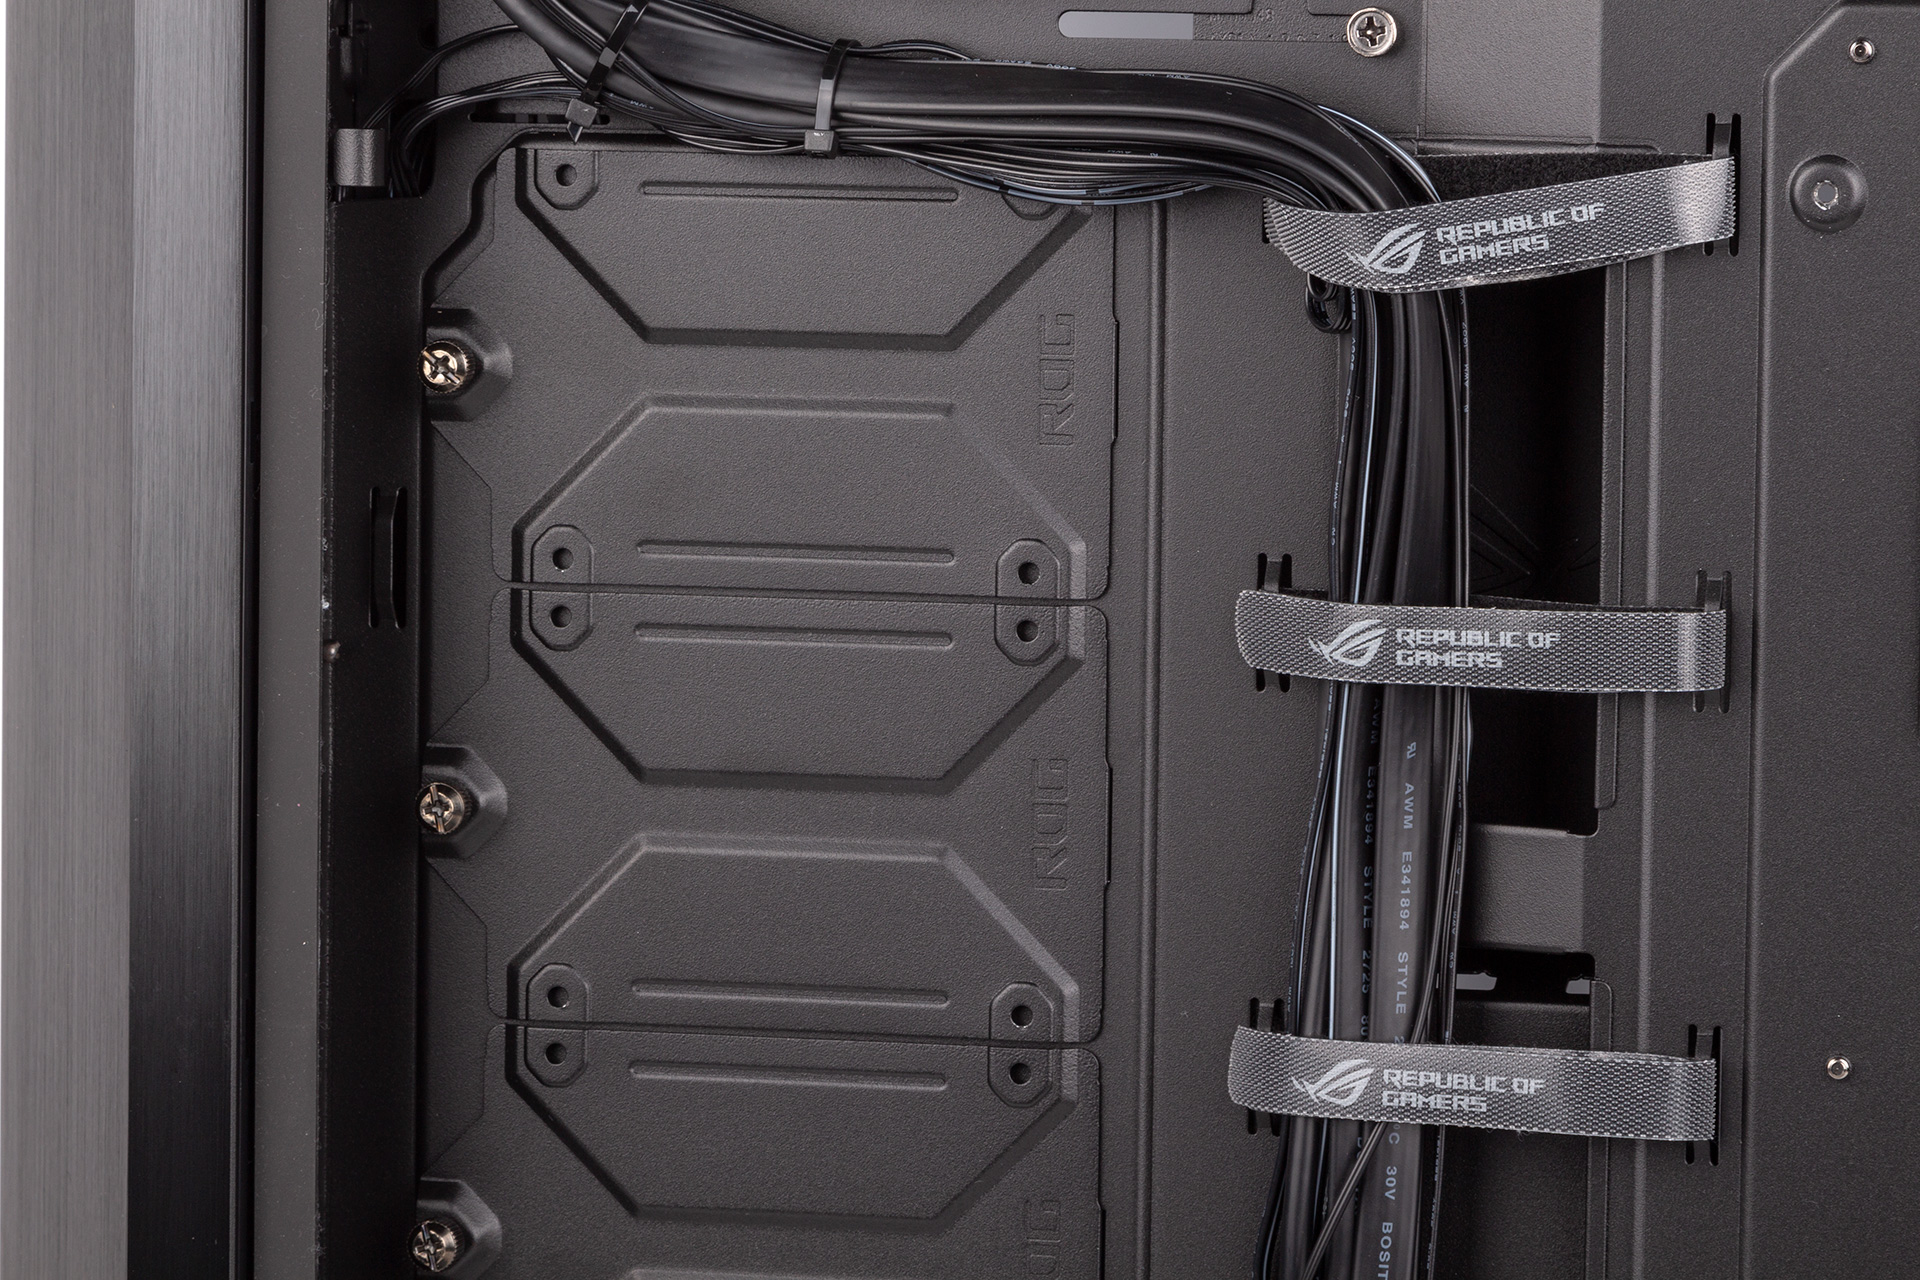
This is also where you’ll find the main SSD mounts, namely four independent metal 2.5” brackets, each held with a captive thumbscrew. These are simple and effective – no complaints.
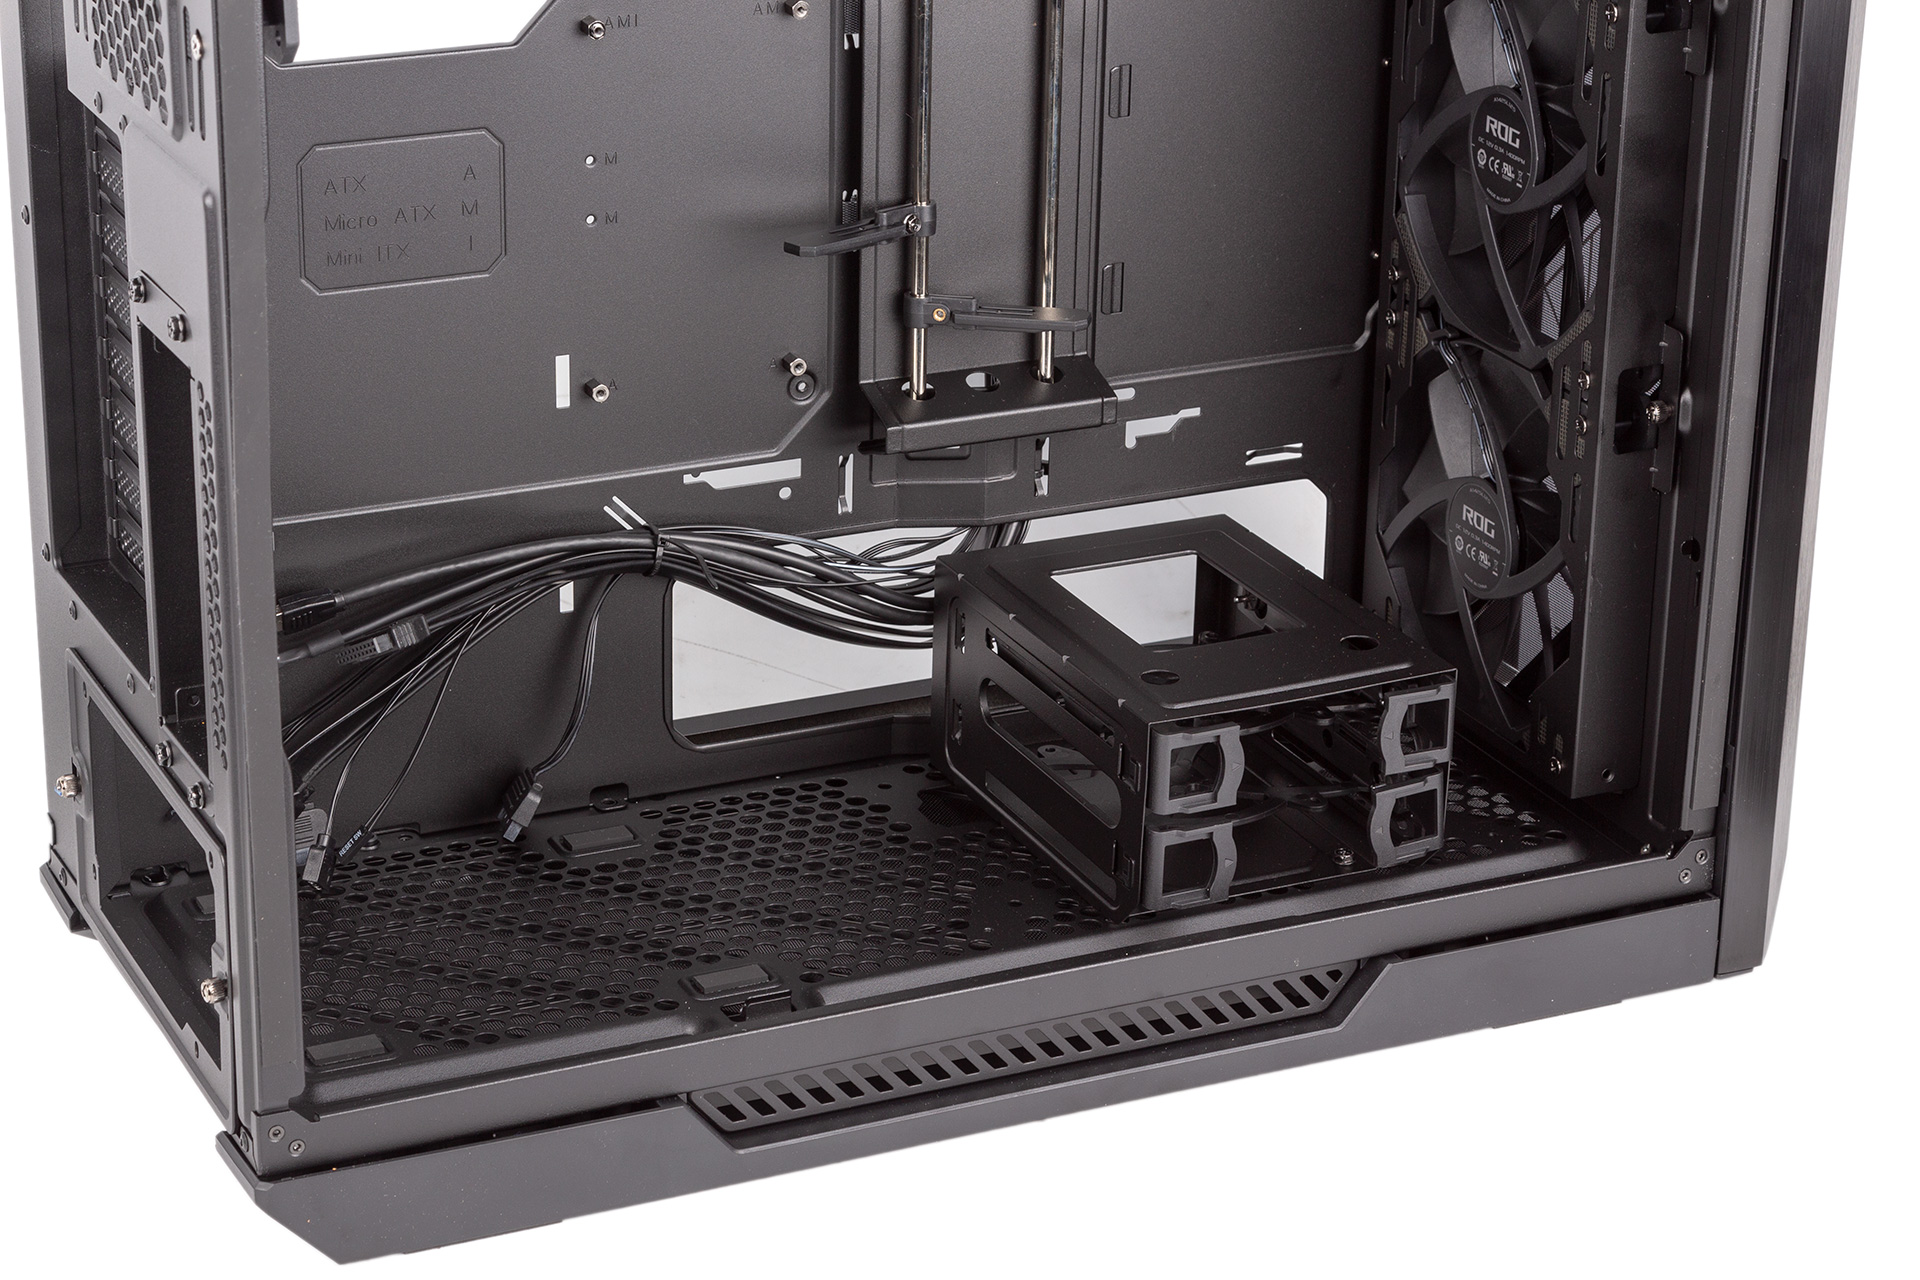
It’s a different story for 3.5” drives. Only two are supported, and there are no after-market options for increasing this – a bit limiting for so large and expensive a case. Worse, they are installed in a cage that is only accessible once you remove the front of the PSU shroud, as the drives caddies pull out on the motherboard side, not the rear. Worse still, the caddies they install on are plastic and cheap. Maybe it’s understandable mechanical drives are given less focus in a modern case, but we’re not at all impressed with how Asus handles this area. One thing to note is that the HDD cage can be fitted to three different positions (thus supporting longer PSUs or thicker radiators), or you can remove it altogether.
Removing both parts of the PSU shroud involves five screws in total, and this isn’t strictly necessary for the build but is recommended, as it’s hard to access the PSU cables thanks to the motherboard tray getting in the way. It makes things more convoluted than they are on other PSU shroud designs. PSUs are actually installed on a separate bracket, but again the thumbscrews for this are not captive, which is daft, and it seems almost pointless since you’ll probably be removing the PSU shroud anyway. The power supply does at least have rubber pads to rest on.
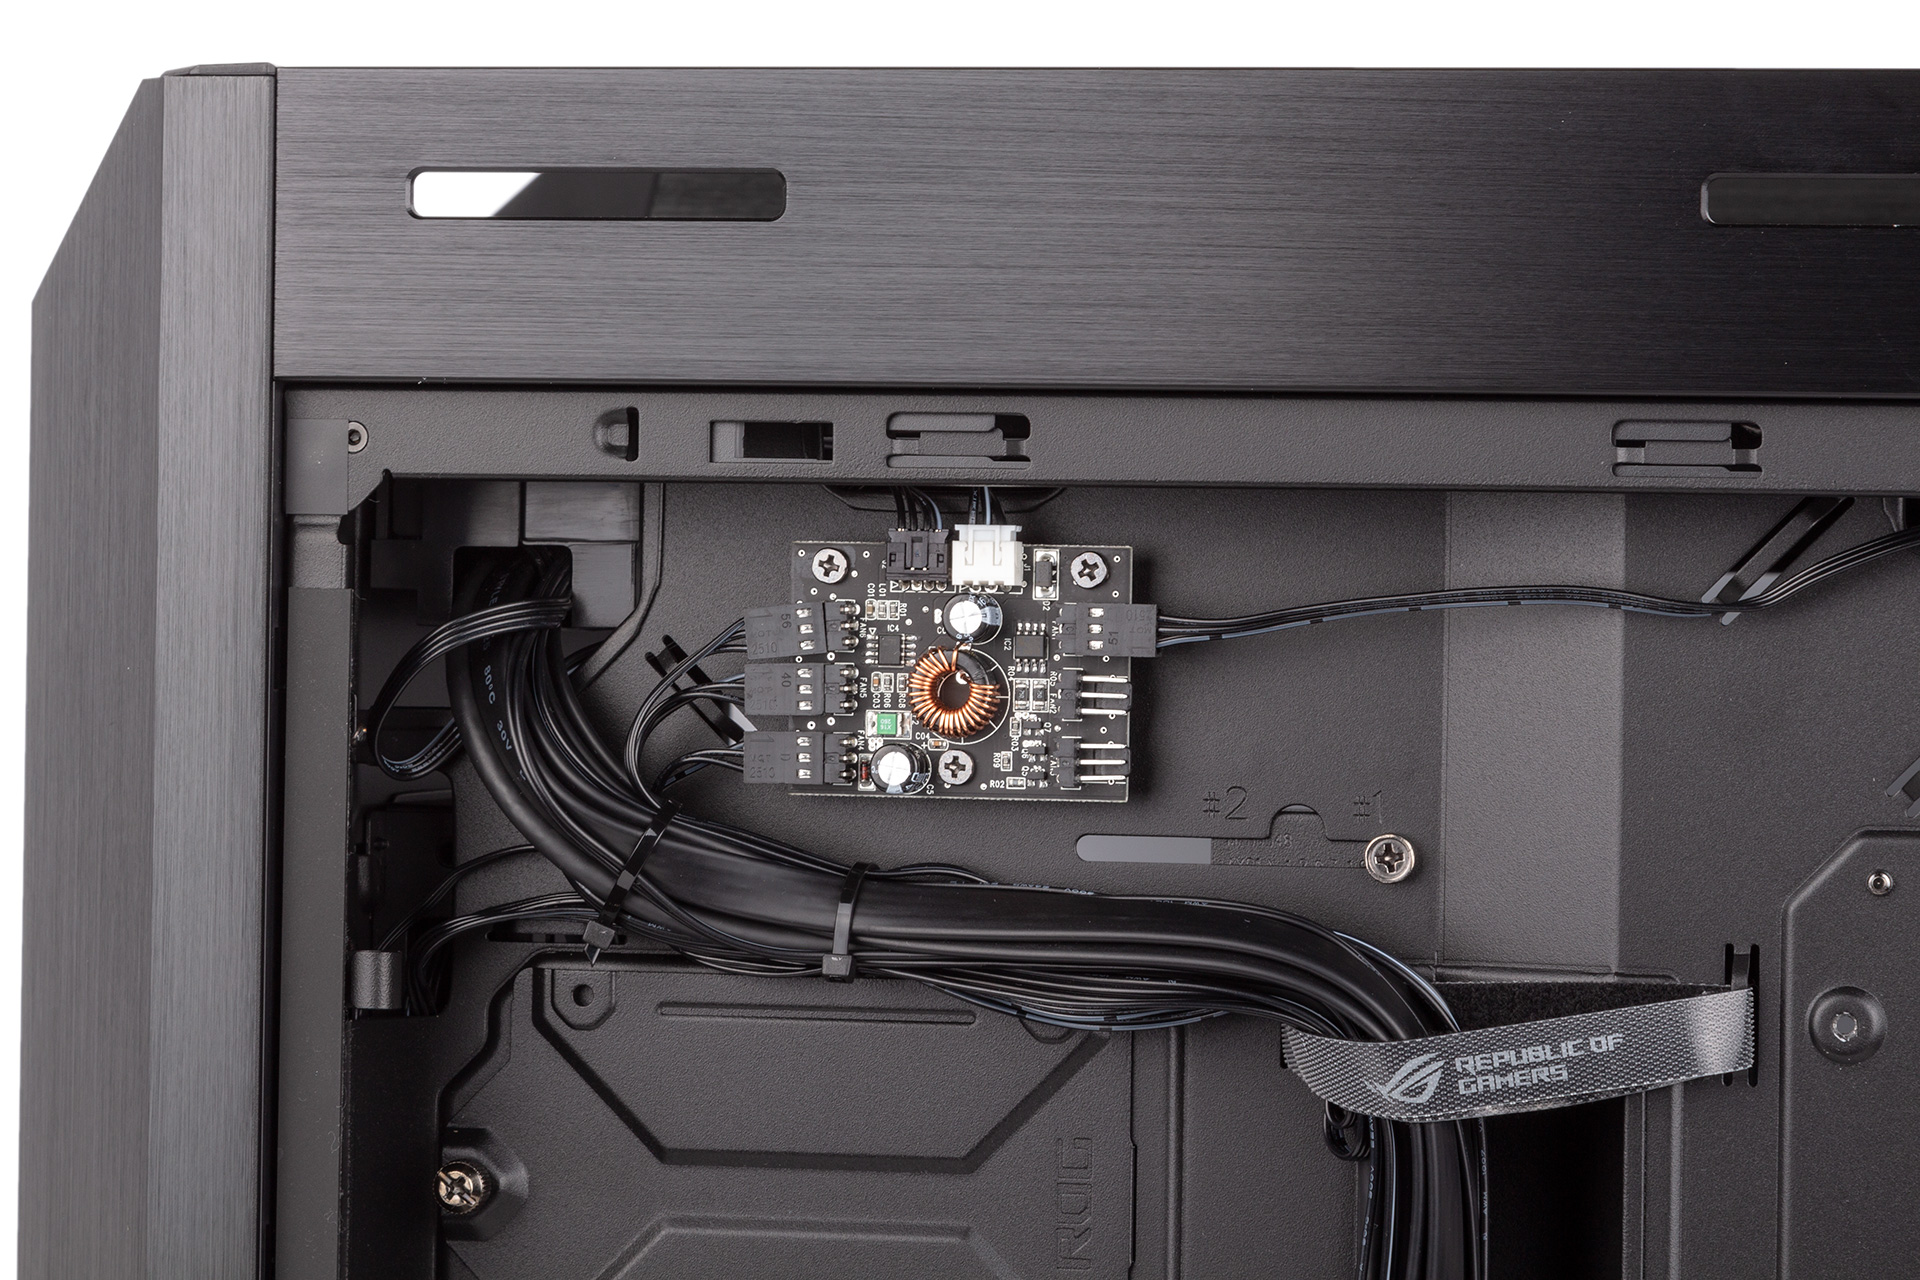
The SATA-powered fan hub delivers 2.6A of power in total. All included fans come pre-connected, which is good news, and this leaves you with two spare headers. The included fans will run at around 1,400 RPM on high speed and around 900 RPM on low speed.
You will also need another SATA power header to keep the lights glowing. Something that is a nice touch is the right-angled connector on one of the USB 3.0 headers.

While cable management initially looks excellent, there are definitely areas that could be improved. The holes above the motherboard are a bit tight, for example, and the main hole through which PSU cables emerge is likewise cramped. The four Velcro cable ties are definitely welcome, but the lower part of the cable management bracket is also very tight, and we really struggled to get even one SATA cable neatly through. Still, once you close up the door, the results are impressively clean, though you may want to make sure you have a long eight-pin CPU power connector to avoid traipsing it across the open section like we had to.
Water-cooling support has already been mostly covered, but Asus does also include a simple pump bracket that can be installed atop the front part of the PSU shroud. Sadly, however, it’s not rubberised, and we’d be worried about the steel cover vibrating, though we didn’t test this.
RELATED ARTICLES
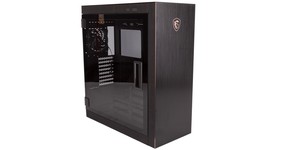


MSI MPG Velox 100R Chassis Review
October 14 2021 | 15:04

Want to comment? Please log in.