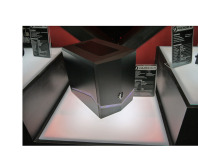
BitFenix Colossus Interior
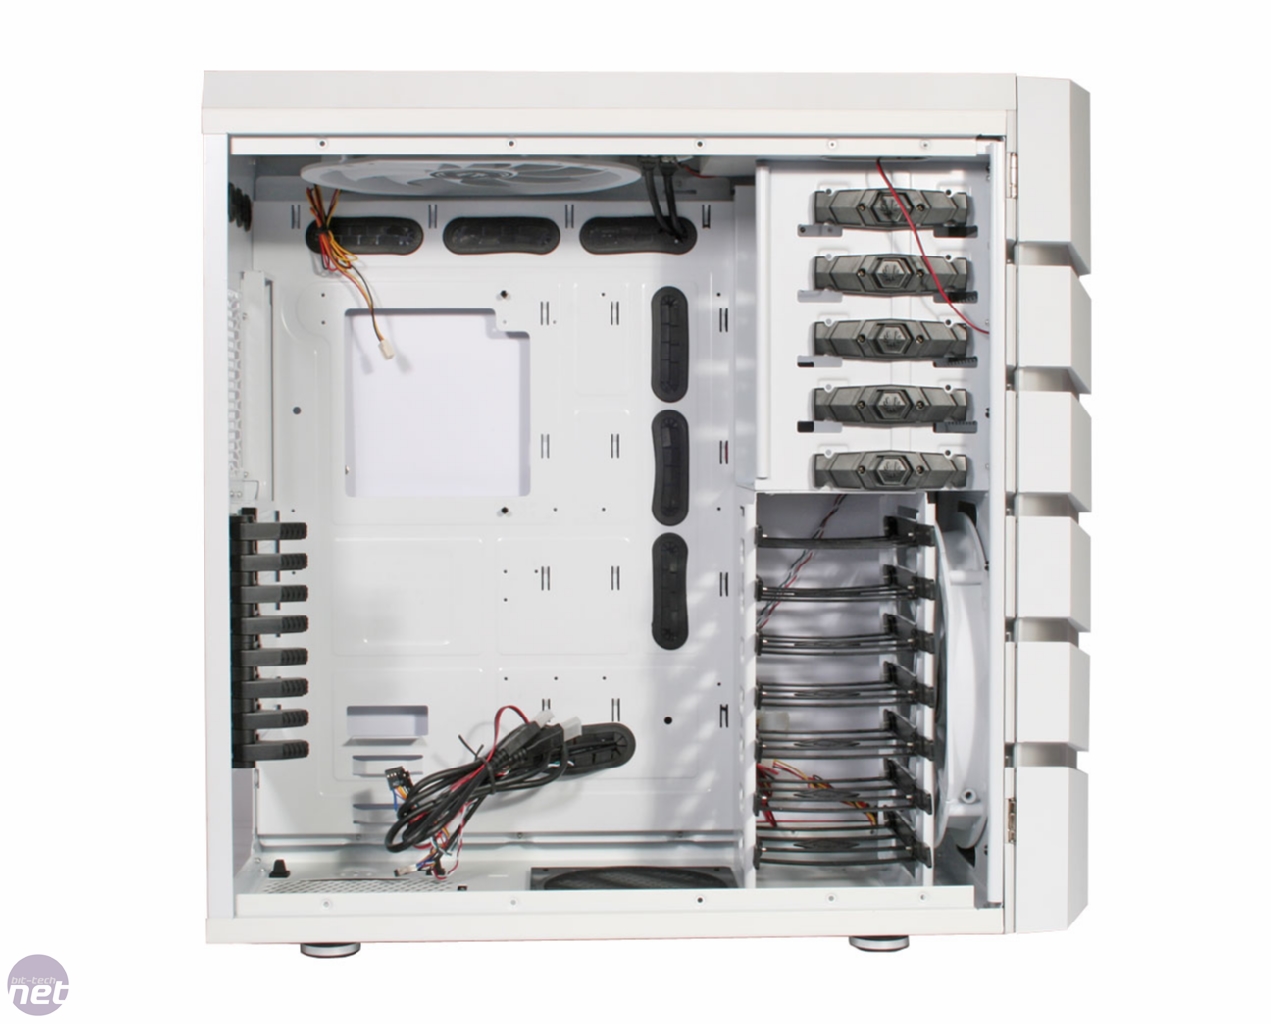
Sliding off the heavy steel side panels reveals the Colossus to be as roomy inside as you’d imagine, with a truly cavernous compartment for your essential hardware. Unlike the exterior’s soft-touch feel, the interior, including the E-ATX motherboard tray, is made of painted steel. It’s all been made to a very high standard and smoothly finished, with not a sign of a sharp edge.The layout is fairly typical for modern high-end cases, with the PSU mount in the floor of the case and the hard disk drives arranged perpendicularly to the front 230mm intake fan. The PSU can be mounted either way up, but BitFenix has included an easily removable exterior dust filter should you fit your PSU drawing air from beneath your case. The floor of the case is also fitted with a dust filter-equipped 140mm/120mm fan mount.

Click to enlarge.
With capacity for up to seven 3.5in drives and five 5.25in drives, the Colossus should meet the need of all but the most dedicated of data-hoarders, but the use of tool-less drive bay fittings doesn’t always inspire confidence. The 3.5in drive trays flex alarmingly to fit around hard disks and while worryingly flimsy when not fitted, do provide a perfectly secure mount once wrapped around your disk. The disk mounts also have the added benefit of rubber, vibration-dampening grommets to reduce disk noise. The tool-less fittings for the 5.25in drive bays ( found on both sides of the case) aren’t so good though, and we found them to be stiff and fiddly to secure. Thankfully they’re easily removable should you want to switch to old-fashioned screws.
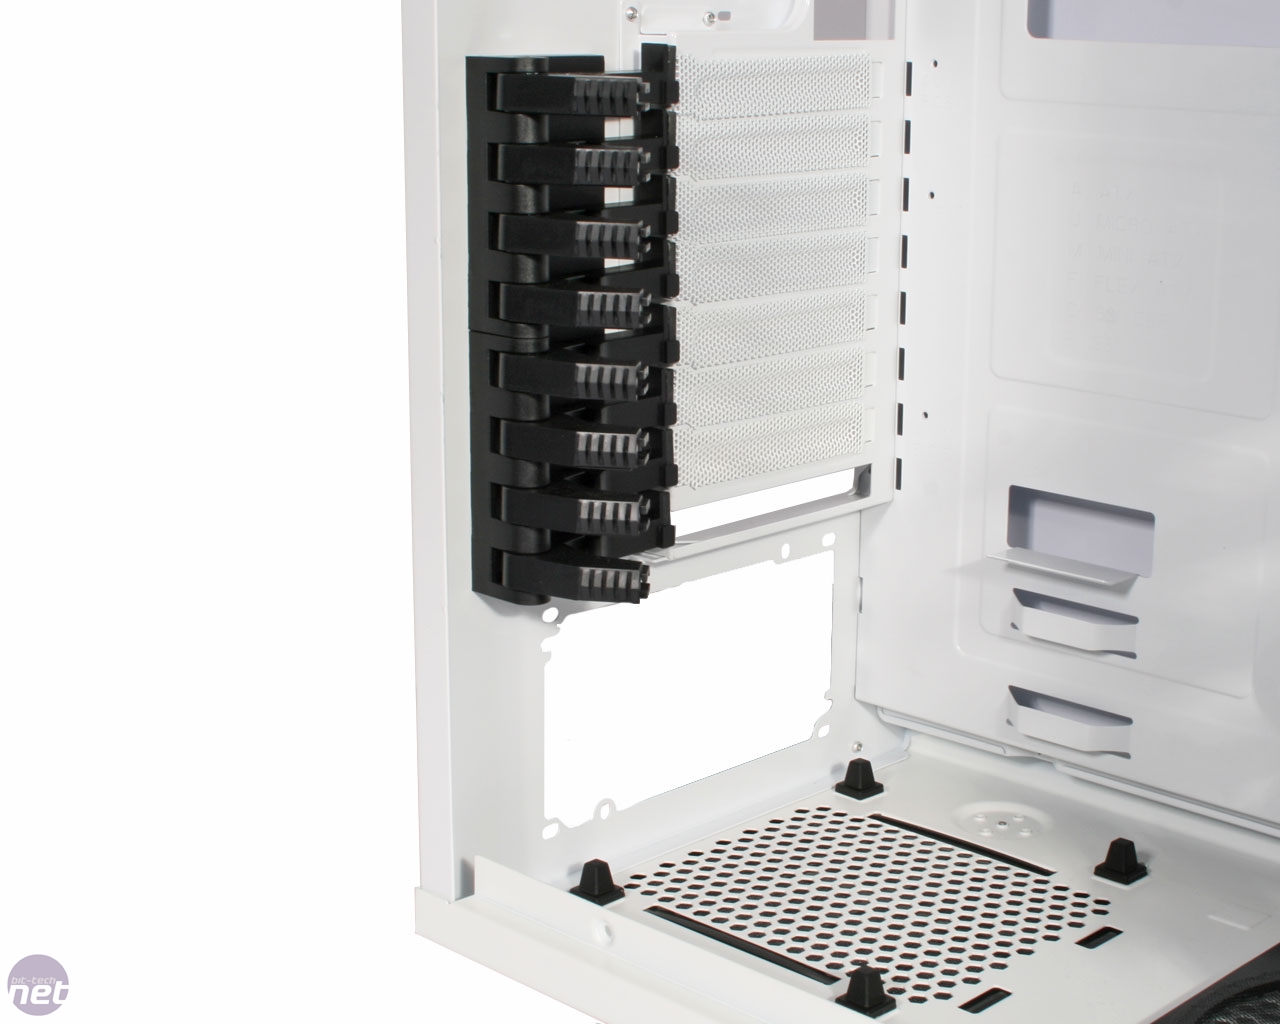
While the drive bay tool-less fittings are a mixed bag, the tool-less expansion slots are superb. Each slot is fitted with a levered catch that, when clamped down, holds a graphics card or other expansion card firmly in place. In the past we’ve seen some fairly disastrous tool-less expansion slot fittings, so it’s promising that BitFenix has got this right first time.

Click to enlarge.
Matching the Colossus’ enormous size, BitFenix includes two similarly huge fans to handle cooling. The two 230mm fans, one mounted as a front intake and the other as a roof exhaust, feel very solid, but we were surprised to find the case’s rear 140mm exhaust mount empty. This is typically a case’s most important fan mount due to its proximity to the CPU cooler, so to leave it empty is an odd decision. As we only test cases with their out-of-the-box cooling setup, we re-orientated our test kit’s CPU cooler to blow upwards towards the roof exhaust fan.
Somewhat disappointingly, considering the size of the roof panel, the Colossus only includes a roof mount for a single 230mm, 140mm or 120mm fan. There’s little prospect of water-cooling or for adding an extra exhaust fan into the roof.
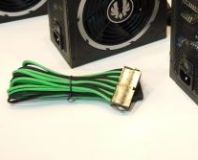
While the Colossus’ cooling might be little under-powered in comparison to competing high-airflow offerings, the case truly impresses when it comes to cable routeing. The motherboard tray is littered with rubber-covered cable routeing holes and thanks to the case’s mighty girth, there’s room behind the motherboard tray for even the thickest of 24-pin ATX power cables.
The box of extras included with the case includes a variety of cable tidying tools, ranging from single-use zip-ties to large reusable cable ties. While the rubber routeing-hole covers are more of a nuisance than an assistance, neat freaks will appreciate their inclusion. The end result is a case that’s ludicrously easy to make neat and tidy. It almost seems a shame to use the gorgeously lit side panels and lock it all away.
RELATED ARTICLES


MSI MPG Velox 100R Chassis Review
October 14 2021 | 15:04

Want to comment? Please log in.