Interior
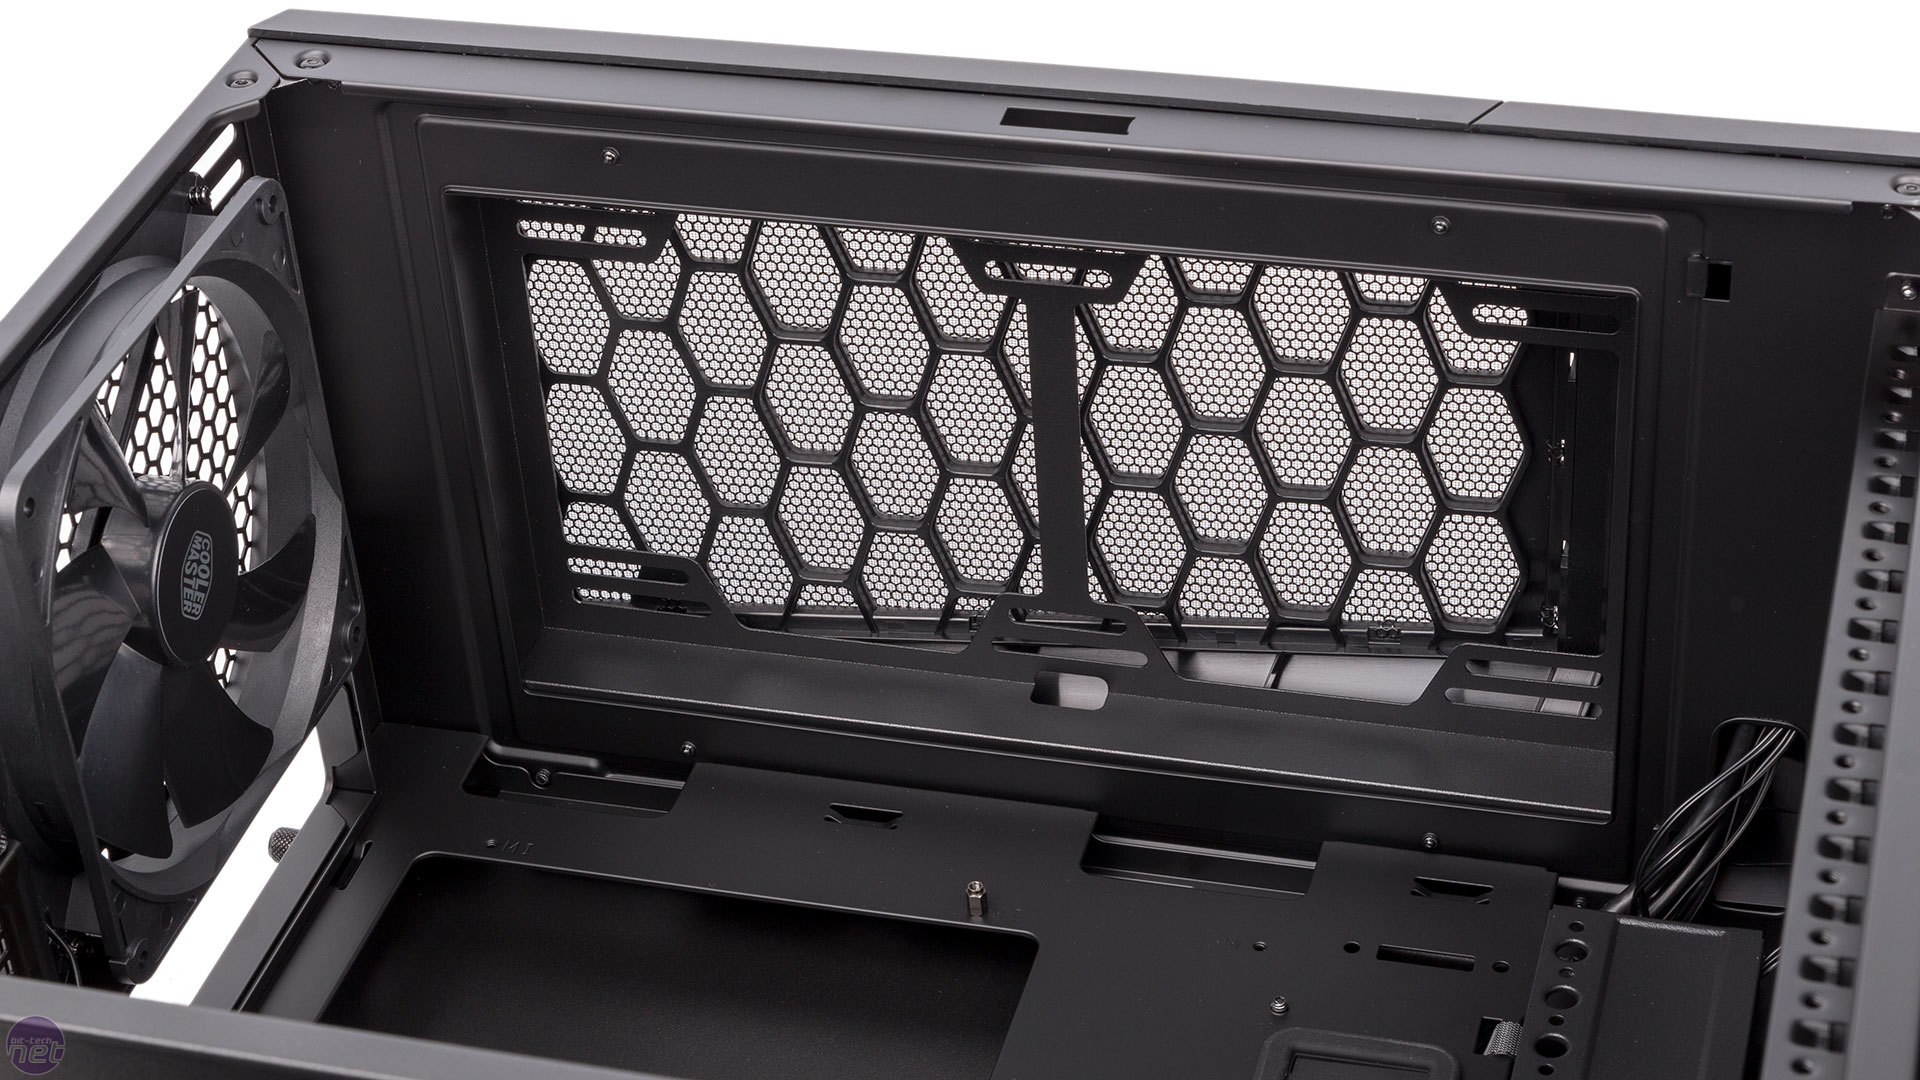
The side panels are wonderfully easy to use, attached via thumbscrews at the back and using hinges at the front and bottom to slot in and out of place. As already mentioned, the top of the roof slides off easily too, and with the side panels off you can detached the full front panel, not just the mesh section. This reveals a second removable fan/radiator mount.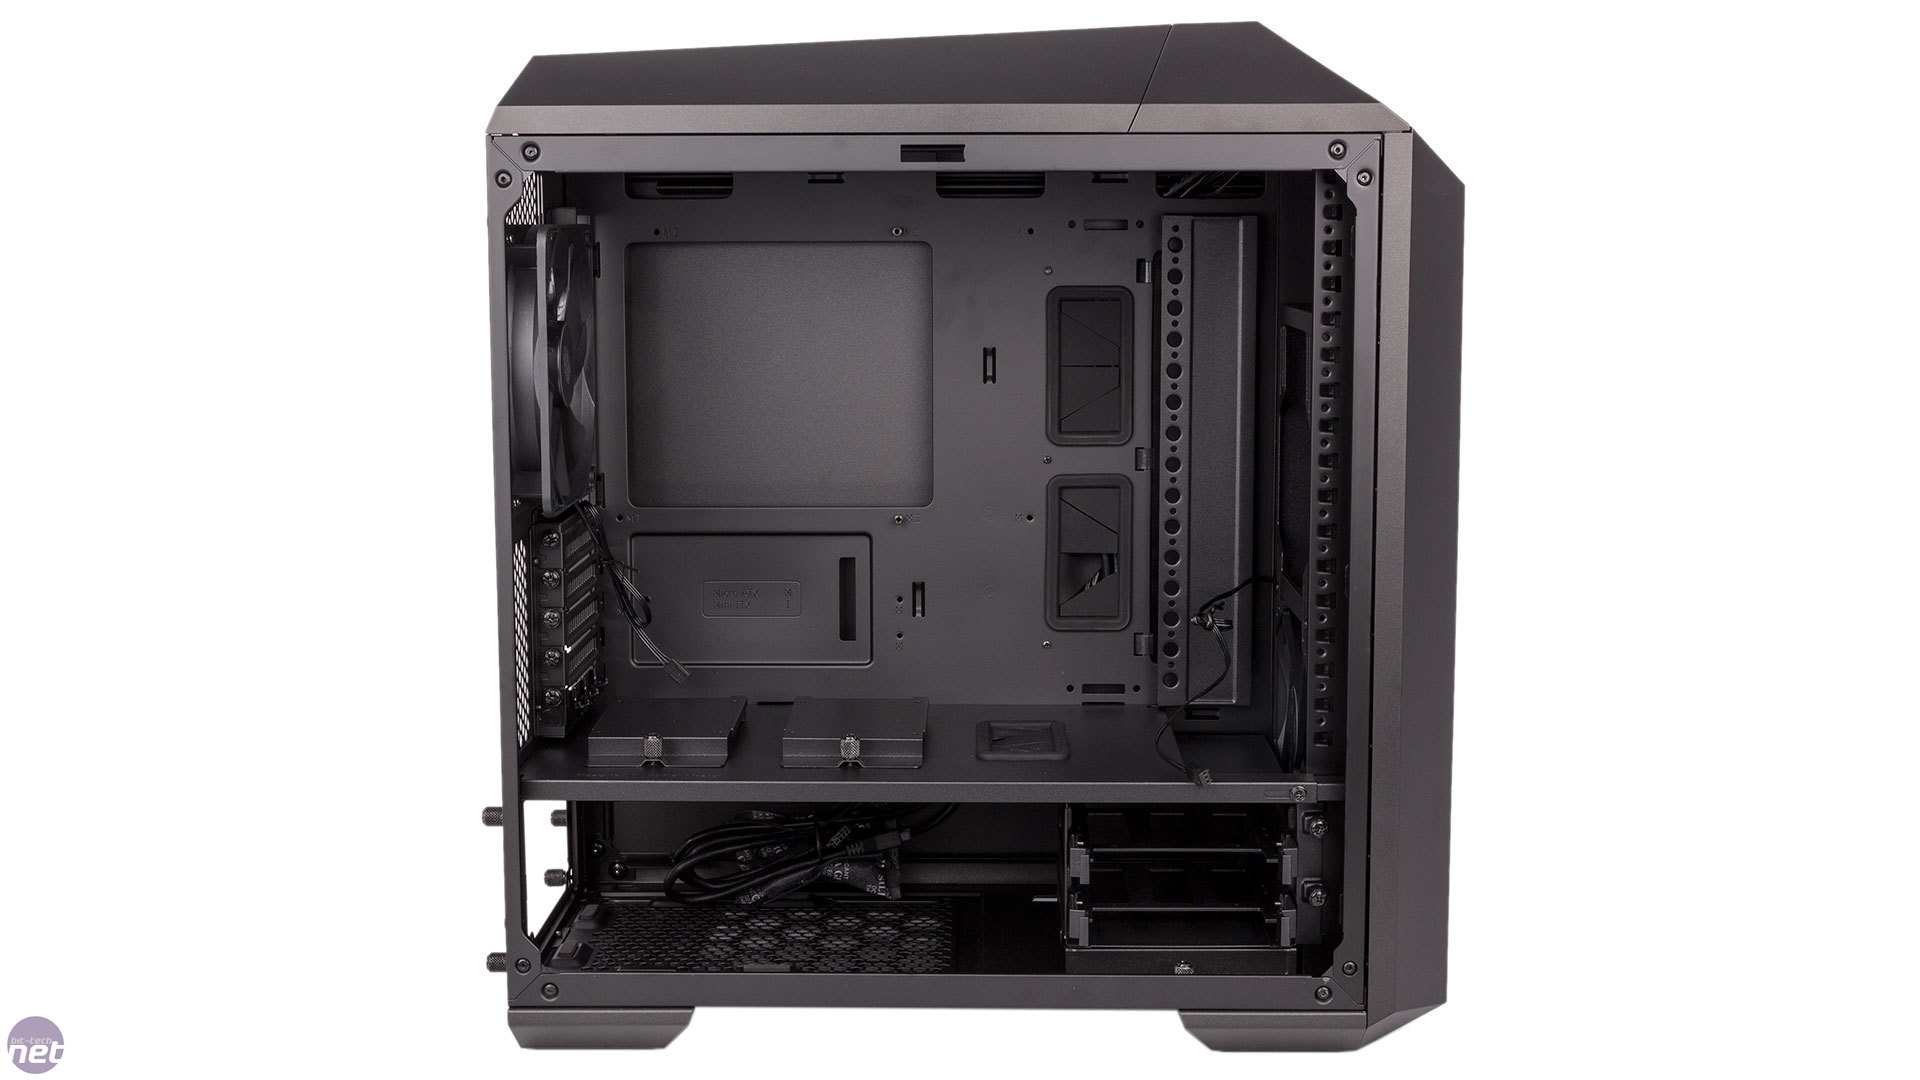
Click to enlarge
The standard tower layout is extremely spacious, especially for a micro-ATX case; it really feels like working inside a normal mid-tower. A mid-plate divides the case into two chambers, keeping cables, drives, and your PSU neatly hidden from view. You have to install a few motherboard mounts yourself, but otherwise there's very little hassle installing any of the components, and the ample room makes the process easier still. The PSU requires a little fuss, however, as you'll need to use the bracket at the back to slot it in from behind the case, after which it rests on some foam pads.
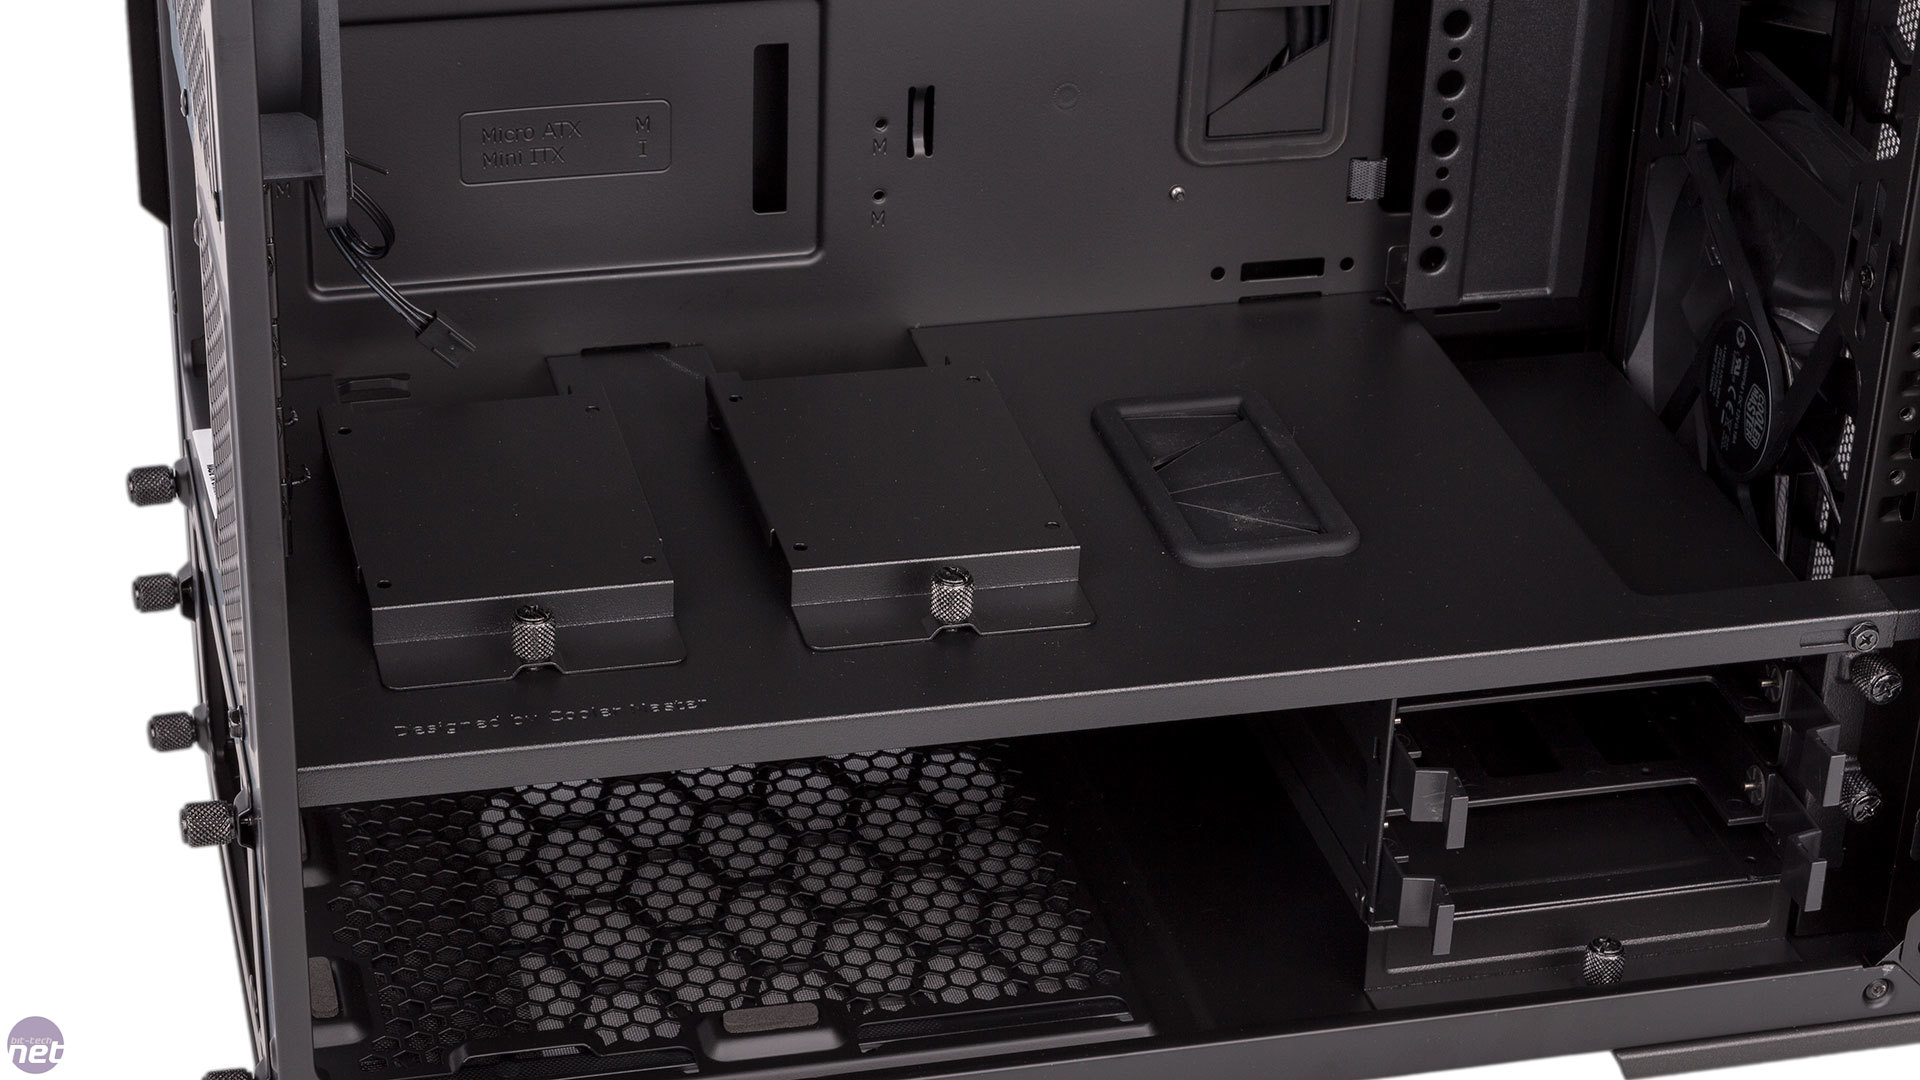
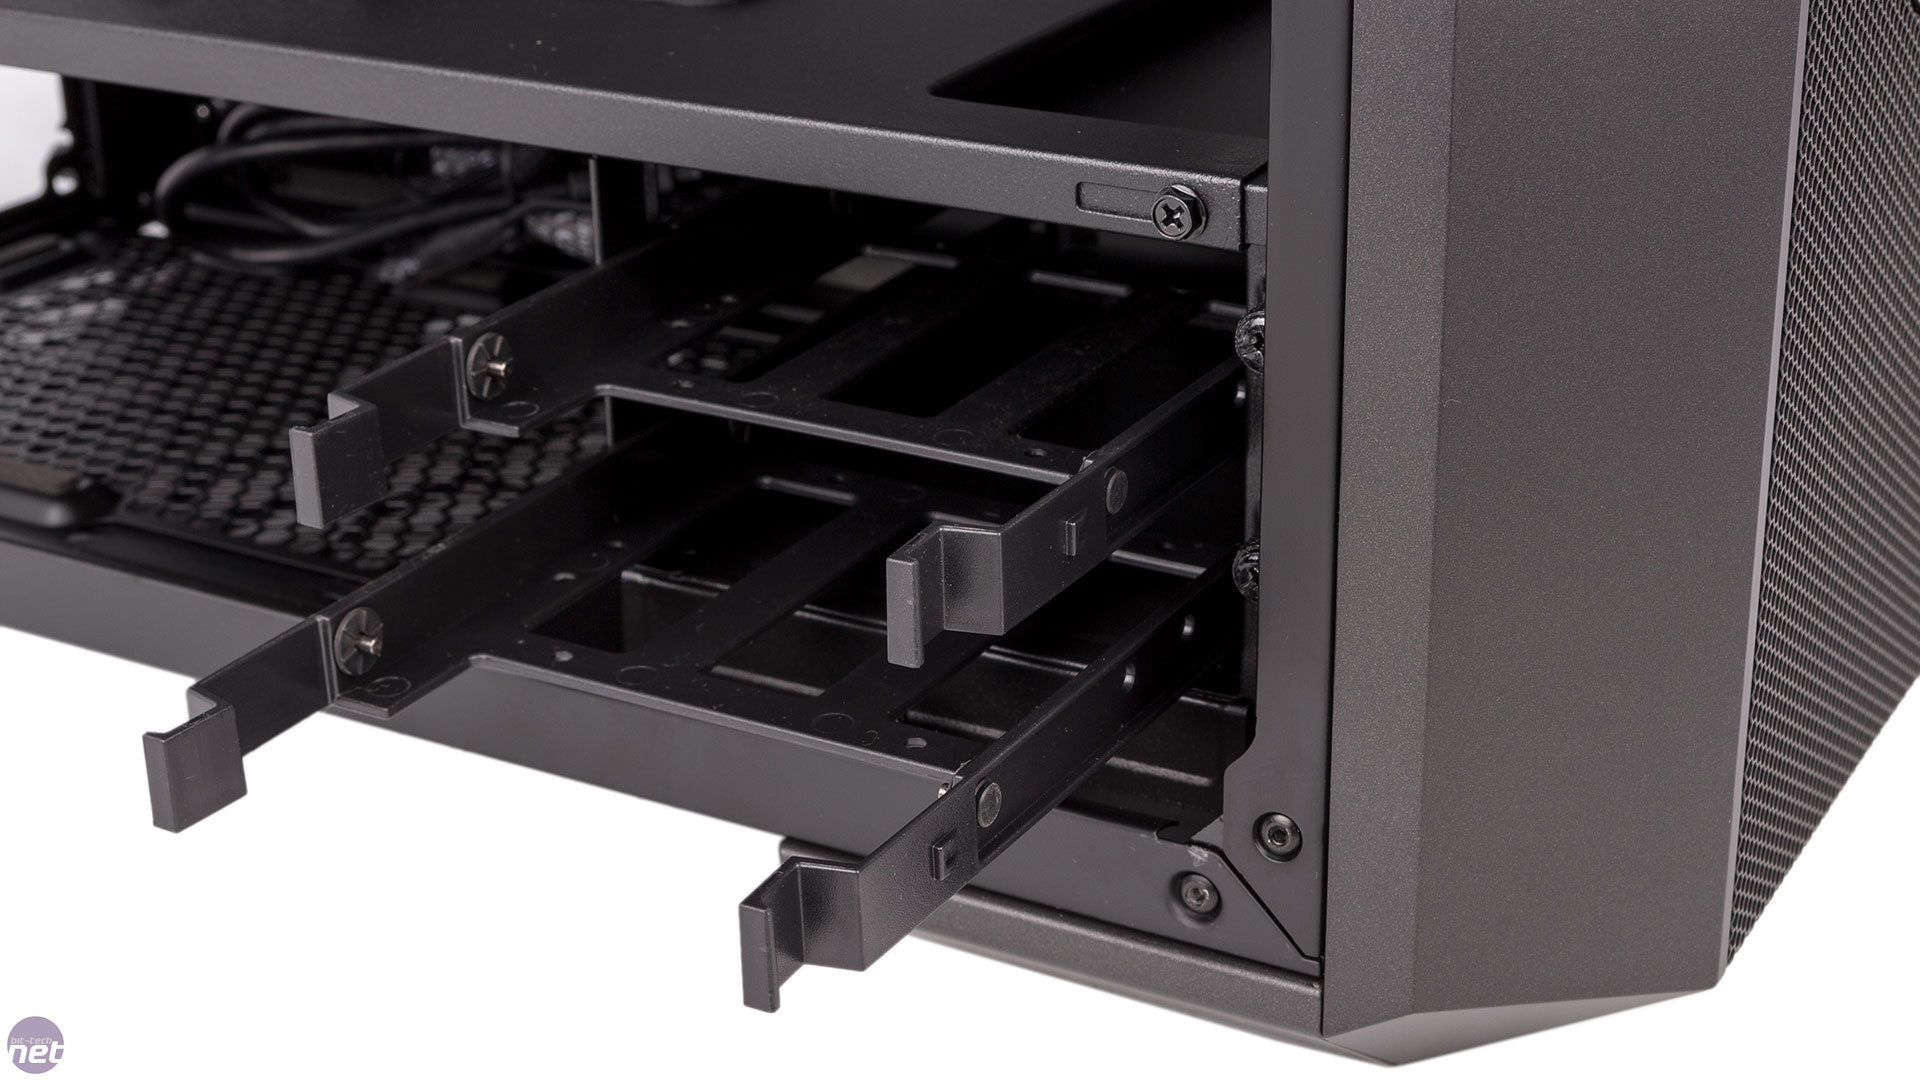
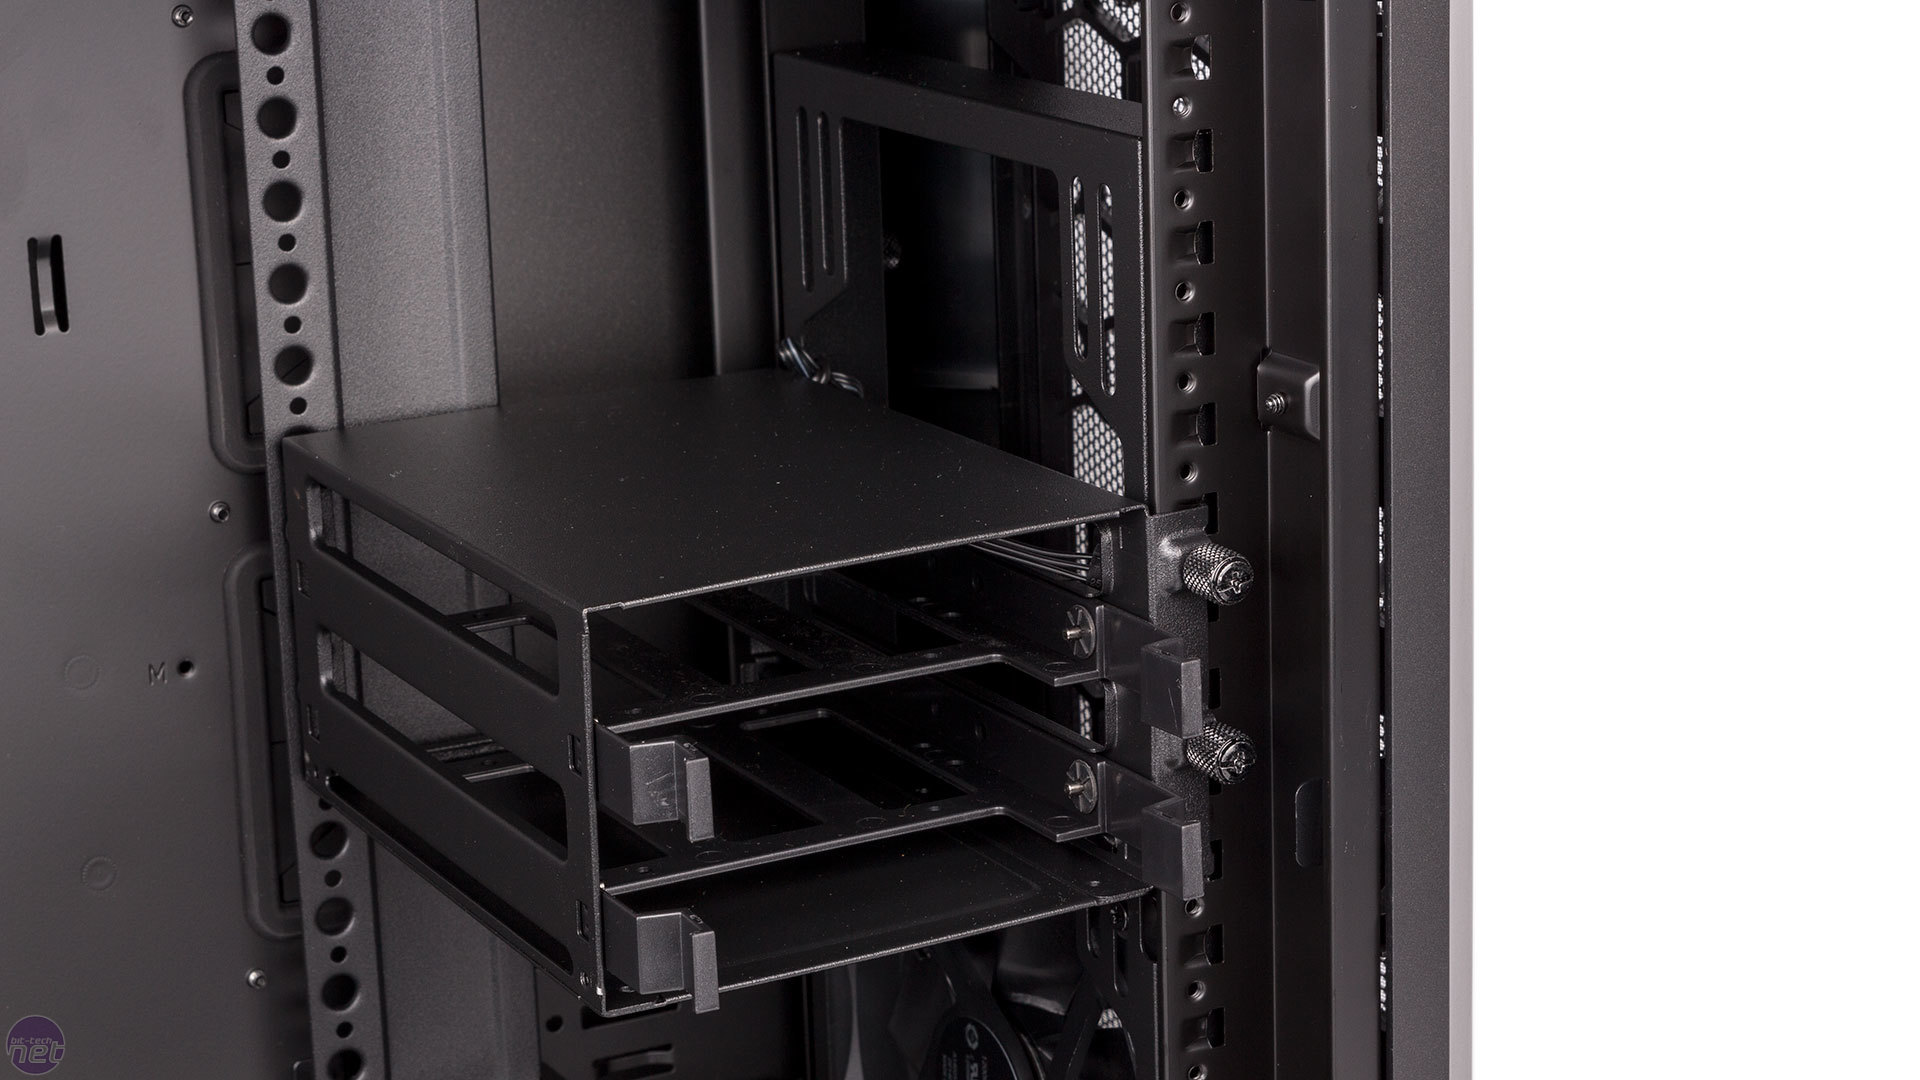
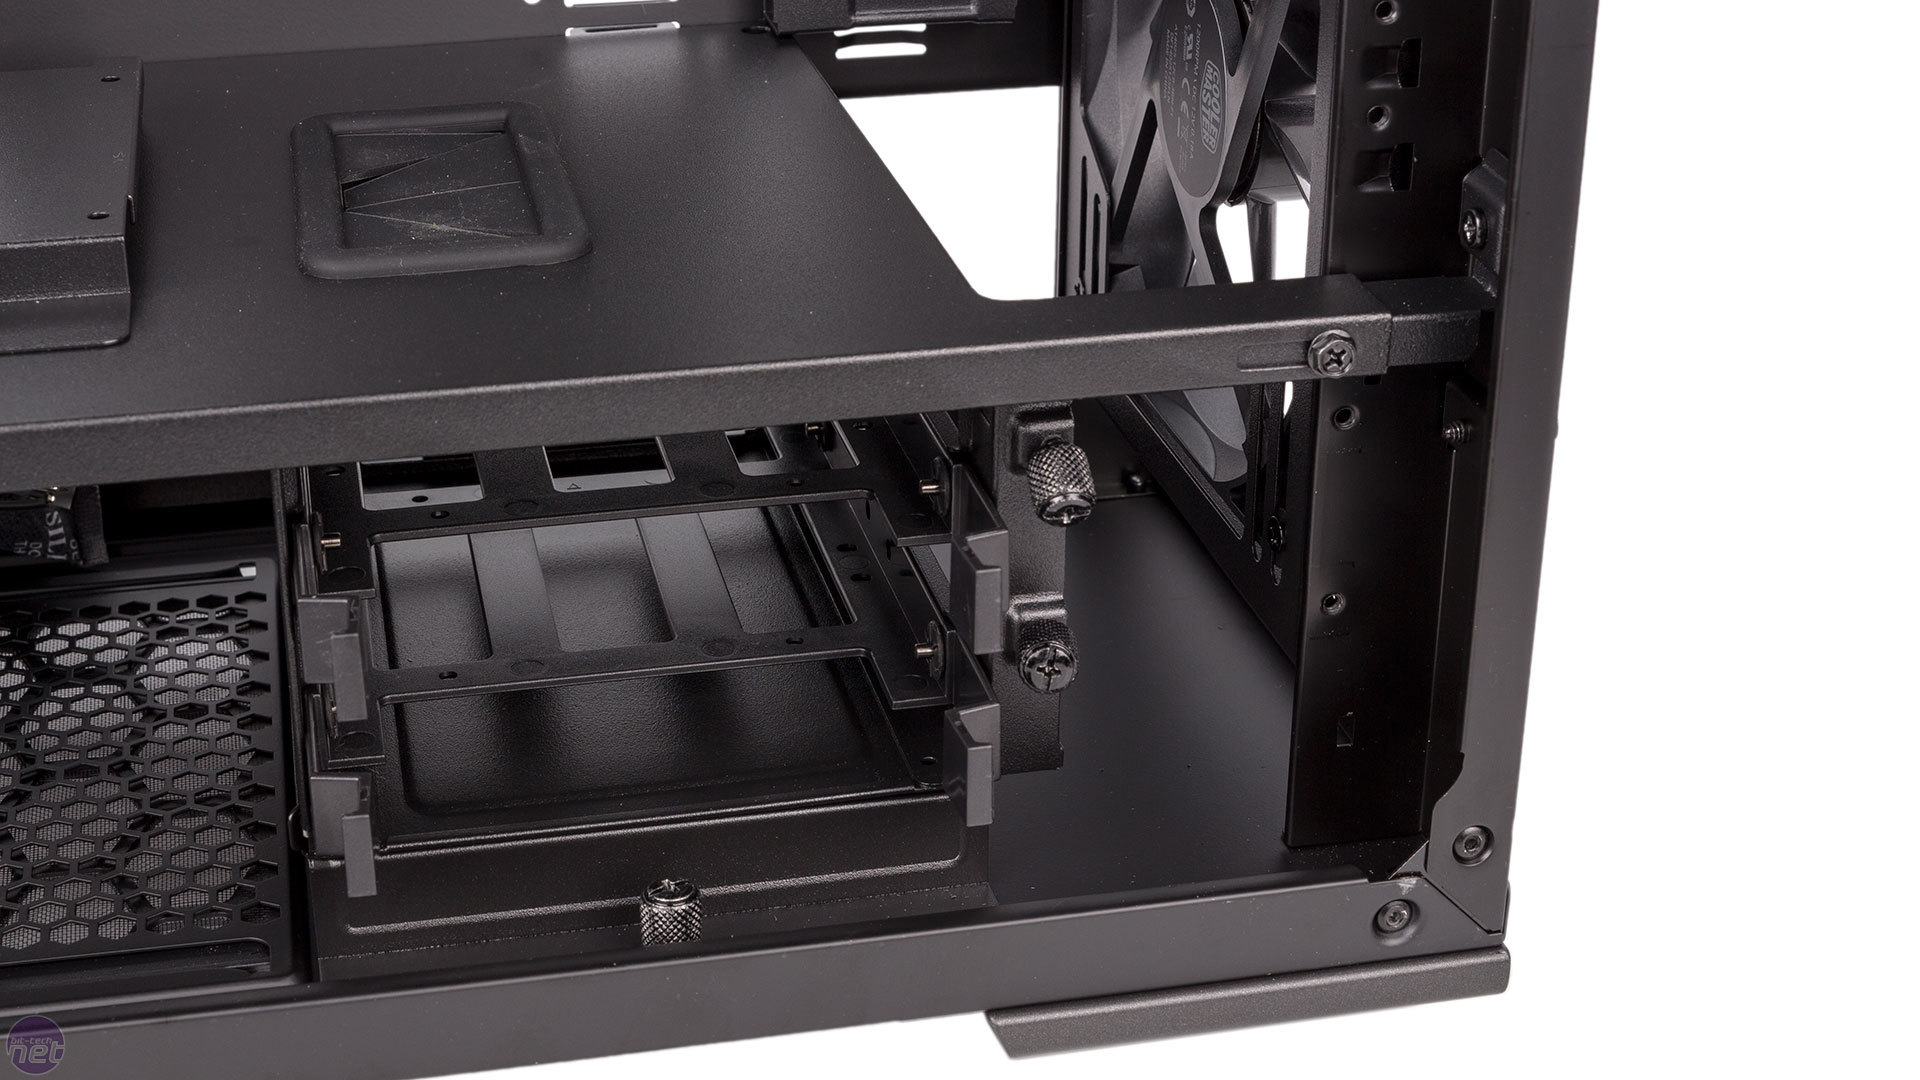
A two-bay drive cage is installed at the front of the lower cavity, with each bay supporting either 3.5in or 2.5in drives. A further two SSDs can be installed using the dedicated mounting brackets that are fitted to the top of the mid-plate, although one of these can be moved to a third position behind the motherboard tray. Alternatively, if you need a third SSD and the drive cage is full, you can buy a third so-called SSD Slip-and-Clip bracket from Cooler Master's store.

Click to enlarge
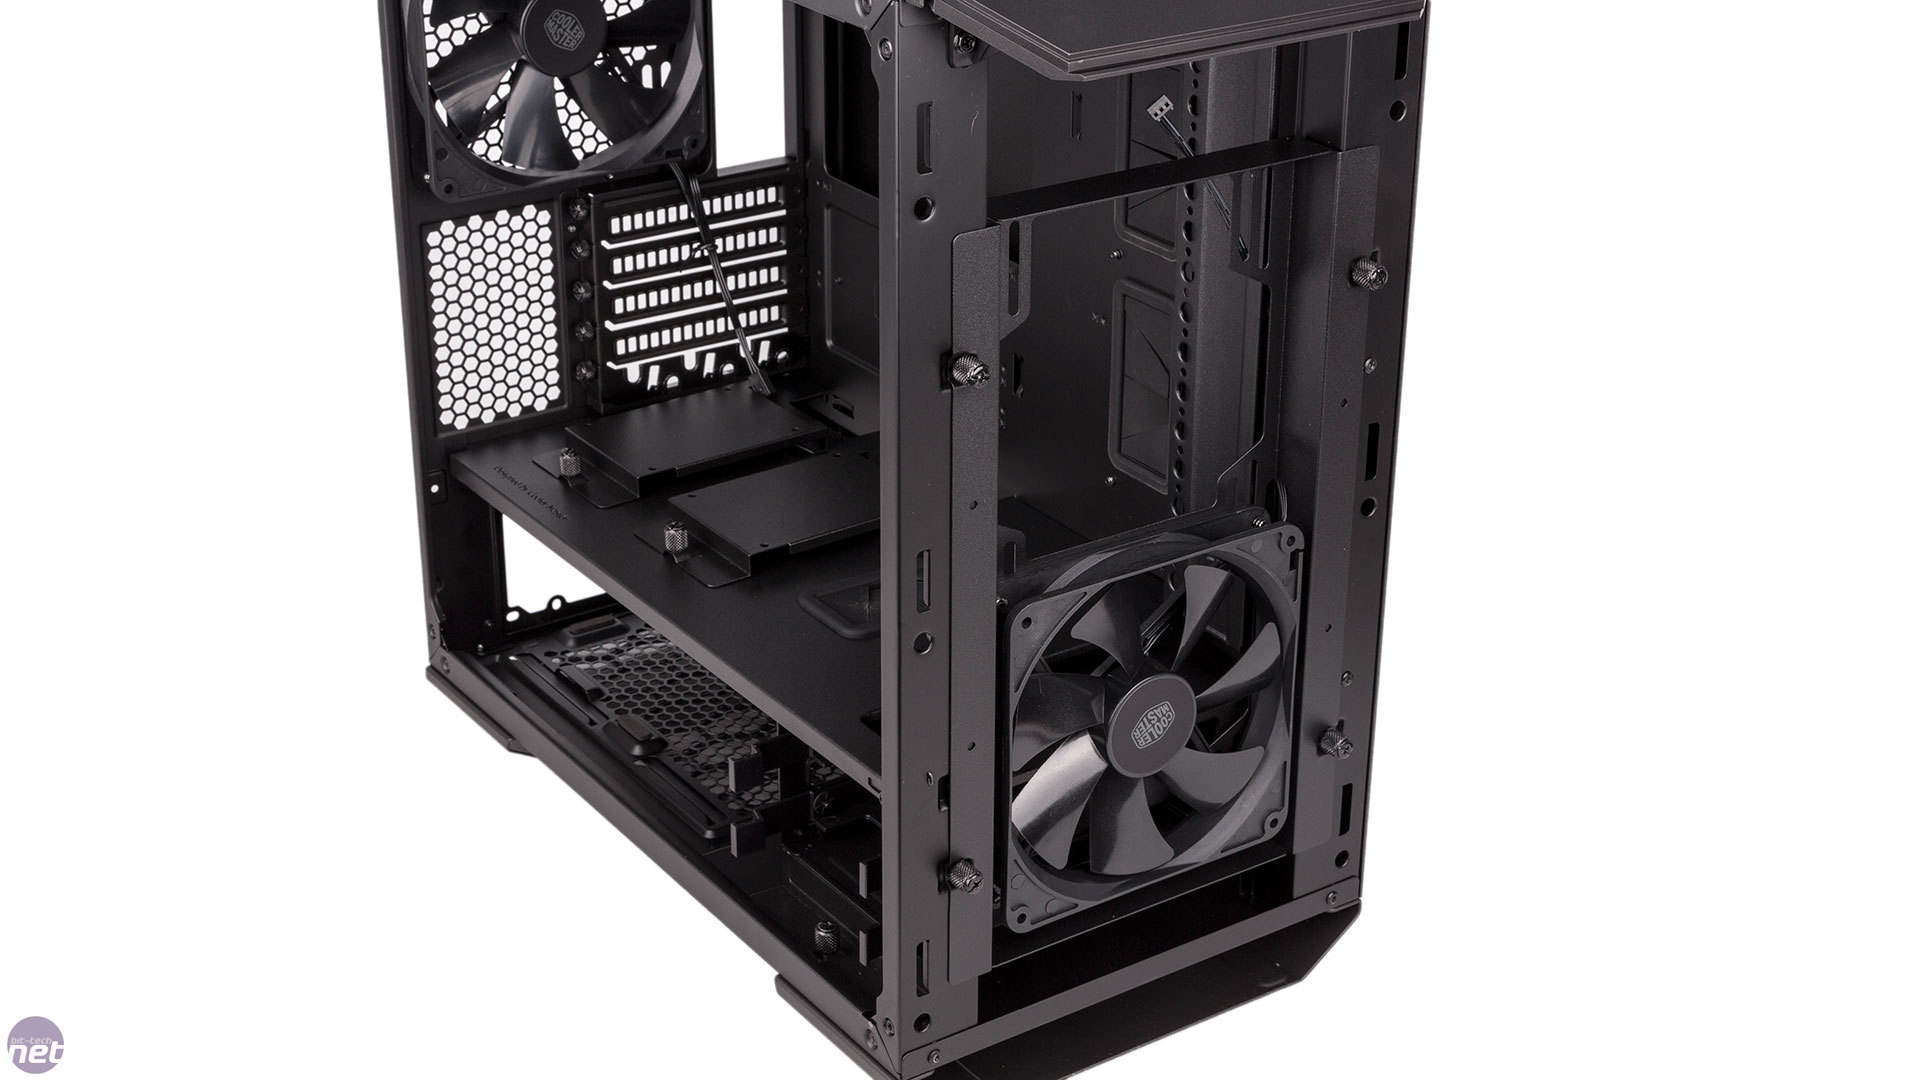
The MasterCase Pro 3 inherits the FreeForm Modular System of its bigger brethren. This takes the form of the Clip-and-Click panel, essentially a vertical bar that runs the whole height of the main cavity, sporting holes into which various accessories can be inserted. Such accessories include a VGA holder, reservoir mounting brackets, fan brackets, and drive cages. In fact, the supplied two-bay drive cage can be released from its original position and mounted in the upper cavity using the Clip-and-Click bar, although the bar needs moving further back into the case before this is possible. Additional two- and three-bay drive cages can be bought in case you're something of a storage fiend, though note that drive cages will cut down GPU clearance to 258mm in any expansion slots that are in line with them. This isn't much, at least as far as high-end cards go – our reference GTX 980, for example, would be slightly too big.
Click to enlarge
The mid-plate is completely detachable by undoing five screws. You might want to do this to make room for water-cooling hardware or to use one of Cooler Master's replacement LED mid-plates as an alternative. Powered by a SATA header and currently available in white, red, and blue, these actually look pretty nifty – Cooler Master sent us all three, and you can see how they look over the page.

Click to enlarge
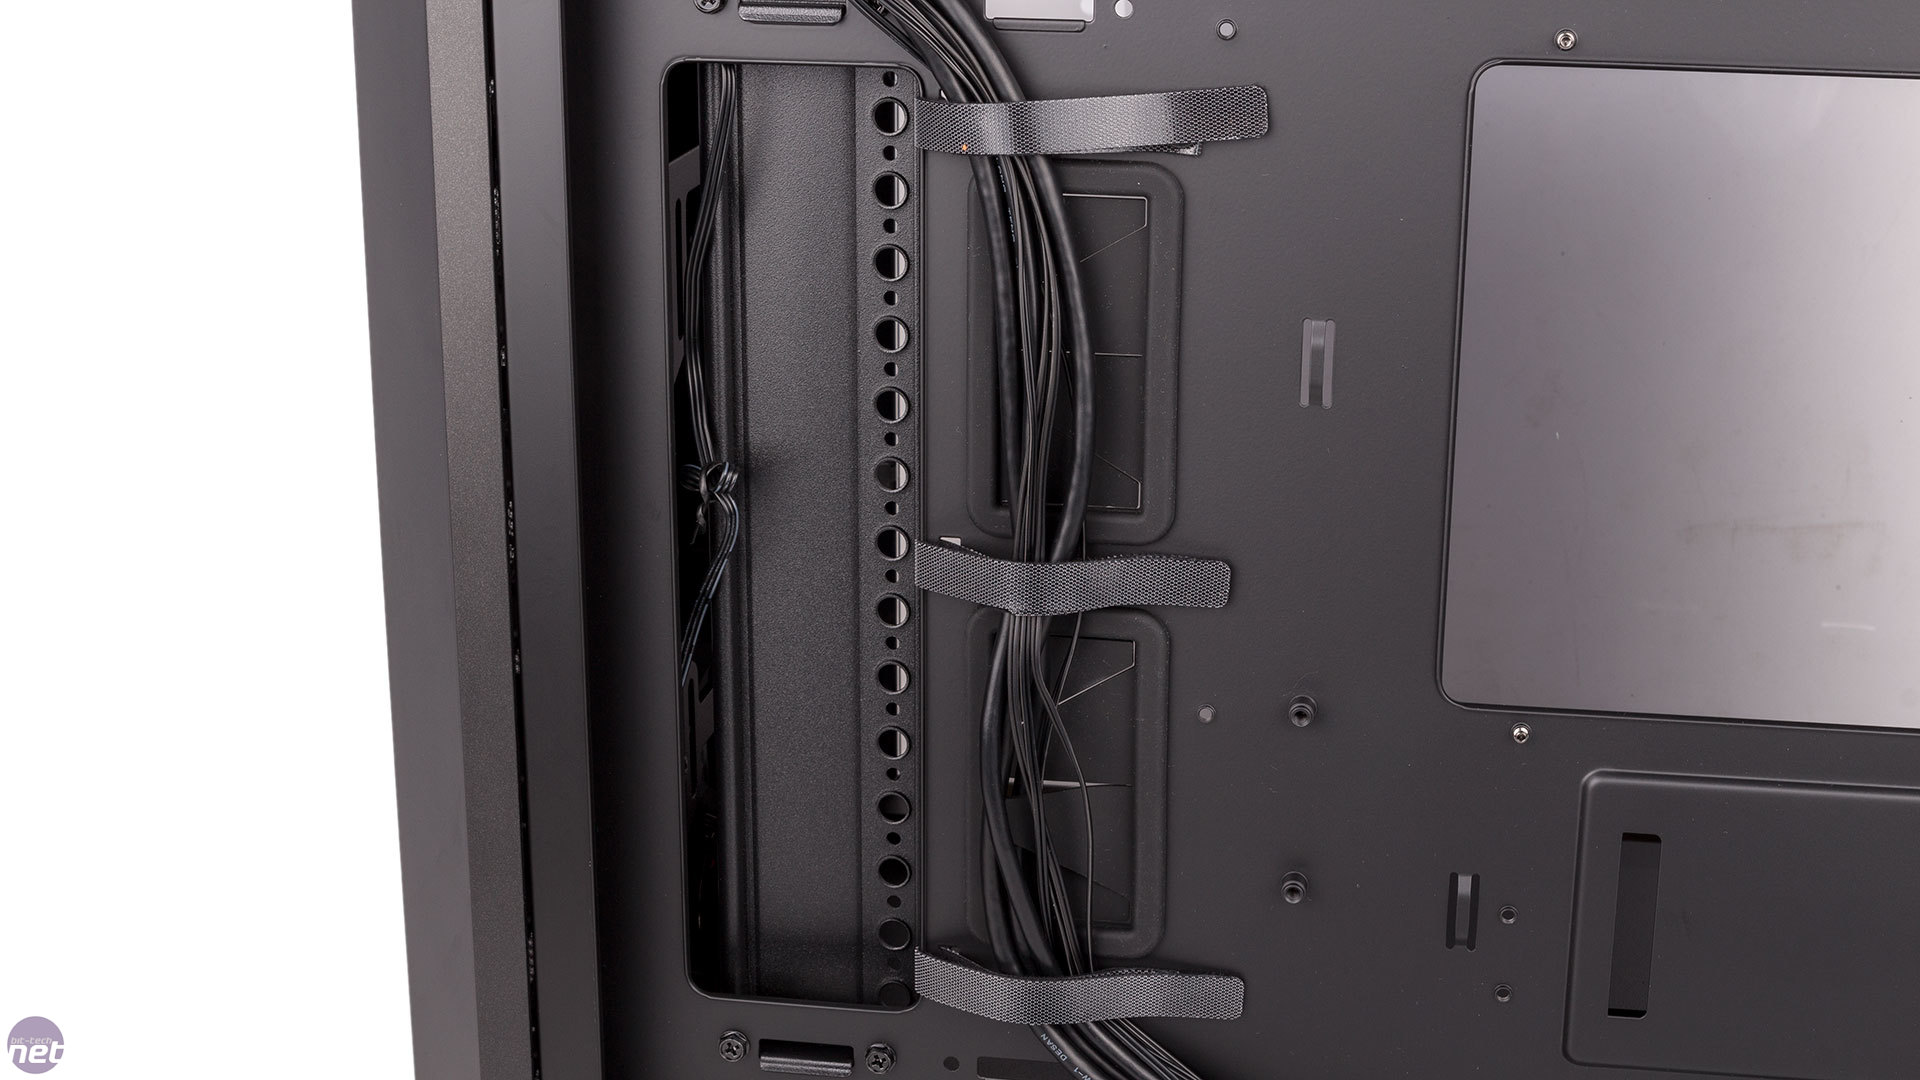
The combination of the mid-plate, decent routing holes, rubber grommets, fixed Velcro cable ties, and additional zip ties is a potent one for dealing with cables. We especially like the routing hole built into the mid-plate for GPU power cables. We had little issue tidying things up, and we imagine that this would remain true even with a more crowded system.
Click to enlarge
As mentioned, both the front and the roof have removable radiator brackets, which will potentially make installing water-cooling hardware much less hassle, as you can just do it outside the case and re-attach the bracket via its thumbscrews once you're done. Radiators up to 240mm are supported in the roof, while 280mm models can go in the front. You'll likely be sticking with slimline models, but thicker setups may be a possibility with some tinkering and some thought put into the rest of your hardware. The cutout on the mid-plate gives you room to play with up front, while the front drive cage can be moved closer to the PSU to make way as well.
RELATED ARTICLES


MSI MPG Velox 100R Chassis Review
October 14 2021 | 15:04

Want to comment? Please log in.