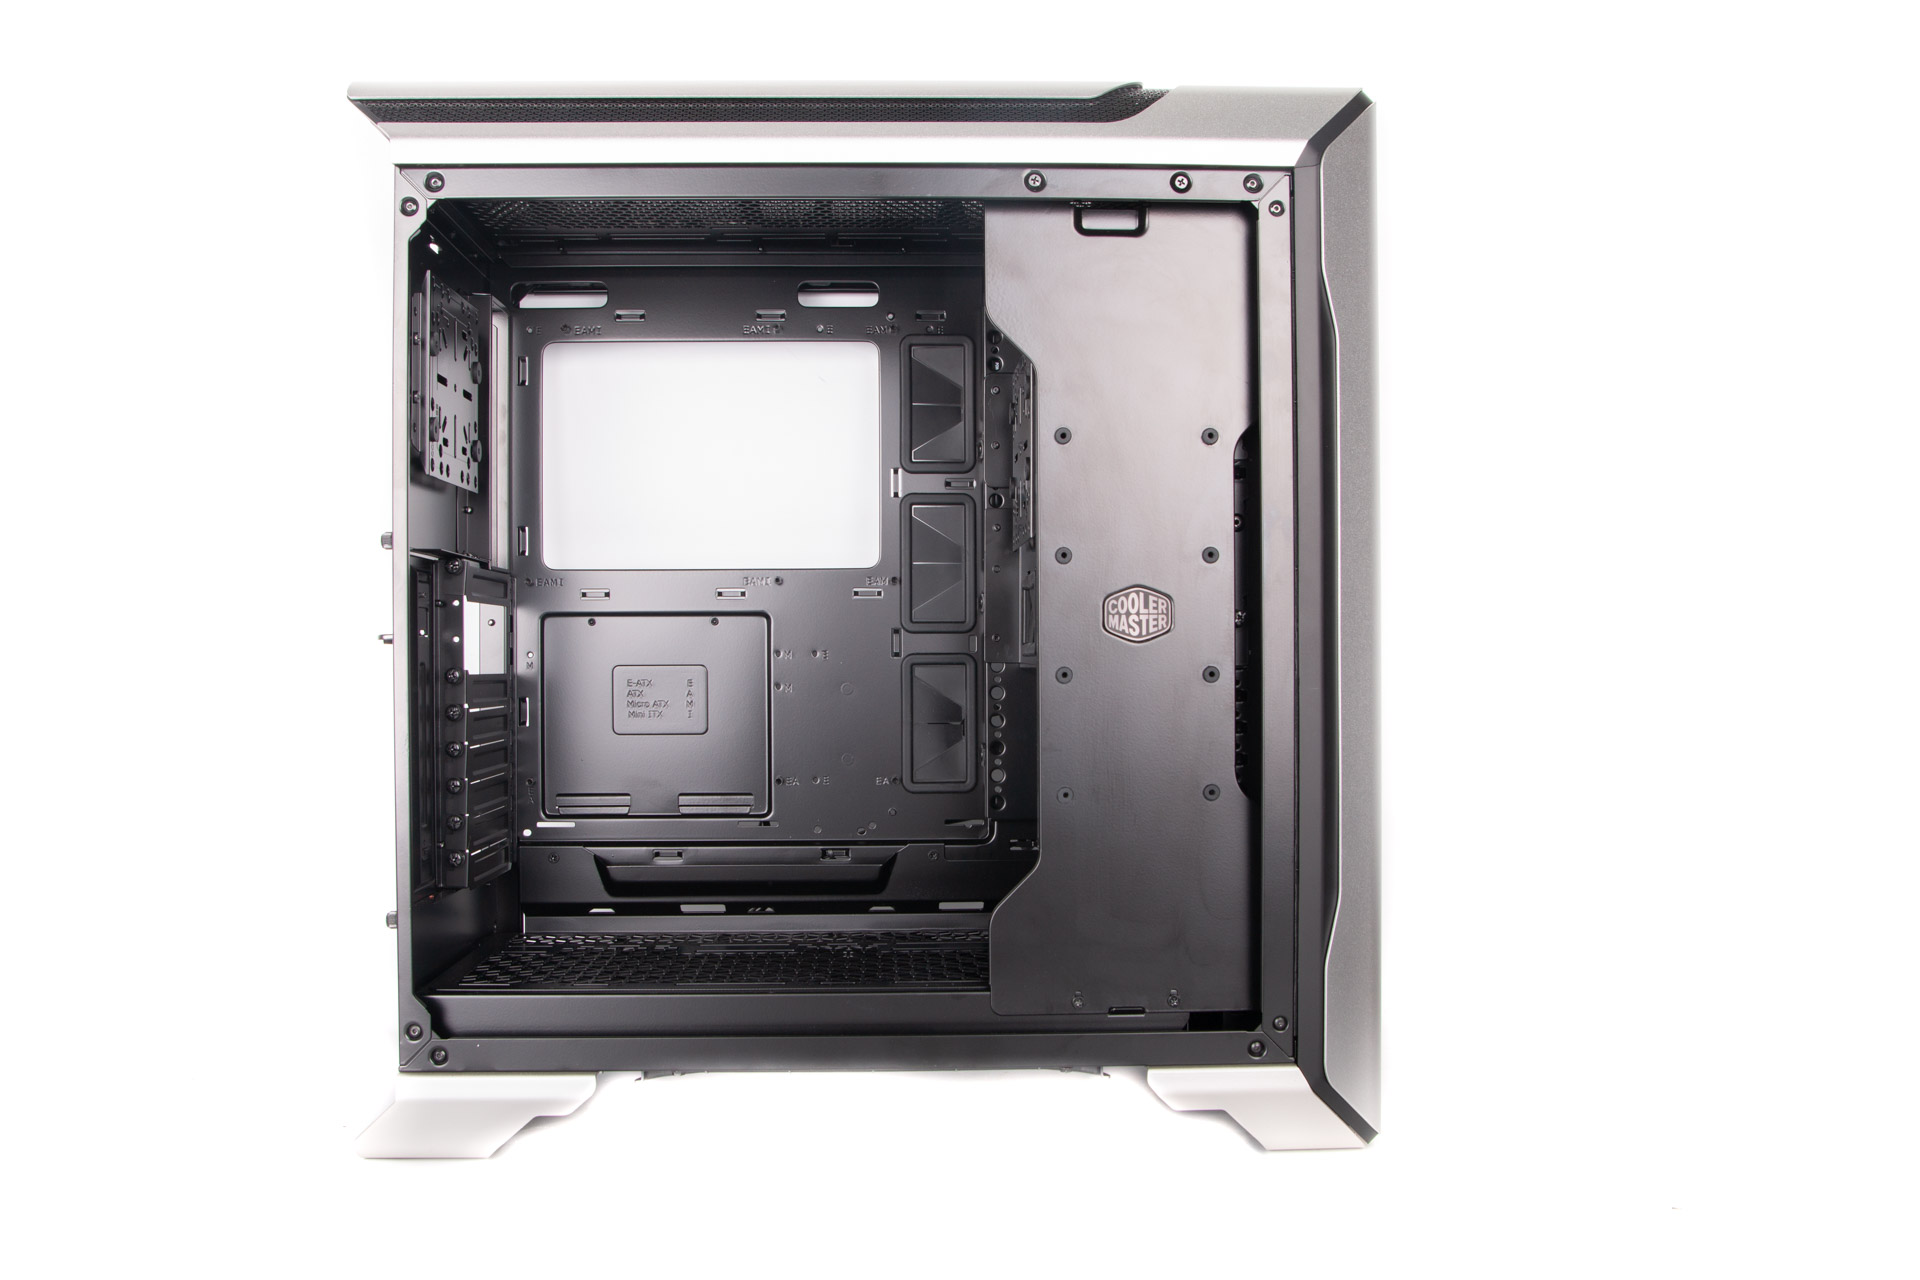
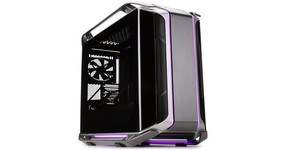
Interior
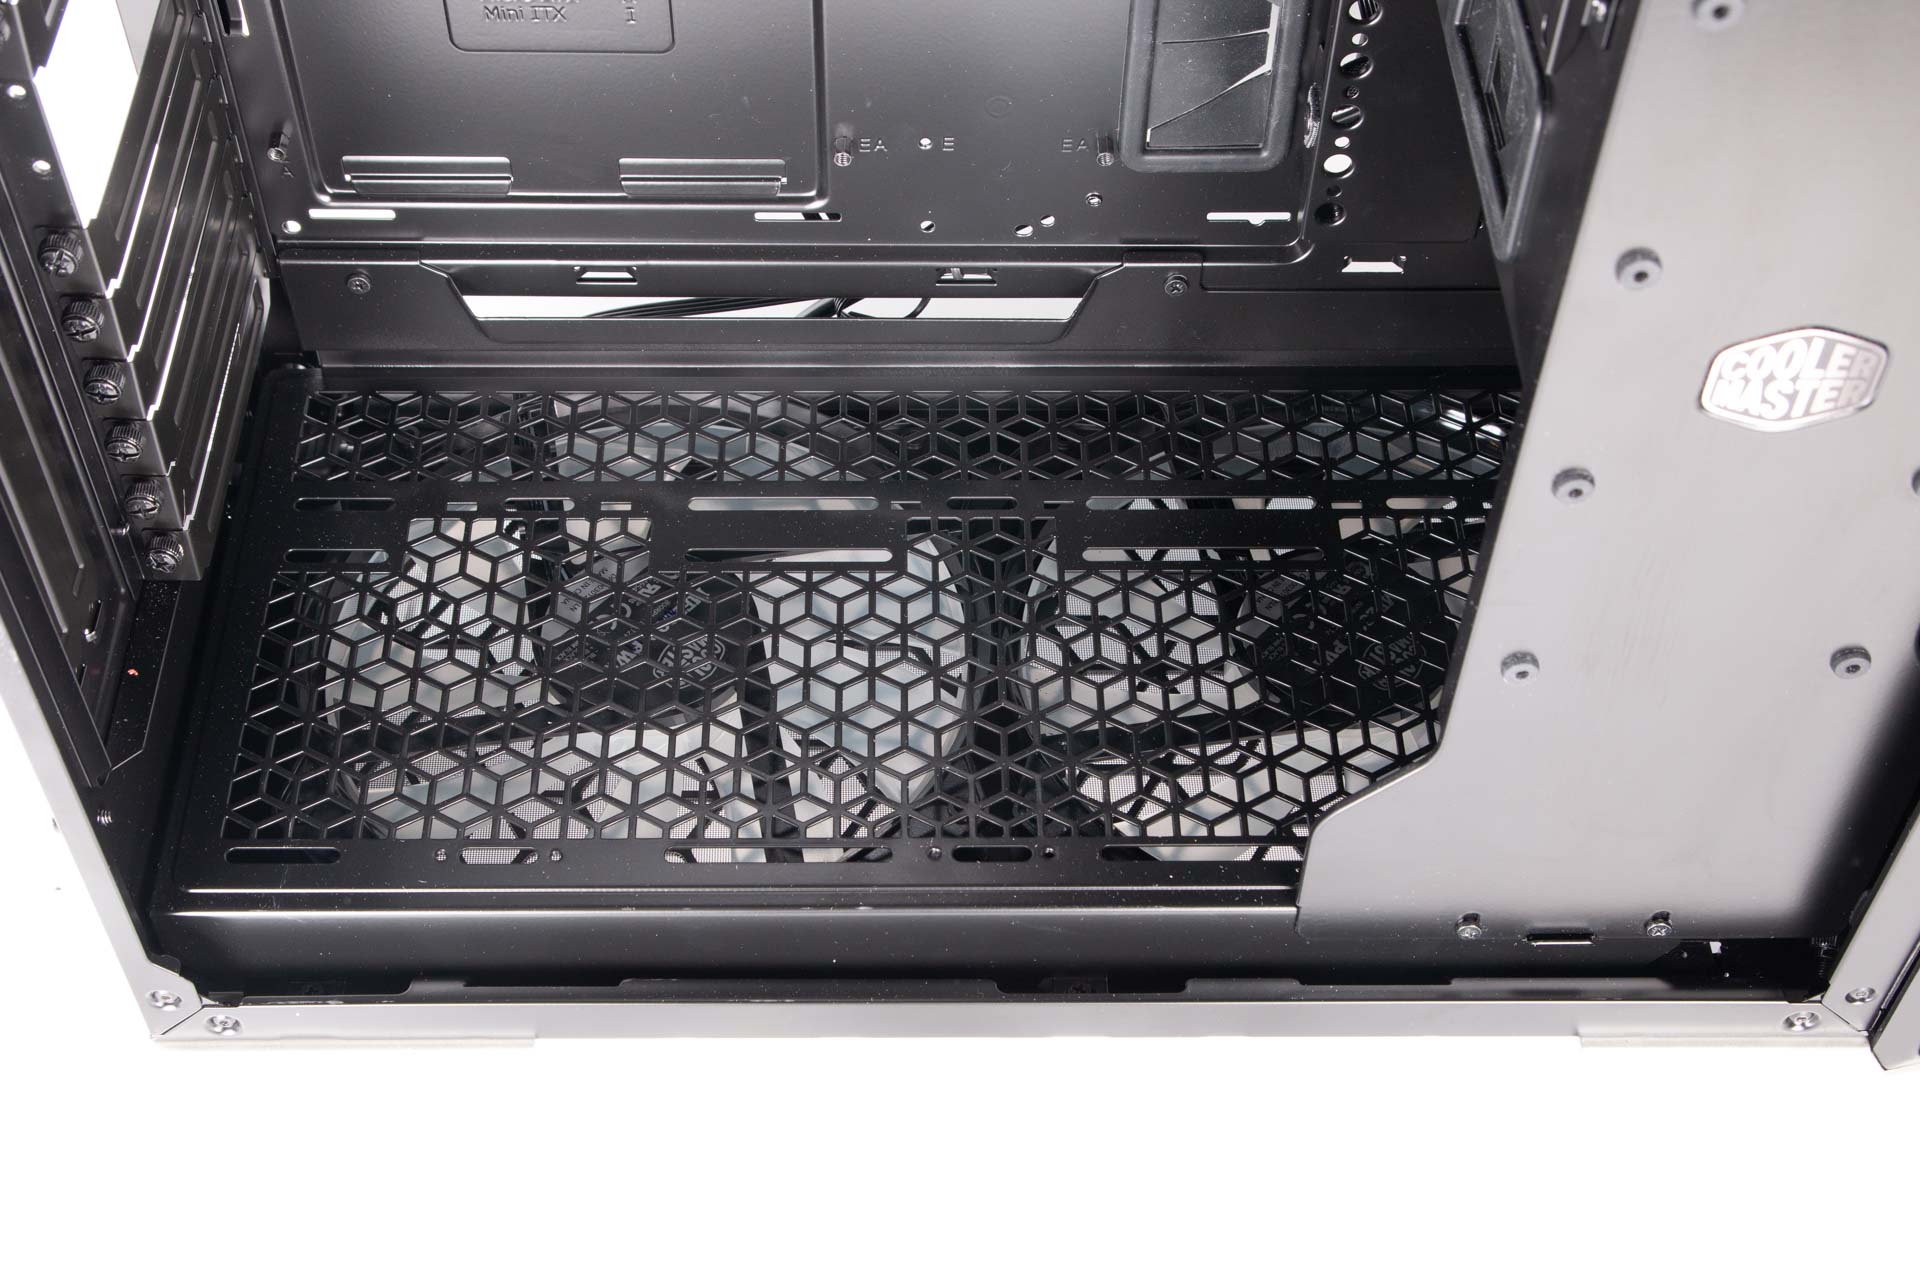
A vertical airflow arrangement isn't without issues, but Cooler Master has clearly thought about how best to shift things around in this reasonably large chassis to allow the air an unrestricted path to the roof - important as there are no fans in the roof to act as exhausts out of the box. The PSU resides in the front of the case thanks to the use of an extension cable, and there are plenty of cable routing holes to keep the interior as clutter-free as possible. This frees up the entire base of the case for the mesh that sits atop the two large 200mm fans.
However, your graphics will certainly benefit, but large models simply end up blocking this area or at the very least severely hampering airflow. This is why most vertical-airflow arrangements have graphics cards sitting parallel to the airflow - think Phanteks Shift, SilverStone FT03. One way round this here is to make use of the vertical GPU mount by investing in a PCI-E riser, but being located too close to the side panel, while the CPU might benefit, the graphics card certainly wouldn't. Thankfully, a rear rotatable PCI bracket allows you to re-position graphics cards so they're further away from the glass panel.
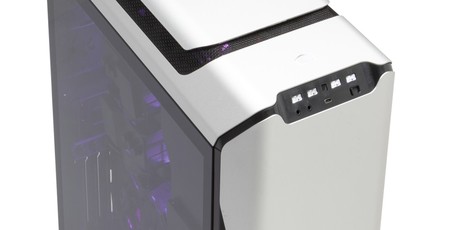
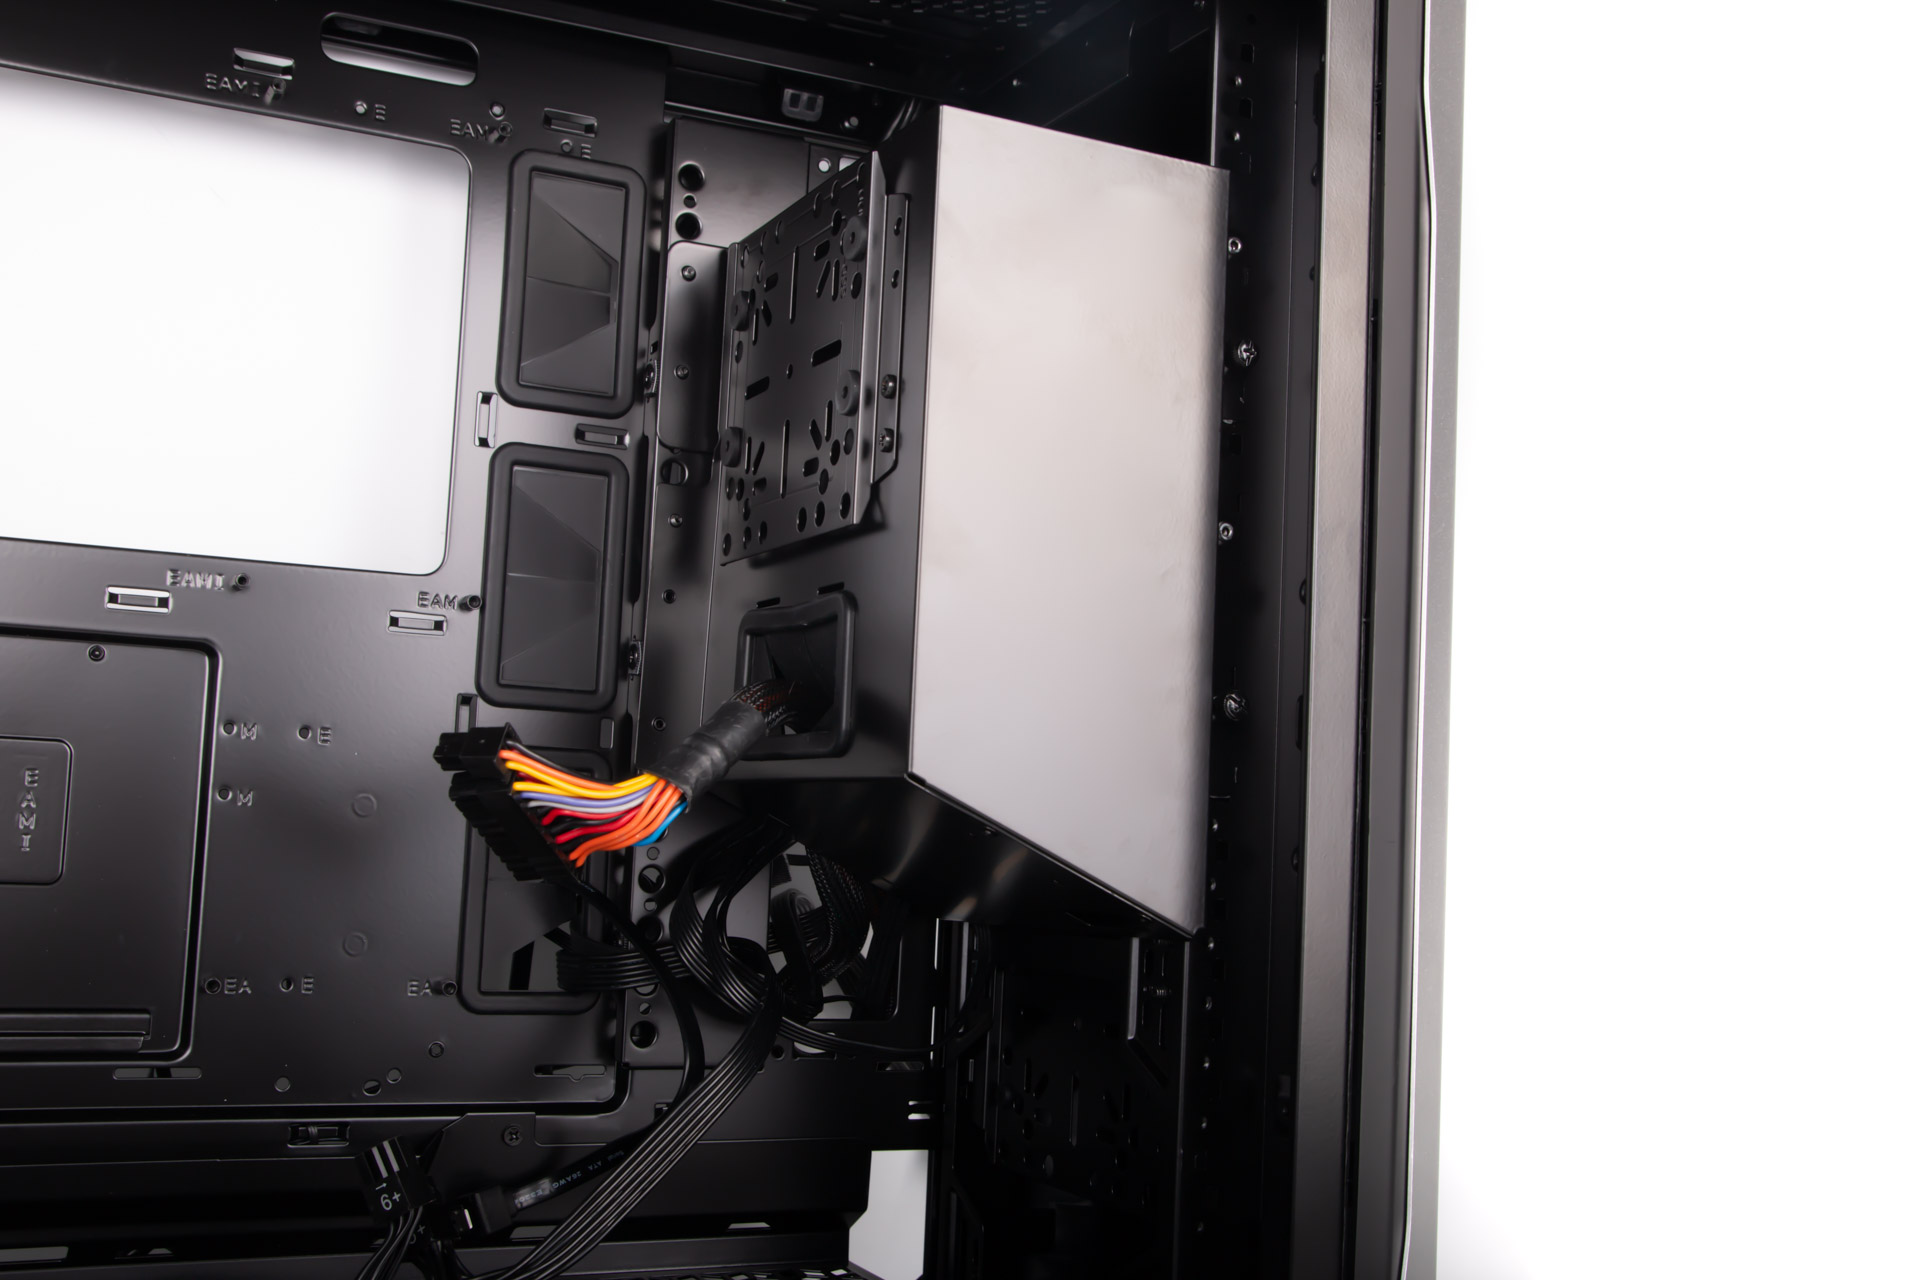
Cooler Master has included some nifty Velcro cable ties with the SL600M, which are large enough to gather cables well, at least along the front of the case. Here are two of the four dedicated 2.5in SSD mounts with the other two located in a large fascia on the side of the case next to the glass panel so you can see your speedy pride and joy on display. The fan controller has a further two free ports and is SATA cable-powered, allowing off, low, medium and high fan speeds via the front panel.
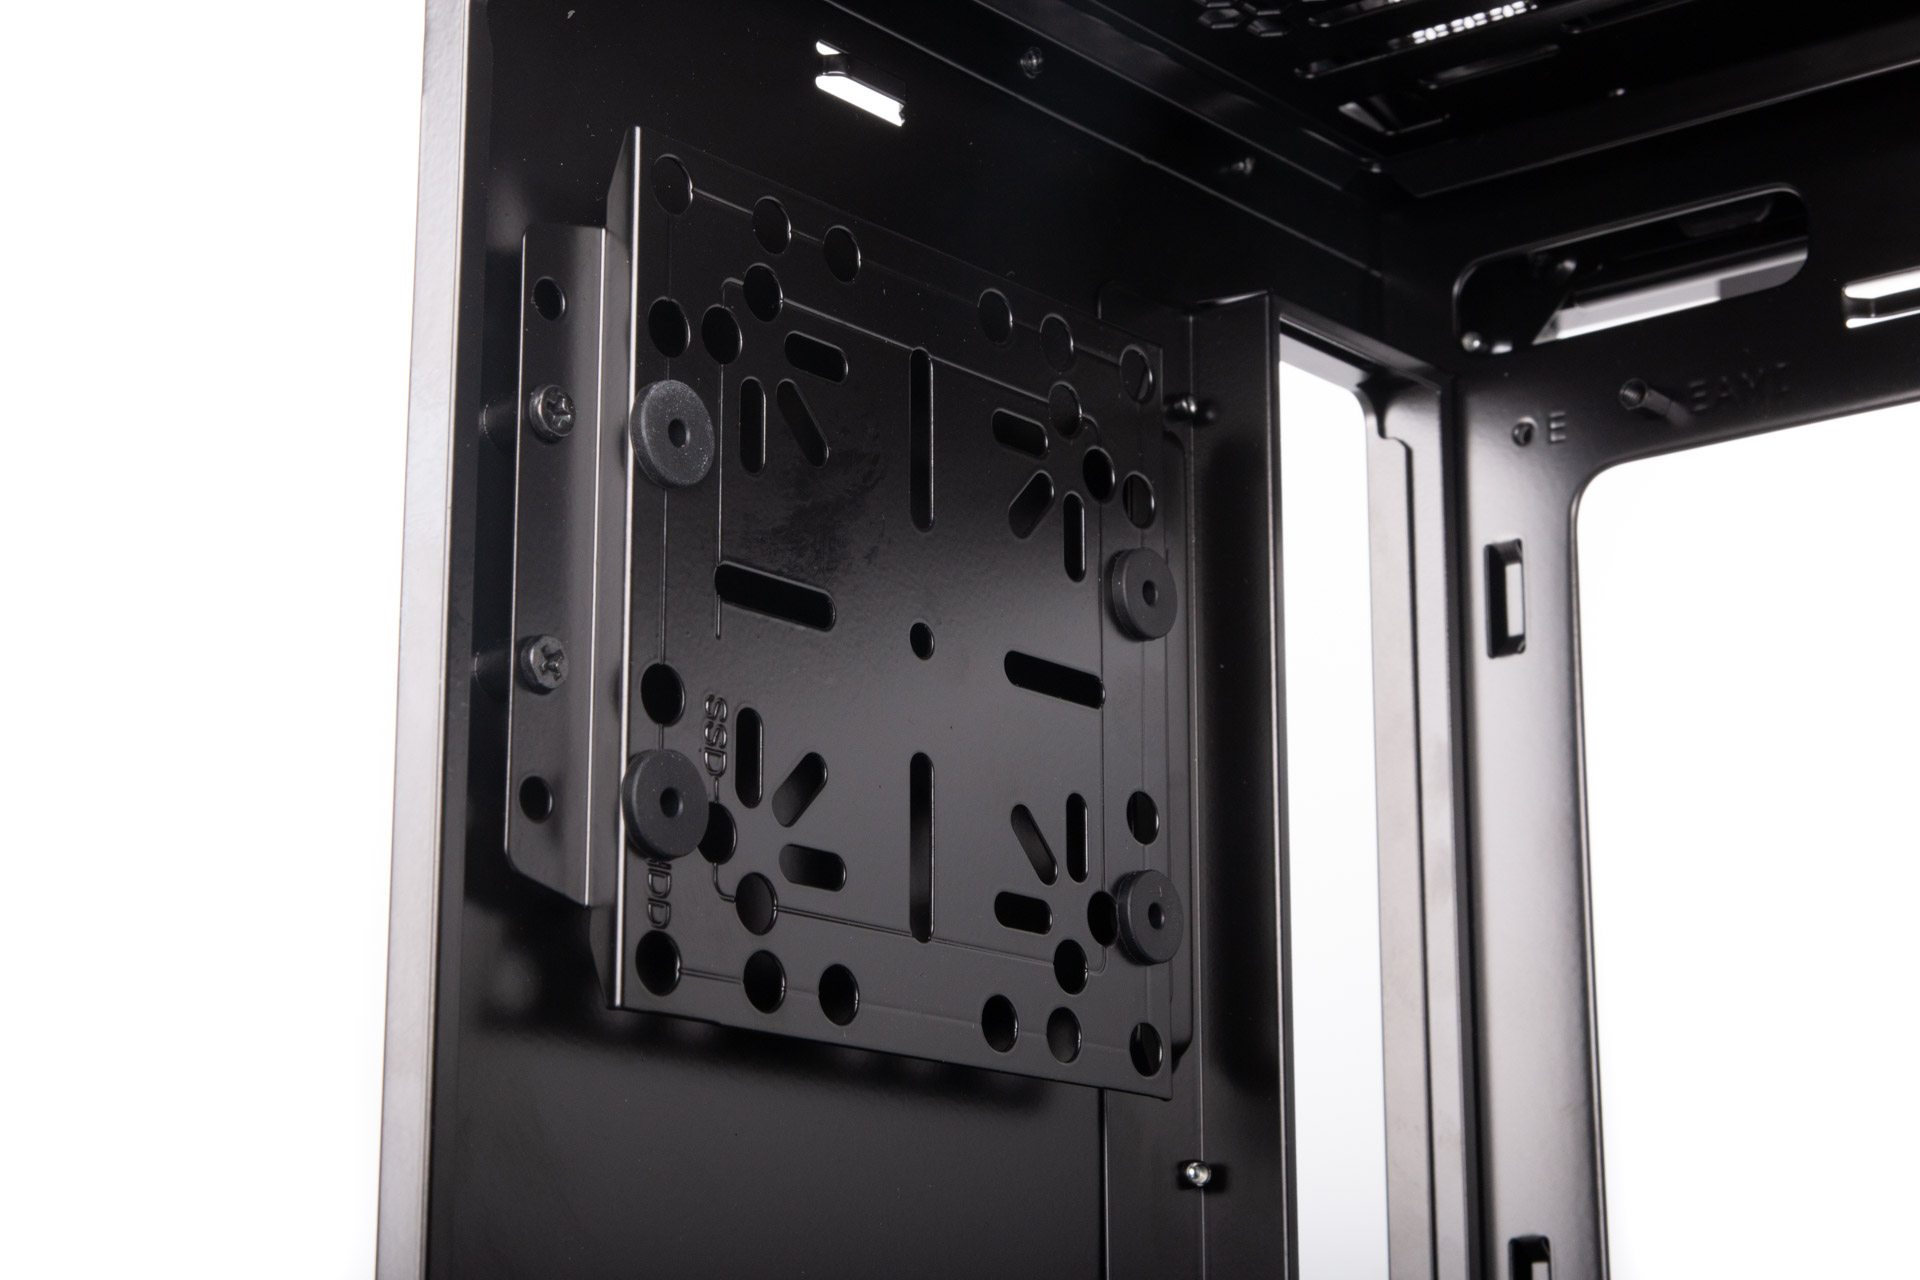
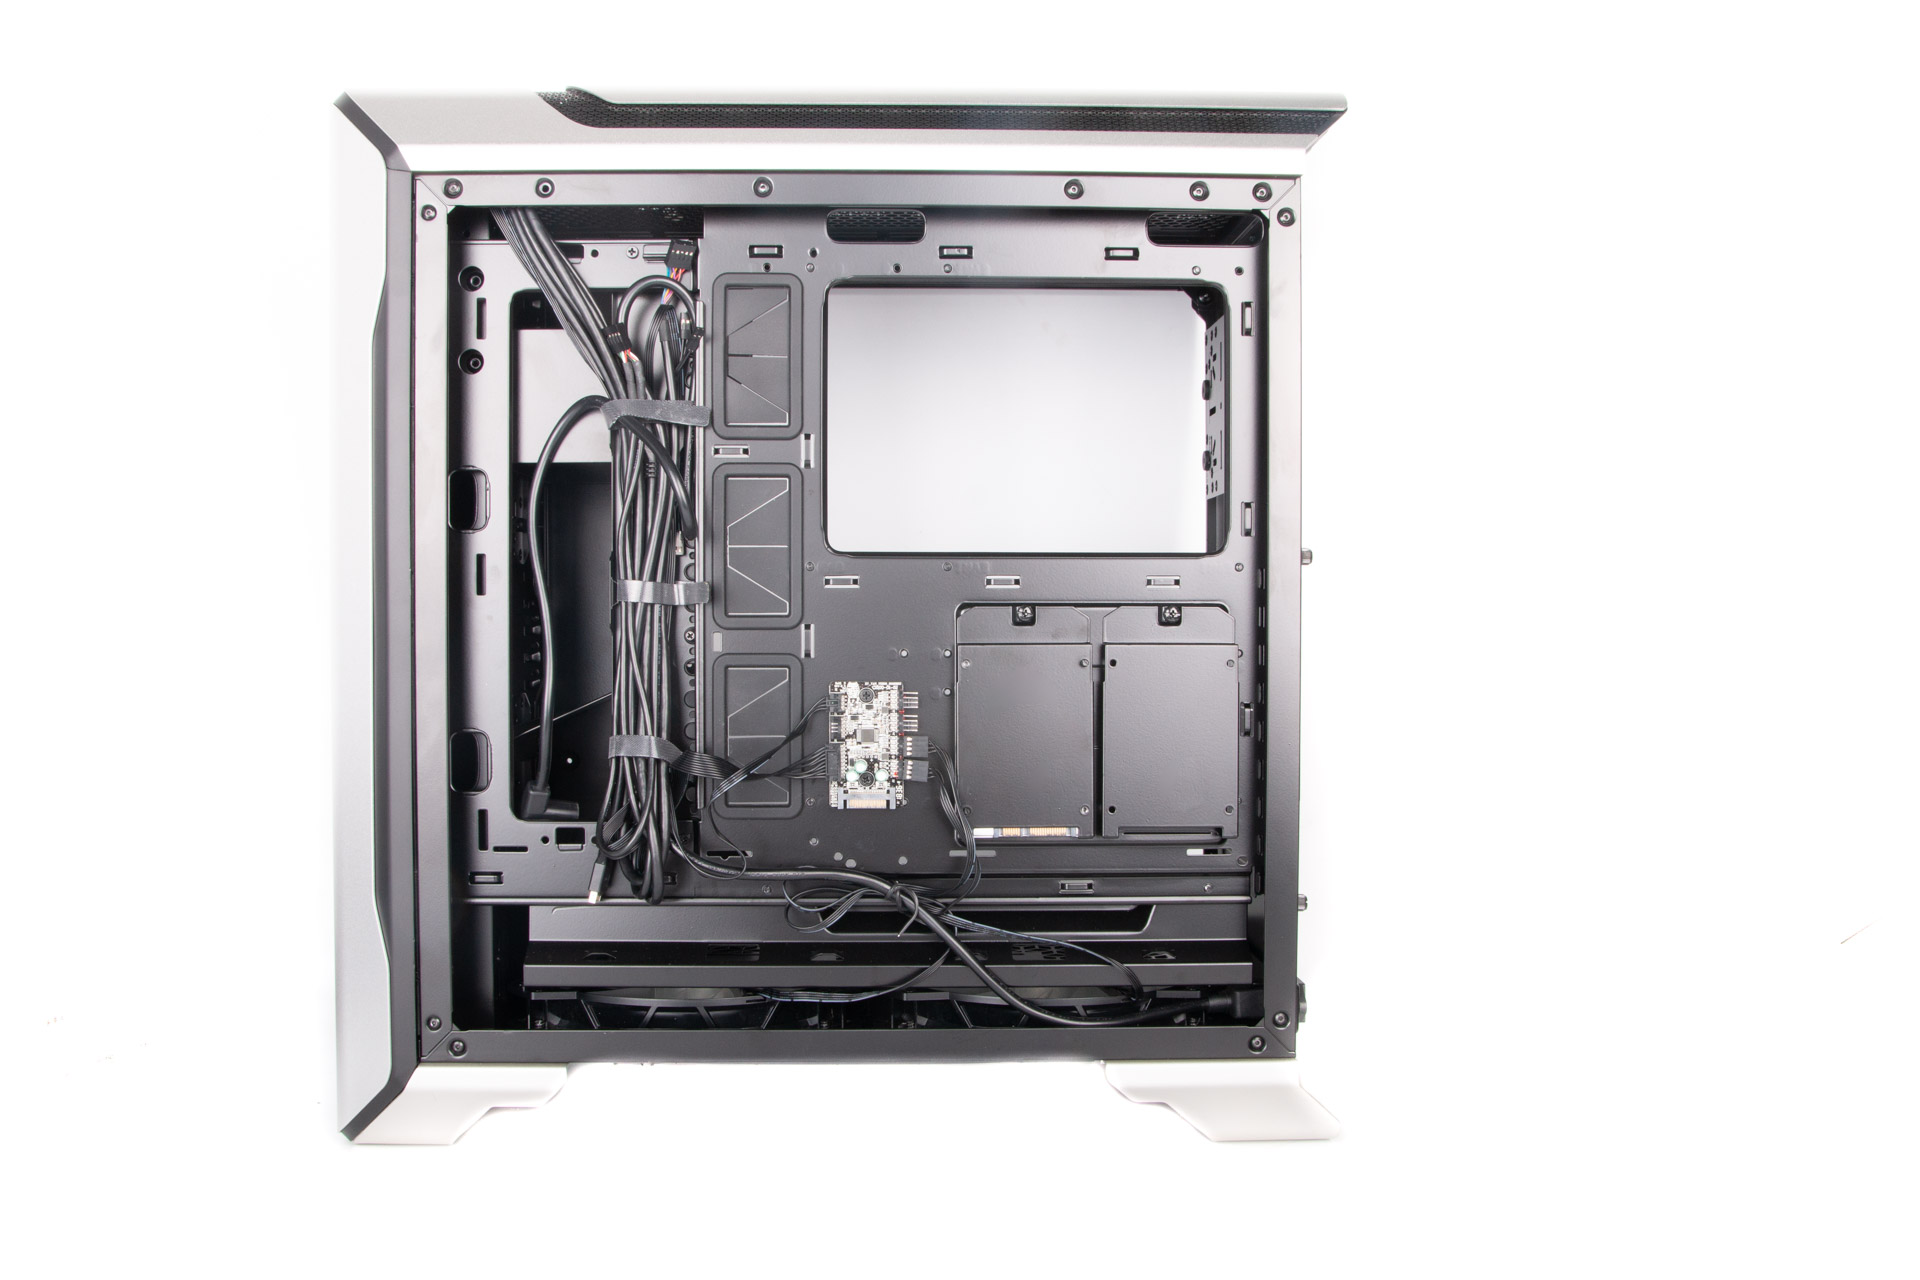 Cooler Master is clearly taking its water-cooling seriously, including two multi-functional brackets as standard that can be re-positioned throughout the case. They offer a home to a pump or reservoir and can also cater for SSDs and hard disks, with yet more mounting points for these items on the PSU shroud at the front of the case.
It all looks fairly straightforward but something we grappled with was the PSU mount. It wasn't particularly intuitive and we were constantly reverting to a rather lacklustre instruction manual to see how it removed, which screws were needed and how to reinstall it once the PSU was secured. It's honestly one of the most complicated and time-consuming ways to install a PSU we've come across.
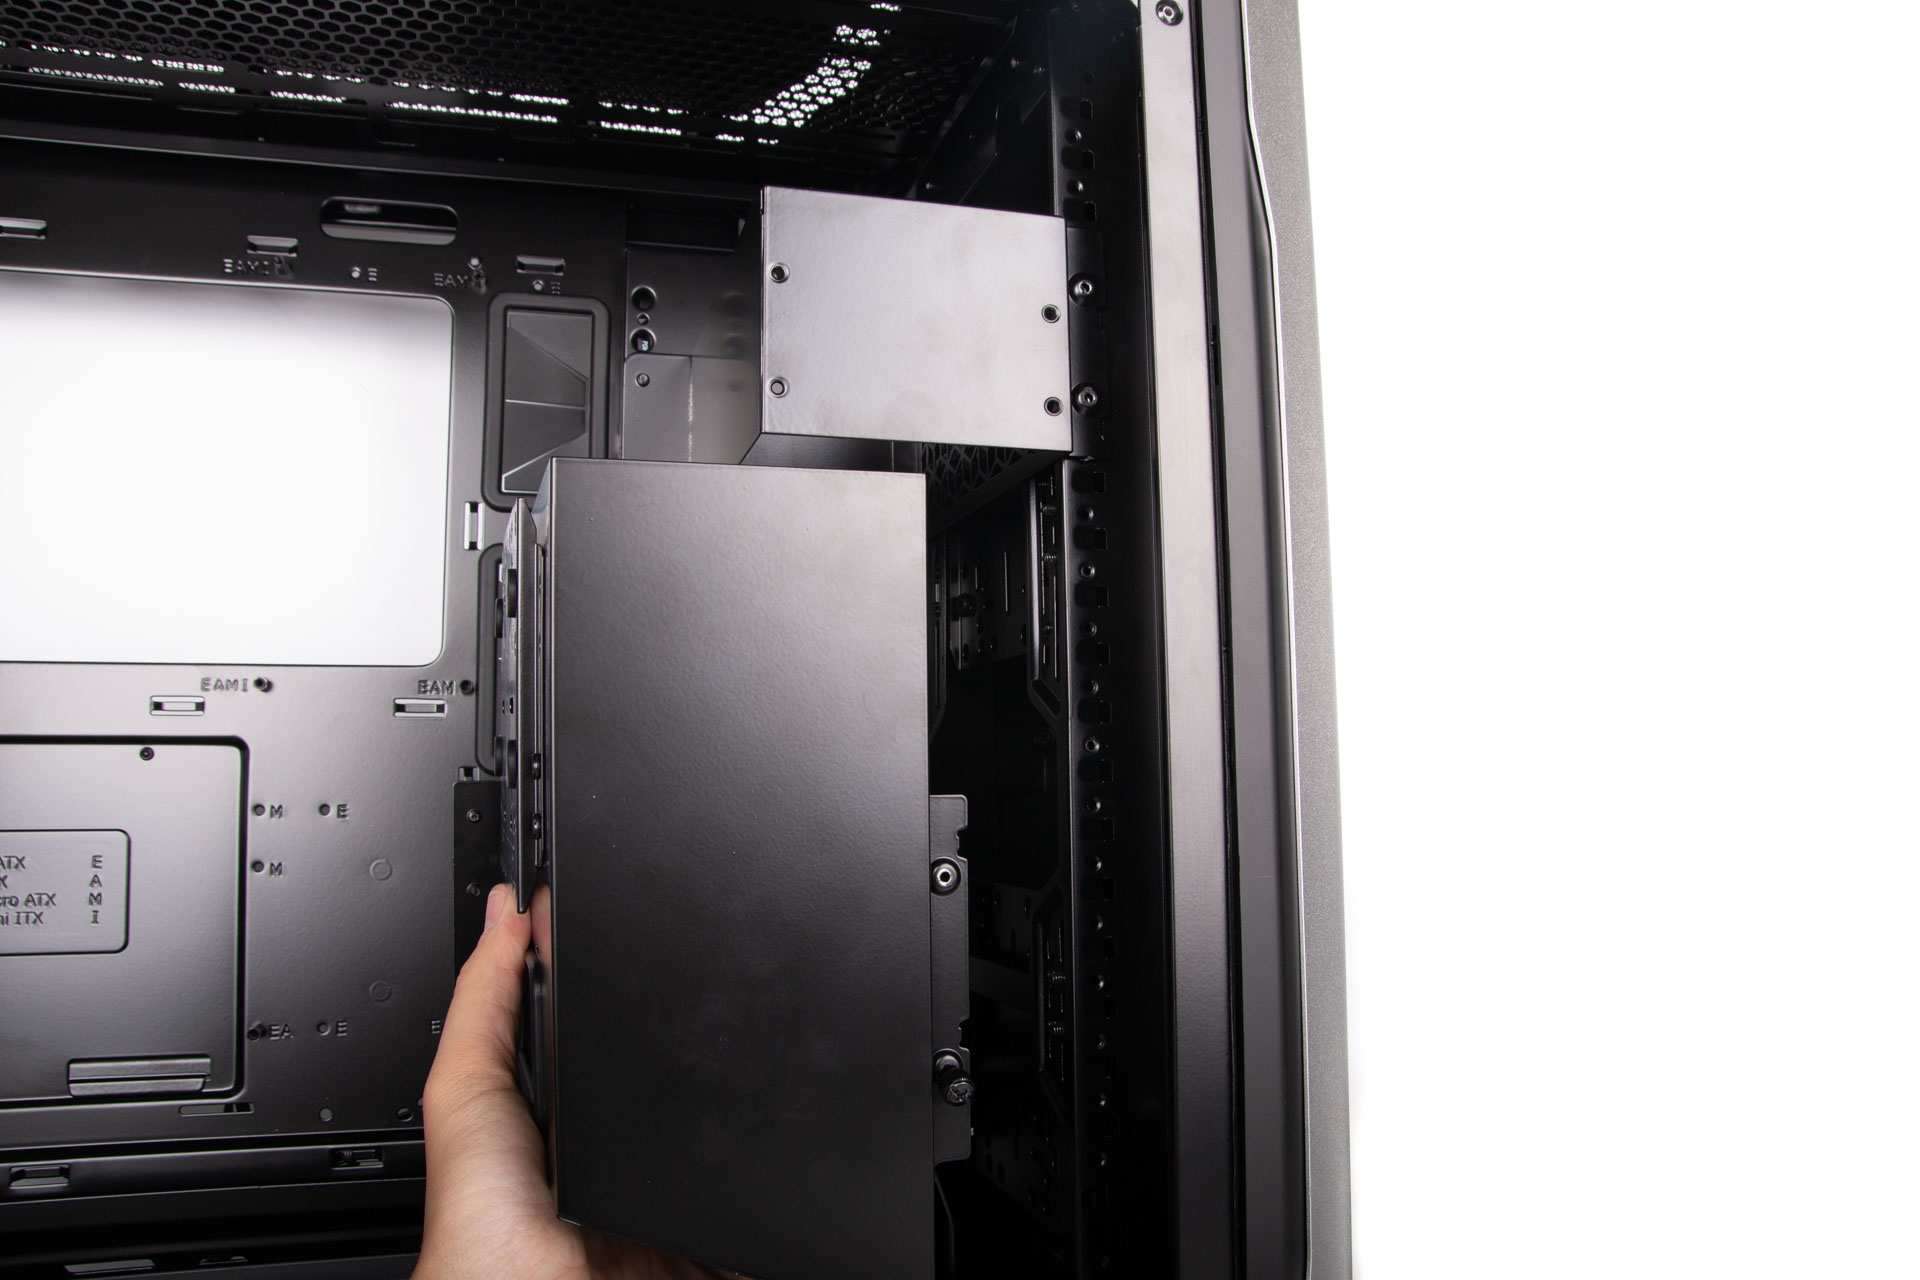
We ended up needing to remove the whole contraption, which is screwed in from both sides and removing the front panel made things a little easier, too. However, we do commend Cooler Master for making the effort here and it's even taken the trouble of angling the shroud to deflect airflow back into the chassis.
The fan-mounting points also cater for 120mm and 140mm fans with space for three of the former or two of the latter in the base and roof with 360mm and 280mm corresponding radiator sizes. The roof is limited to 43mm-thick radiators while the base offers up to 72mm clearance.


MSI MPG Velox 100R Chassis Review
October 14 2021 | 15:04

Want to comment? Please log in.