
Interior
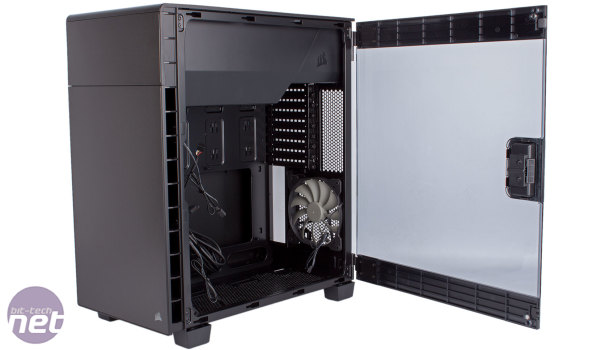
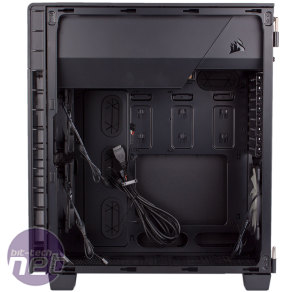
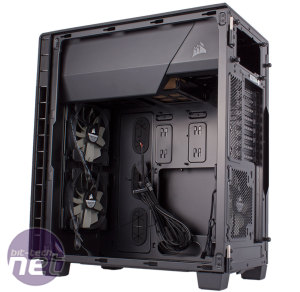
The windowed panel has a handle on and opens and closes very easily – you can also lift it off its hinges to get it out of the way. The opposite panel, meanwhile, is more traditional with its thumbscrews and handle. It's fitted on notches and rails, though we'd prefer to see a front hinge system like on other premium cases. With the side panels off, you can then unhook the internal tabs holding the front and roof panels in place. It's a bit fiddly to be honest, but does ensure they're very secure attached. Also, the roof doesn't really need to come off at all, while the front panel will only need removing every so often when you want to clean the front filter.Corsair boasts that its inverted ATX layout allows you to better show off your components. It's really your graphics card (or cards) that's shown off most – in standard ATX cases all you really see of these is a bare PCB or, at best, a backplate, while in this orientation you get to see front of the card and the cooler in all its glory. More important than aesthetics, however, is usability, and here the 600C succeeds as well. The main compartment is spacious and fitted with all nine motherboard mounts out of the box, including a central one that holds it in place vertically before you attach the first screw. There's also a large cutout for CPU cooler backplates, thumbscrews on the expansion slot brackets and heaps of room components.
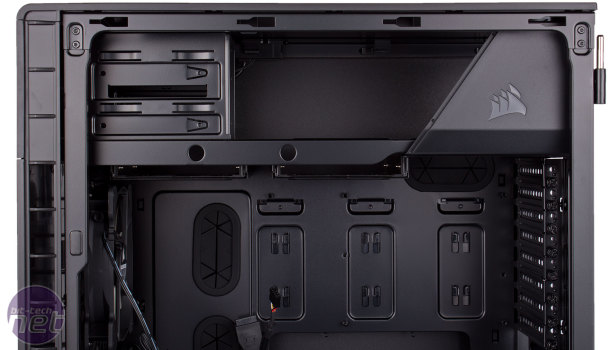
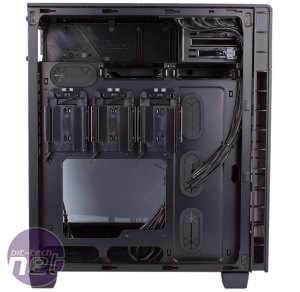
The power supply and all drives are installed above or behind the motherboard, and there's a large plastic cover shielding this section from the window side. The cover is removable, but it is a bit fiddly to get back in place and a little too easy to knock out of place by accident too. Still, it definitely works when it comes to tidying up the view and keeping cables hidden.
Installing the PSU involves releasing the rear bracket, attaching it to your unit and then sliding it in from the back. There are small rubber pads to help isolate the PSU from the case and absorb vibrations, although the bracket itself is not rubberised.
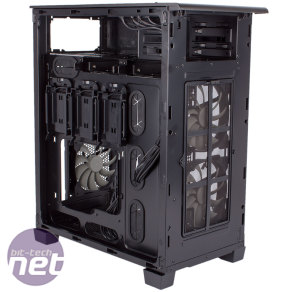
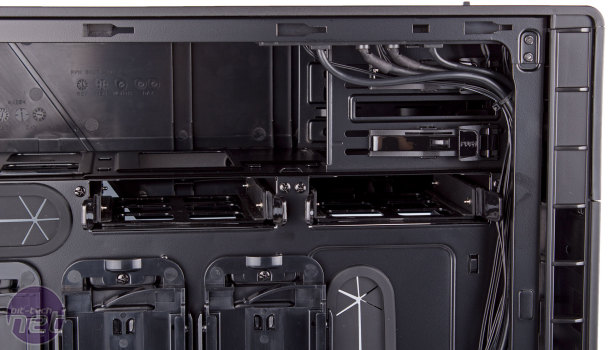
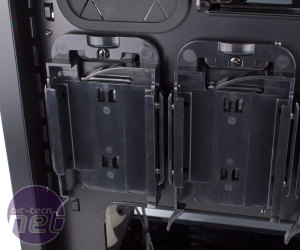
All drive sizes can be installed tool-free. 5.25in devices use standard single-sided clips, though you can use screws too if you want extra security. Just below the PSU and optical drive shelf is a pair of drive bays, each with its own plastic drive tray that is accessed from the left side. 3.5in drives are installed tool-free here, and the trays have rubberised sides to help with acoustic dampening. 2.5in drives are also supported using screws in these trays, but there are three dedicated 2.5in mounts fitted to the rear of the motherboard tray as well. Each of these has a locking arm to hold drives in place vertically although there's a lot of wiggle room – the mount could definitely do with being a bit more secure.
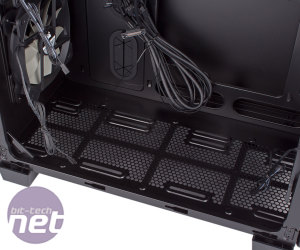
280mm and 240mm radiators are supported in the front fan mounts, and there isn't really a thickness limitation beyond the length of your graphics card. Meanwhile, the bottom supports 280mm and 360mm radiators, again with a fair amount of clearance, and the elongated mounting struts here ensure support for radiators with different screw spacings. The bottom is not really an optimal position for a radiator, but Corsair freely admits that the 600C is not designed as a water-cooling, despite decent radiator support. The design is very much focussed on optimising airflow in the main chamber.
Cable management is pretty easy in the 600C as well. There are a good number of holes all around the motherboard, most of which are filled with securely attached grommets for extra neatness. All the internal cables are black as well, which is especially important in a windowed case. There's also a decent number of anchor points behind the motherboard tray. Still, Phanteks has the upper hand here with its use of Velcro cable ties and the excellent job it does pre-routing cables for you. Still, as you'll see over the page, it's very easy to build a tidy looking PC in the 600C.

MSI MPG Velox 100R Chassis Review
October 14 2021 | 15:04



Want to comment? Please log in.