
Interior
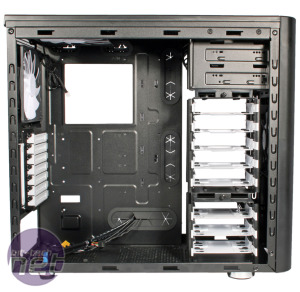
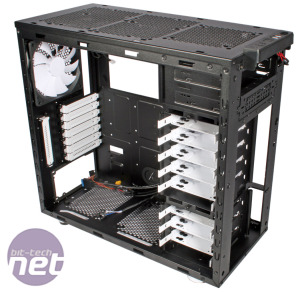
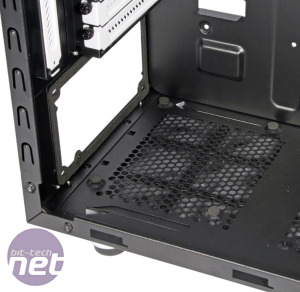
Like the roof panel, removing the side panels requires a pair of thumbscrews to be undone. The panels aren't as thick or sturdy as the bitumen-backed ones of the Define R4, of course, but they're still robust and exhibit little flex. They also use notches and rails to attach to the case; this isn't our favourite method, but we had no issues sliding them on and off multiple times. A firm tug beneath the front panel lets you remove that too, which you'll need to do should you wish to install an optical drive or an extra front fan.A quick glance around the attractive interior reveals that all the details we like to see have been included. For example, foam feet for the PSU as well as padding where it meets the case will stifle vibrations and noise here, while thumbscrews mean the PCI brackets are reusable. The cutout for CPU cooler backplates is also nice and large.
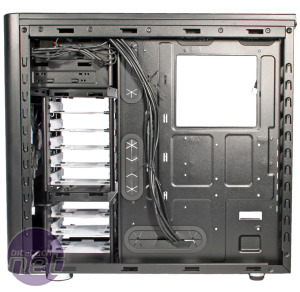
Wiring from the fans, fan controller and front panel connections is all sleeved to a high quality in black for a consistent finish; an important consideration given the inclusion of a window. The fan controller's cables are also a sensible length for the default fans, which makes them easy to route and leads to less clutter in your build.
Both the motherboard and PSU are easy to install with nothing to get in the way. Those who still use optical drives will simply need to slide them in and use some of the supplied thumbscrews for an installation that's both tool-free and as secure as can be.
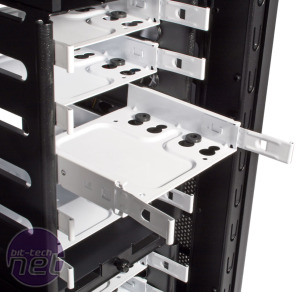
The Arc Midi R2 once again features eight of Fractal's metal internal drive trays. As usual, both HDDs and SSDs will require screws to install, which is fine by us, and the hard drive mounting holes are lined with rubber to absorb vibrations. The trays themselves also clip into place with minimum wobble. The new revision also allows you to fit a pair of SSDs to the rear of the motherboard tray. While this is useful for saving space and hiding cables, it's poorly implemented, as you'll need to remove your motherboard (and your PSU for the lower one) to install and uninstall drives here, which is far from convenient.
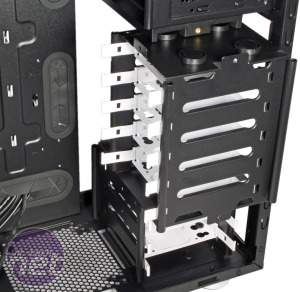
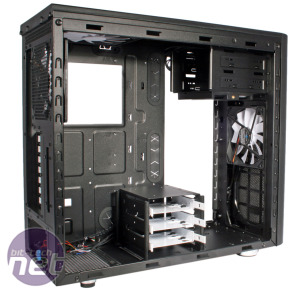
Click to enlarge - The new drive cage arrangement makes the front of the case available for water-cooling
The internal drives are now split into cages of five and three. As before, two thumbscrews allow you to pull out and rotate (or just remove completely) the top cage so as to improve airflow from the front fan, as well as provide extra room for long graphics cards. However, an extra six screws mean that the bottom cage is now fully removable too, and it can also be secured further into the case. This makes the front of the case available for a water-cooling set-up; there's easily room for a full size 240mm radiator with fans on either side to be secured to the front fan mounts, which is a great addition.
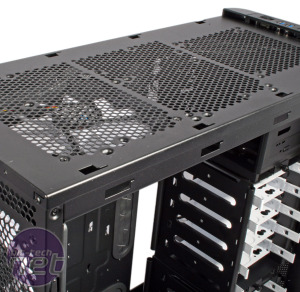
You're also still able to fit a full height 240mm radiator in the roof of the case (again with fans on both sides), as the width of the case and some offset mounting holes mean it won't interfere with your motherboard. The rear fan will be partially blocked and large tower coolers impeded, however, but as you'd likely be cooling your CPU with the loop anyway this shouldn't be an issue. For so small and cheap a case, it's impressive to see such versatile water-cooling options.
The case's cable routing holes are well positioned around the side, top and bottom of the motherboard, with nice sturdy grommets fitted to most. Hooks on the motherboard tray and six supplied zip ties let you keep things tidy, and the width of the case has benefits for cable management too. The 26mm of room behind the motherboard tray is a lot more than we're used to seeing in a mid-tower, and even though the side panel isn't extruded and uses notches and rails, we had no issue reattaching it with our system built and tidied.

MSI MPG Velox 100R Chassis Review
October 14 2021 | 15:04



Want to comment? Please log in.