Interior
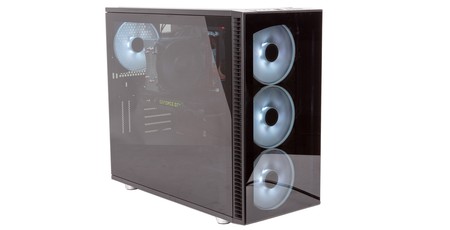
As is thankfully becoming the norm for high-end designs, the tempered glass panels are mounted to steel sections that are responsible for mounting the glass to the case and leaving it free of ugly bolts. Fractal deploys a front curved hinge to help position the panels, and each one simply pushes and locks into place at the rear. The case arrives with non-captive thumbscrews to secure them during transit, but day-to-day these can be left off (keeping the internal access tool-free), as the mechanism is secure enough by itself.
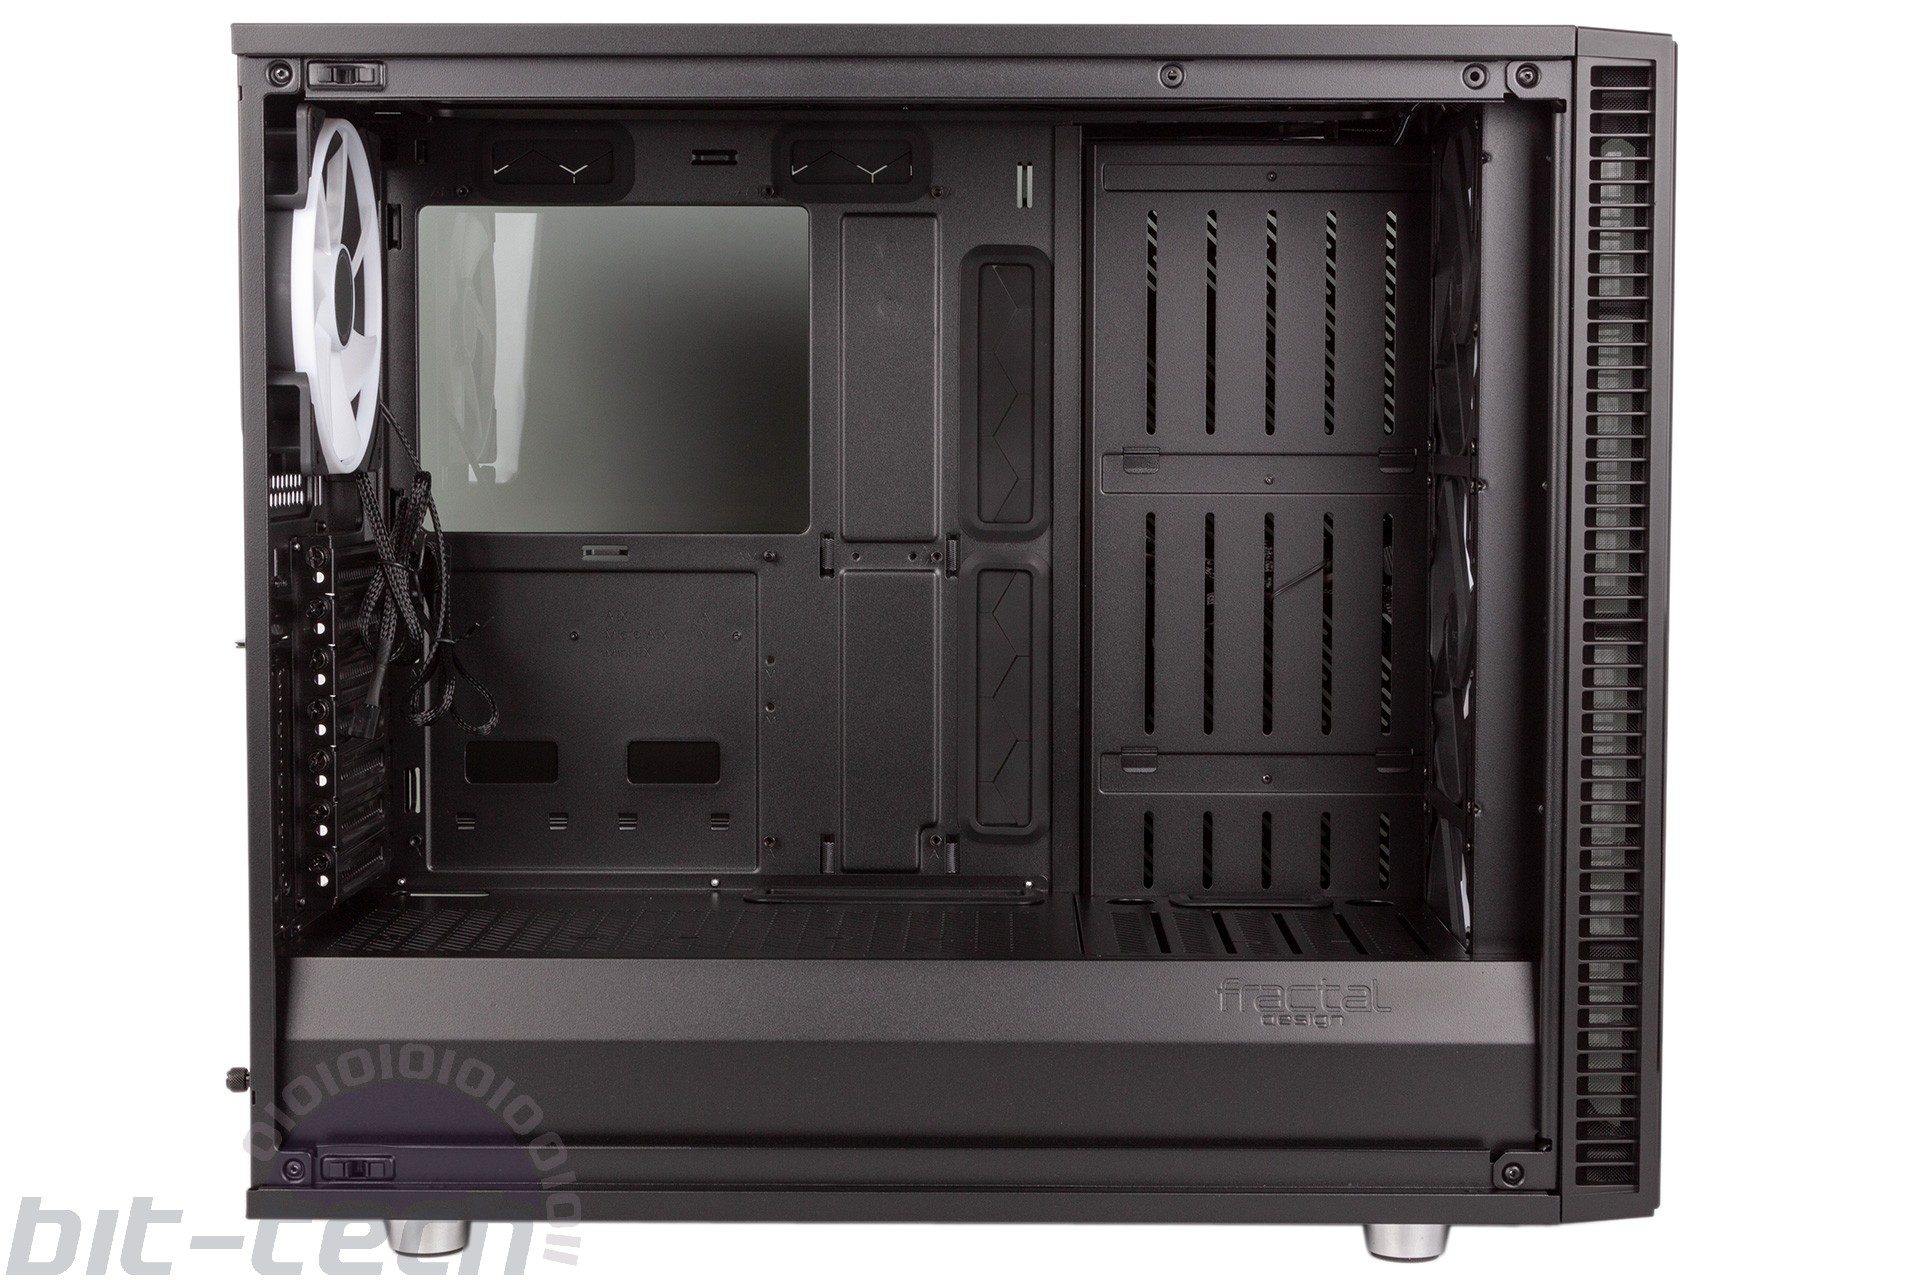
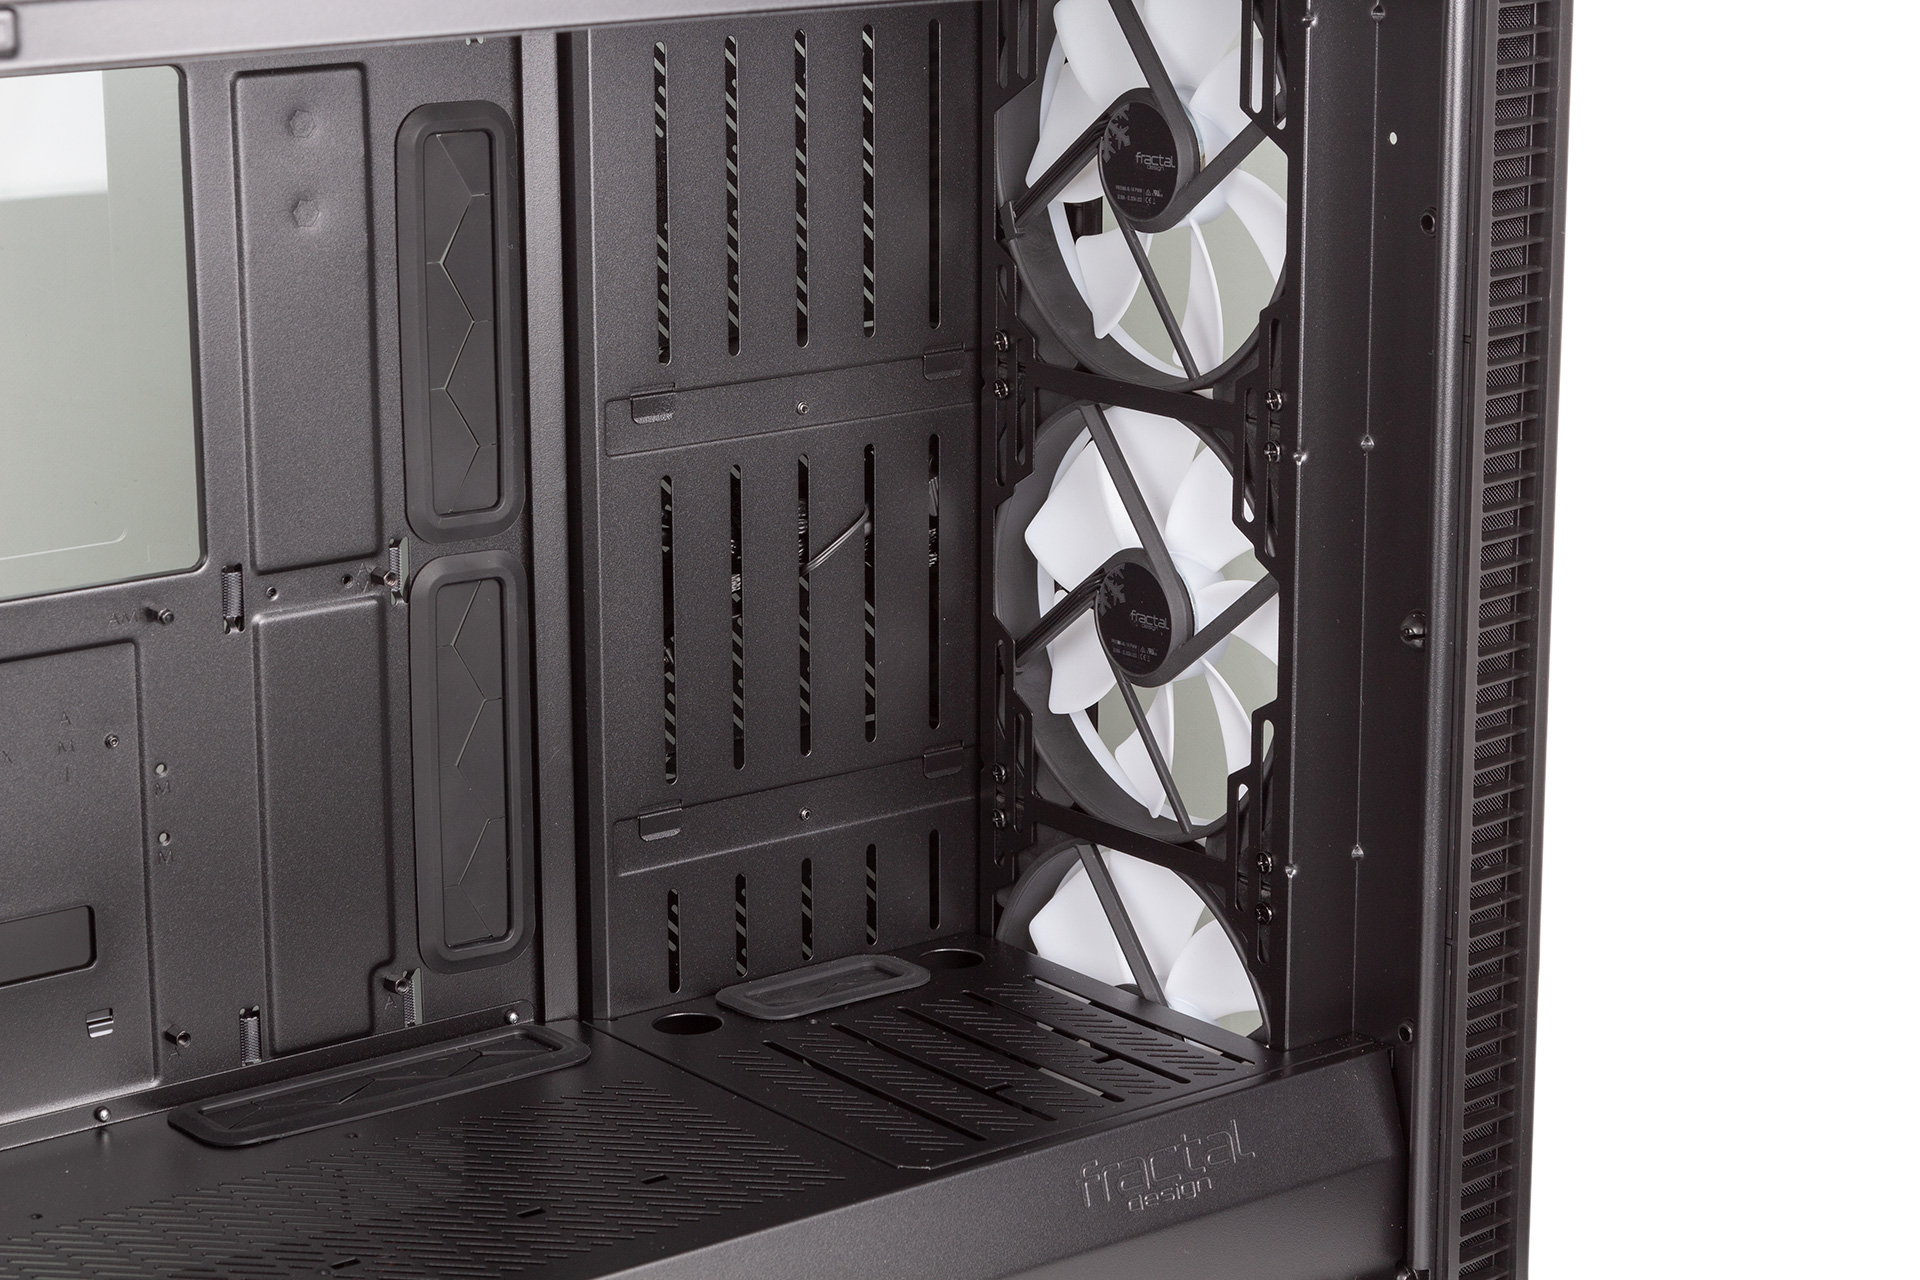
Inside is familiar, as the Define S2 layout is largely carried over unchanged. The ventilated steel PSU shroud divides the case in two, and there’s copious room for CPU coolers and graphics cards. Motherboard standoffs are pre-installed, including a longer central one.
Graphics cards under 2.5 slots can be installed vertically, but the relevant riser cable is as usual sold separately. Fractal Design recommends liquid-cooling for anything above two slots, because the fans will be so close to the glass that they’ll struggle to access any air at all.
The PSU slides in from the back after being attached to its own bracket that attaches via captive thumbscrews. It also has pads to rest on in order to keep vibrations down.
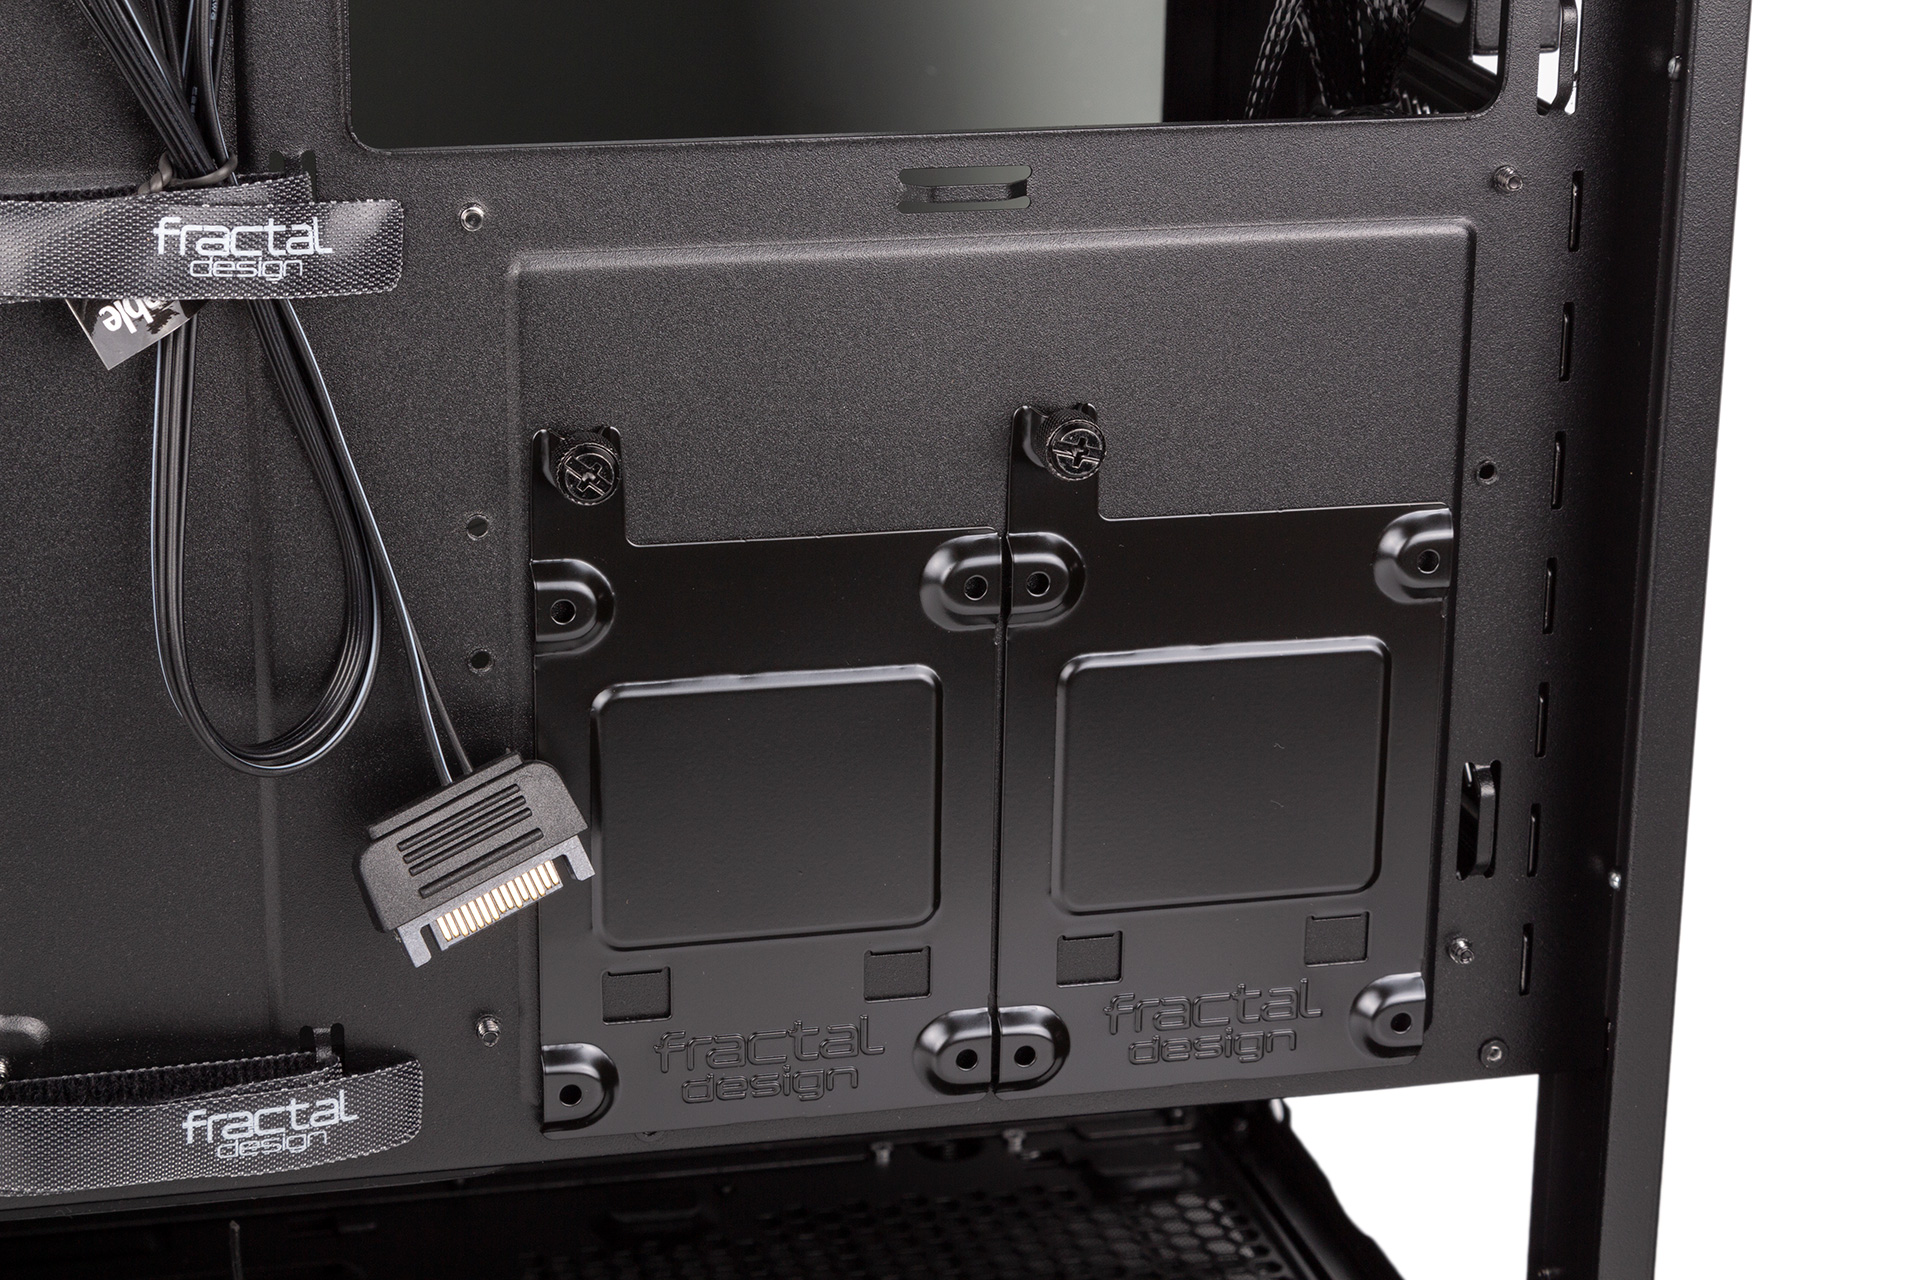
The Define S2 Vision RGB comes with two metal SSD brackets, each independently removable via a captive thumbscrew. By default these are found behind the motherboard tray, but there are three positions available on the PSU shroud (up from two on the original) if you’d rather display your SSDs through the main window. The brackets are also sold separately, so you can expand your storage at a later date.
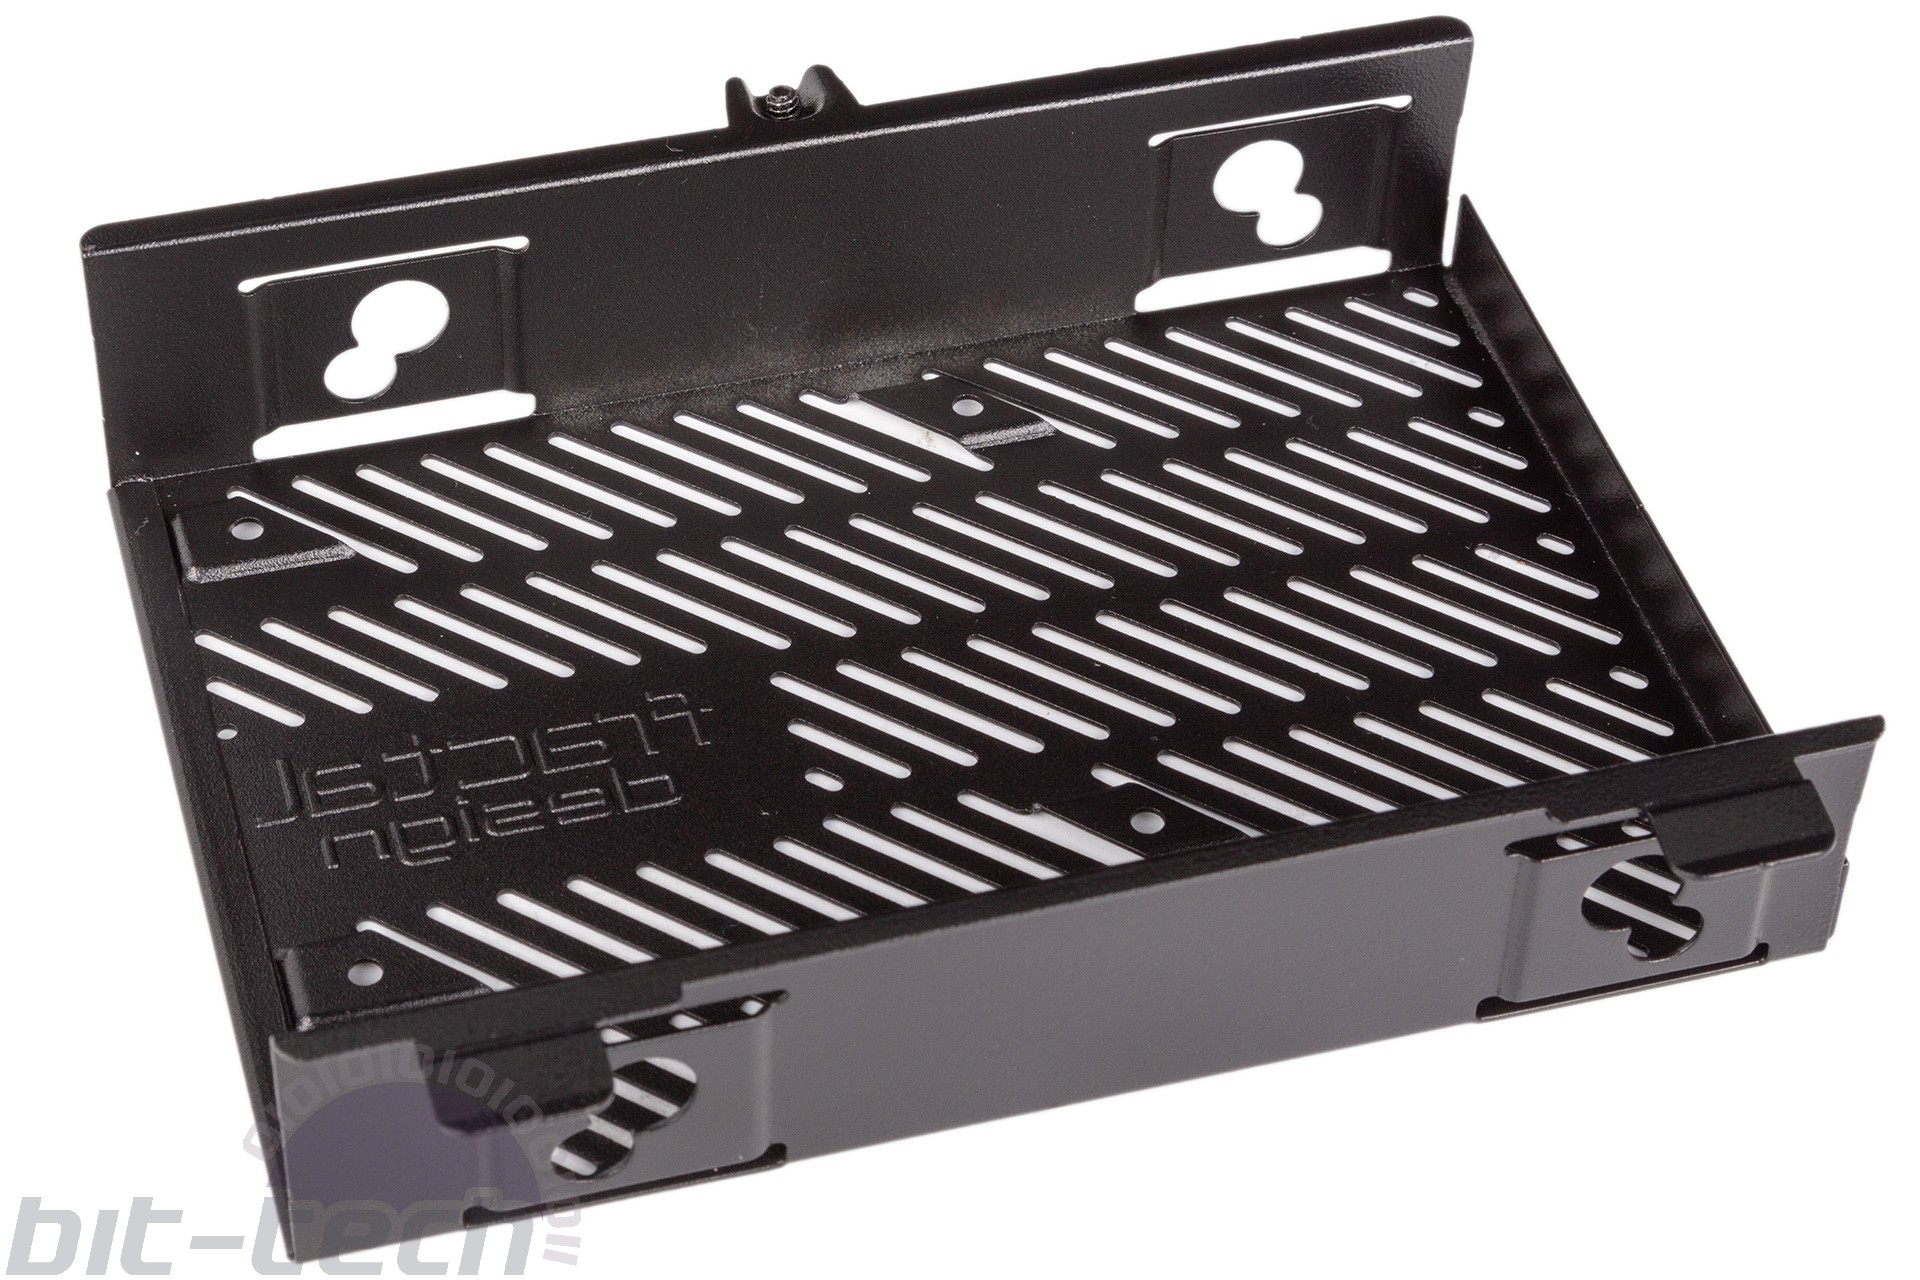
You also get three high-quality steel drive bays for 3.5” devices, again independently removable via captive thumbscrews and neatly hidden at the front of the case. Grommets are supplied to help stop drives rattling. There are no additional mounting points for 3.5” drives, however, so keep that in mind if you have a multi-HDD build planned.
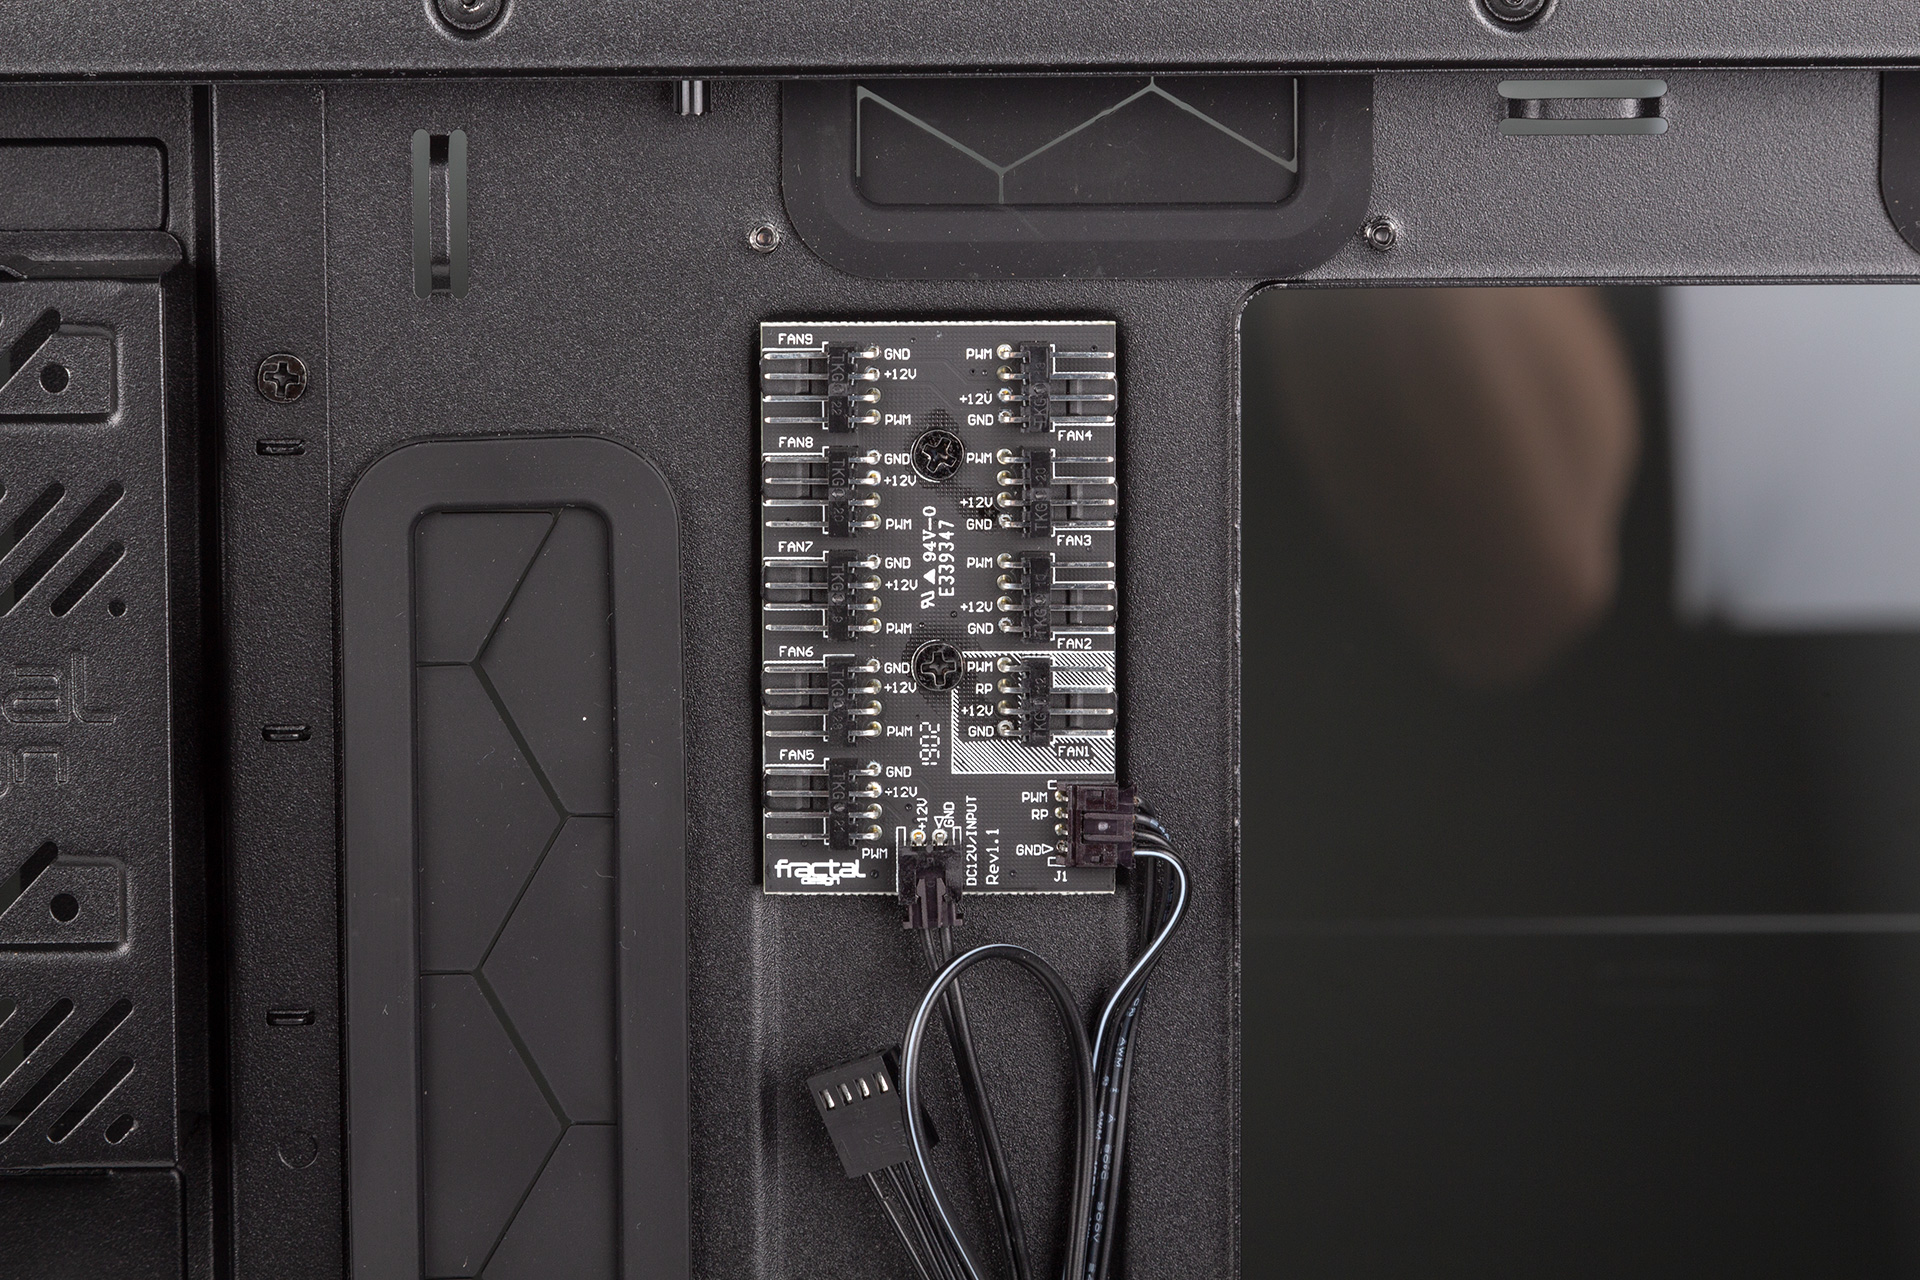
Also pre-fitted behind the motherboard tray is the Nexus P9 PWM fan hub, offering full PWM control for nine four-pin or three-pin fans via a single PWM signal taken from whichever fan header you choose (normally CPU). It’s SATA-powered and supports a maximum current of 3A, so total fan wattage cannot exceed 36W. Fans do not come pre-connected to this like they do with Asus and Phanteks.
You’ll also need to daisy-chain the ARGB lighting for the Prisma ARGB LED strip (fitted along the left edge of the roof to provide downlighting for the main chamber) and the four ARGB fans. It involves lots of cabling, but the same is true for all RGB peripherals currently.
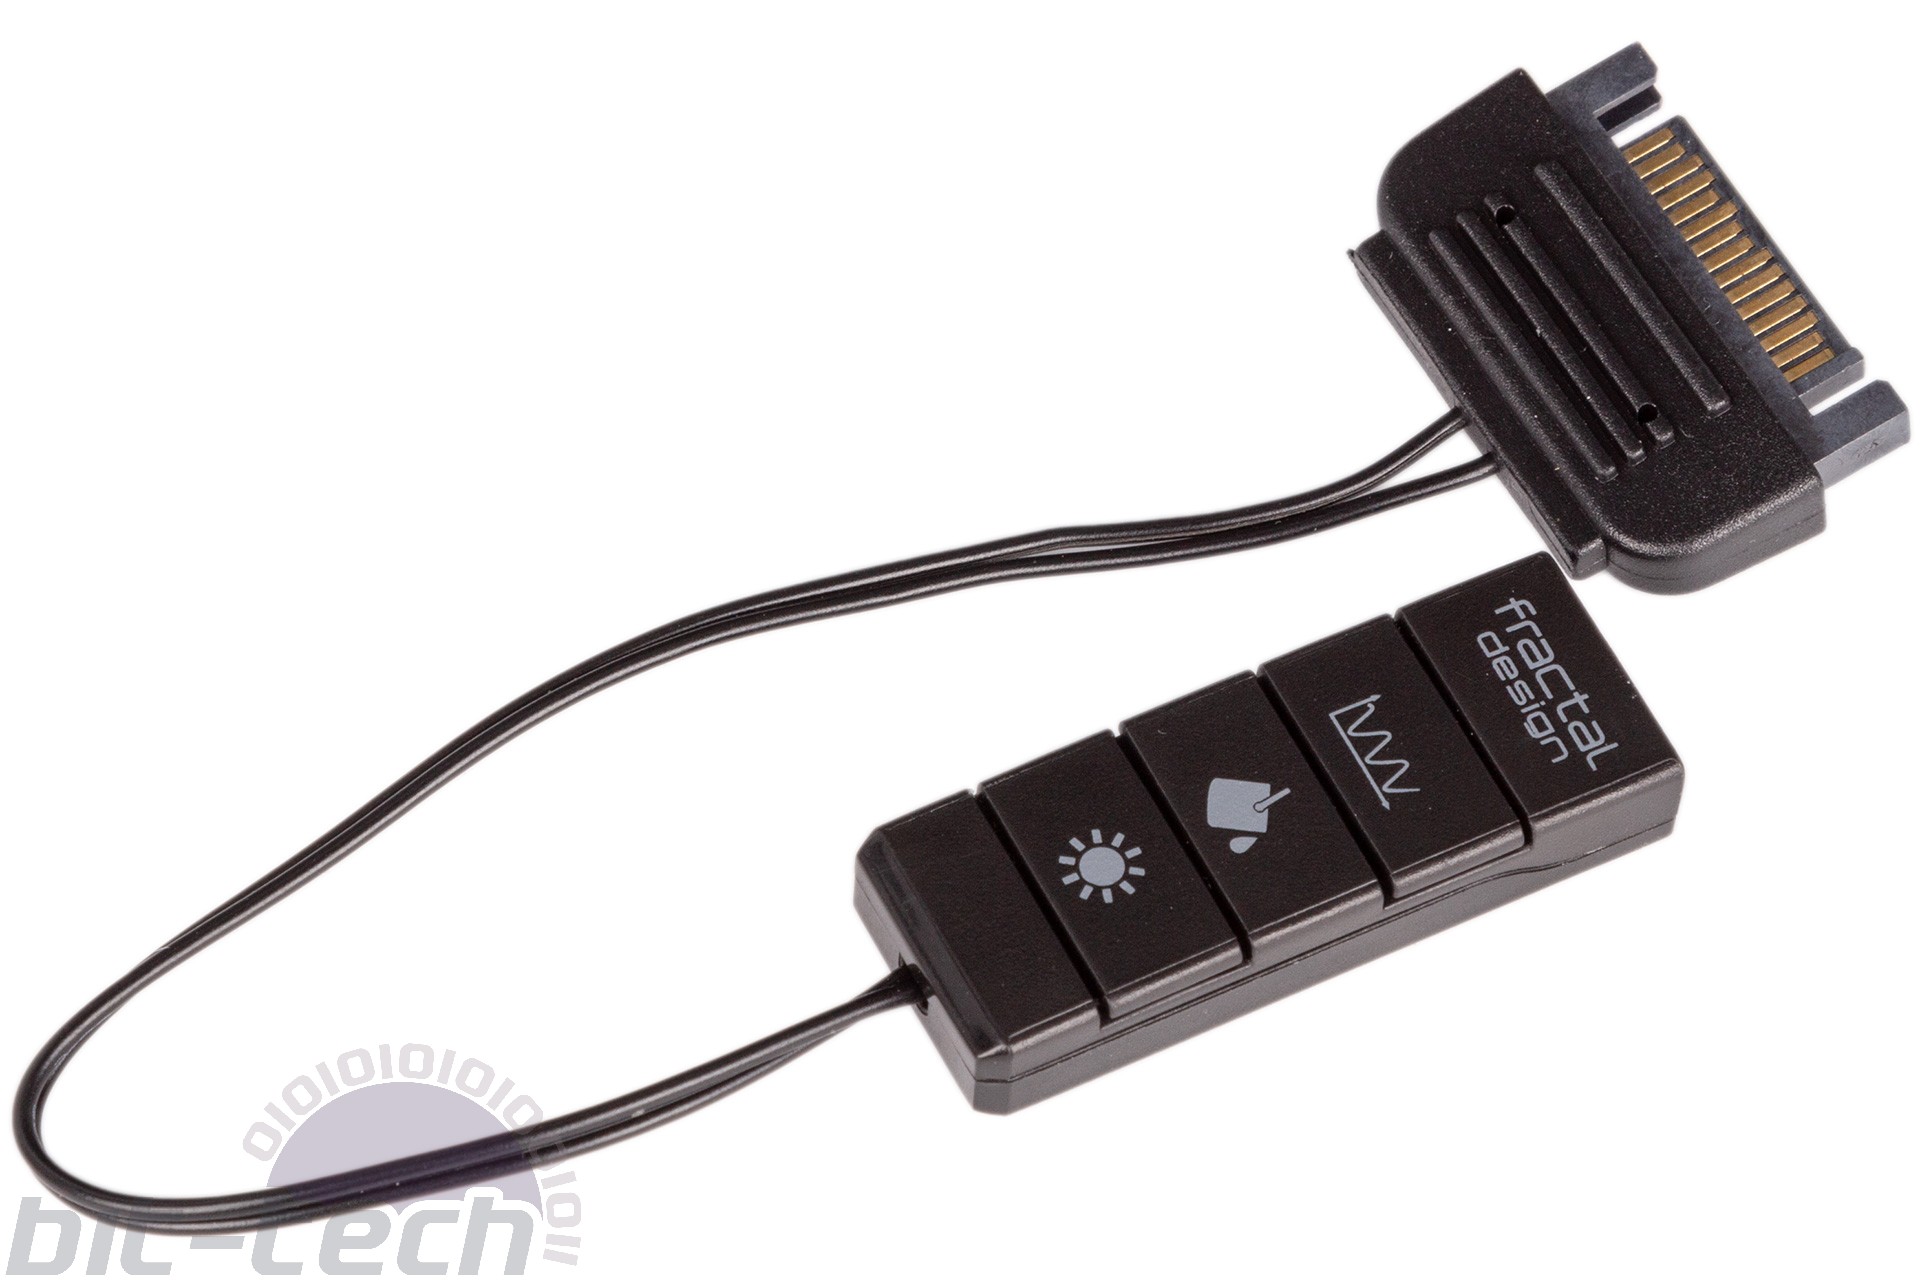
The Fractal Adjust R1 RGB controller is supplied and offers some basic colours and effects and five brightness levels, but Fractal clearly intends for motherboard control to be used instead. The SATA-powered controller is designed to be internal (integrated magnets allow you to stick it nearly anywhere), so you’ll have to open up the case whenever you fancy a change. Again, it’s unfortunate not to find an external controller that lets you switch between direct hardware control and software-enhanced motherboard control. Also, the LED strip is fitted to the part of the roof that you need to remove in order to install fans and radiators here, so you’d need to find another place for it or go without it if making the change.
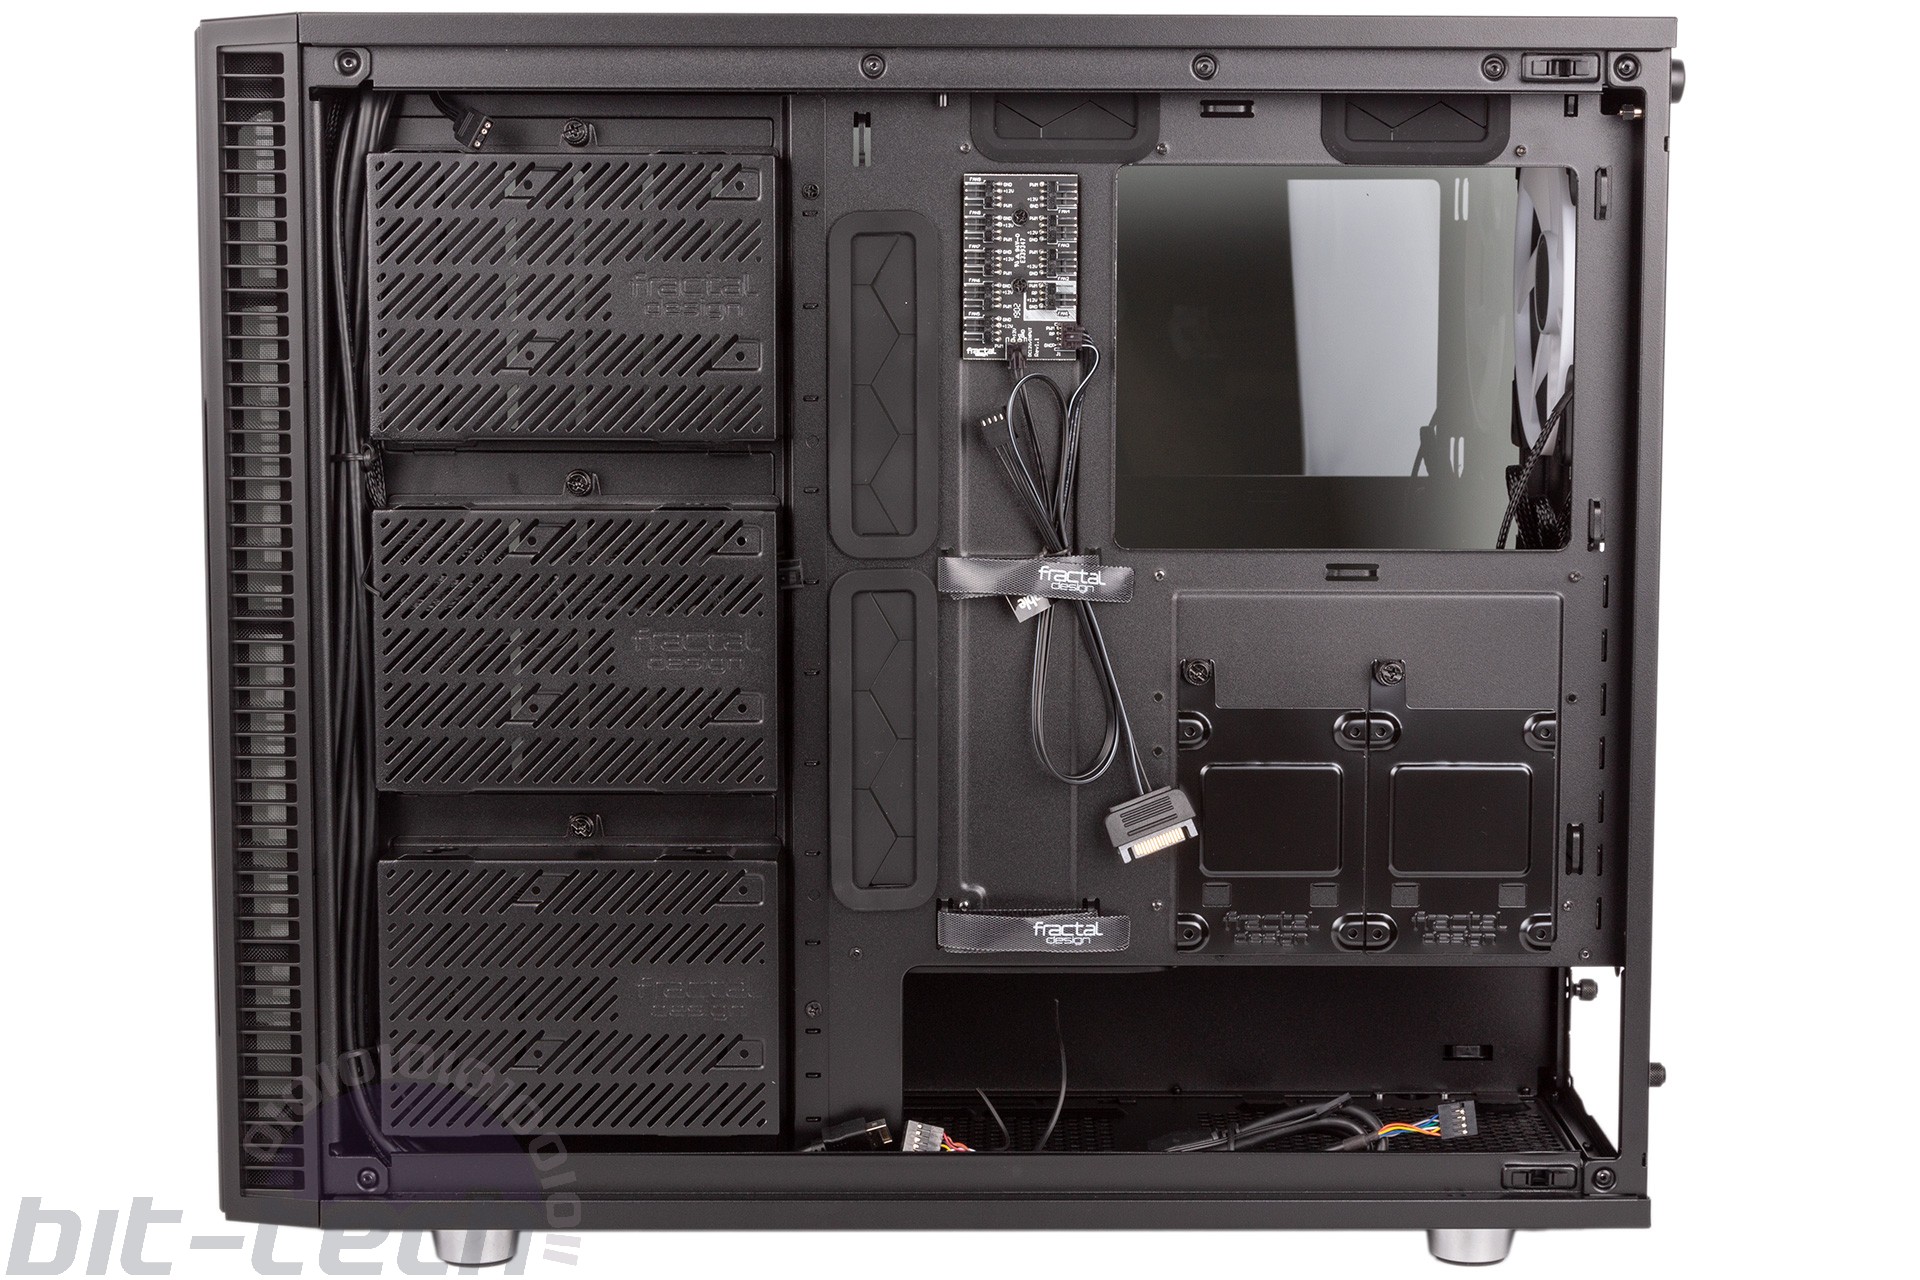
Fractal’s cable management solution is respectable. The holes around the motherboard are sensibly placed, well sized, and fitted with good rubber grommets. There are two Velcro cable ties (one or two more would be nice) and many anchor points and zip ties. The internal I/O cables are all sleeved black for convenience, and the three-port SATA splitter cable (with flat headers) is useful as well. That said, the three 3.5” mounts do rather get in the way, and we were very happy to have them empty in order to stuff the ARGB cables into. If they were full, we’d struggle to keep things neat without a lot of planning and patience, which isn’t ideal given the case has a glass panel.
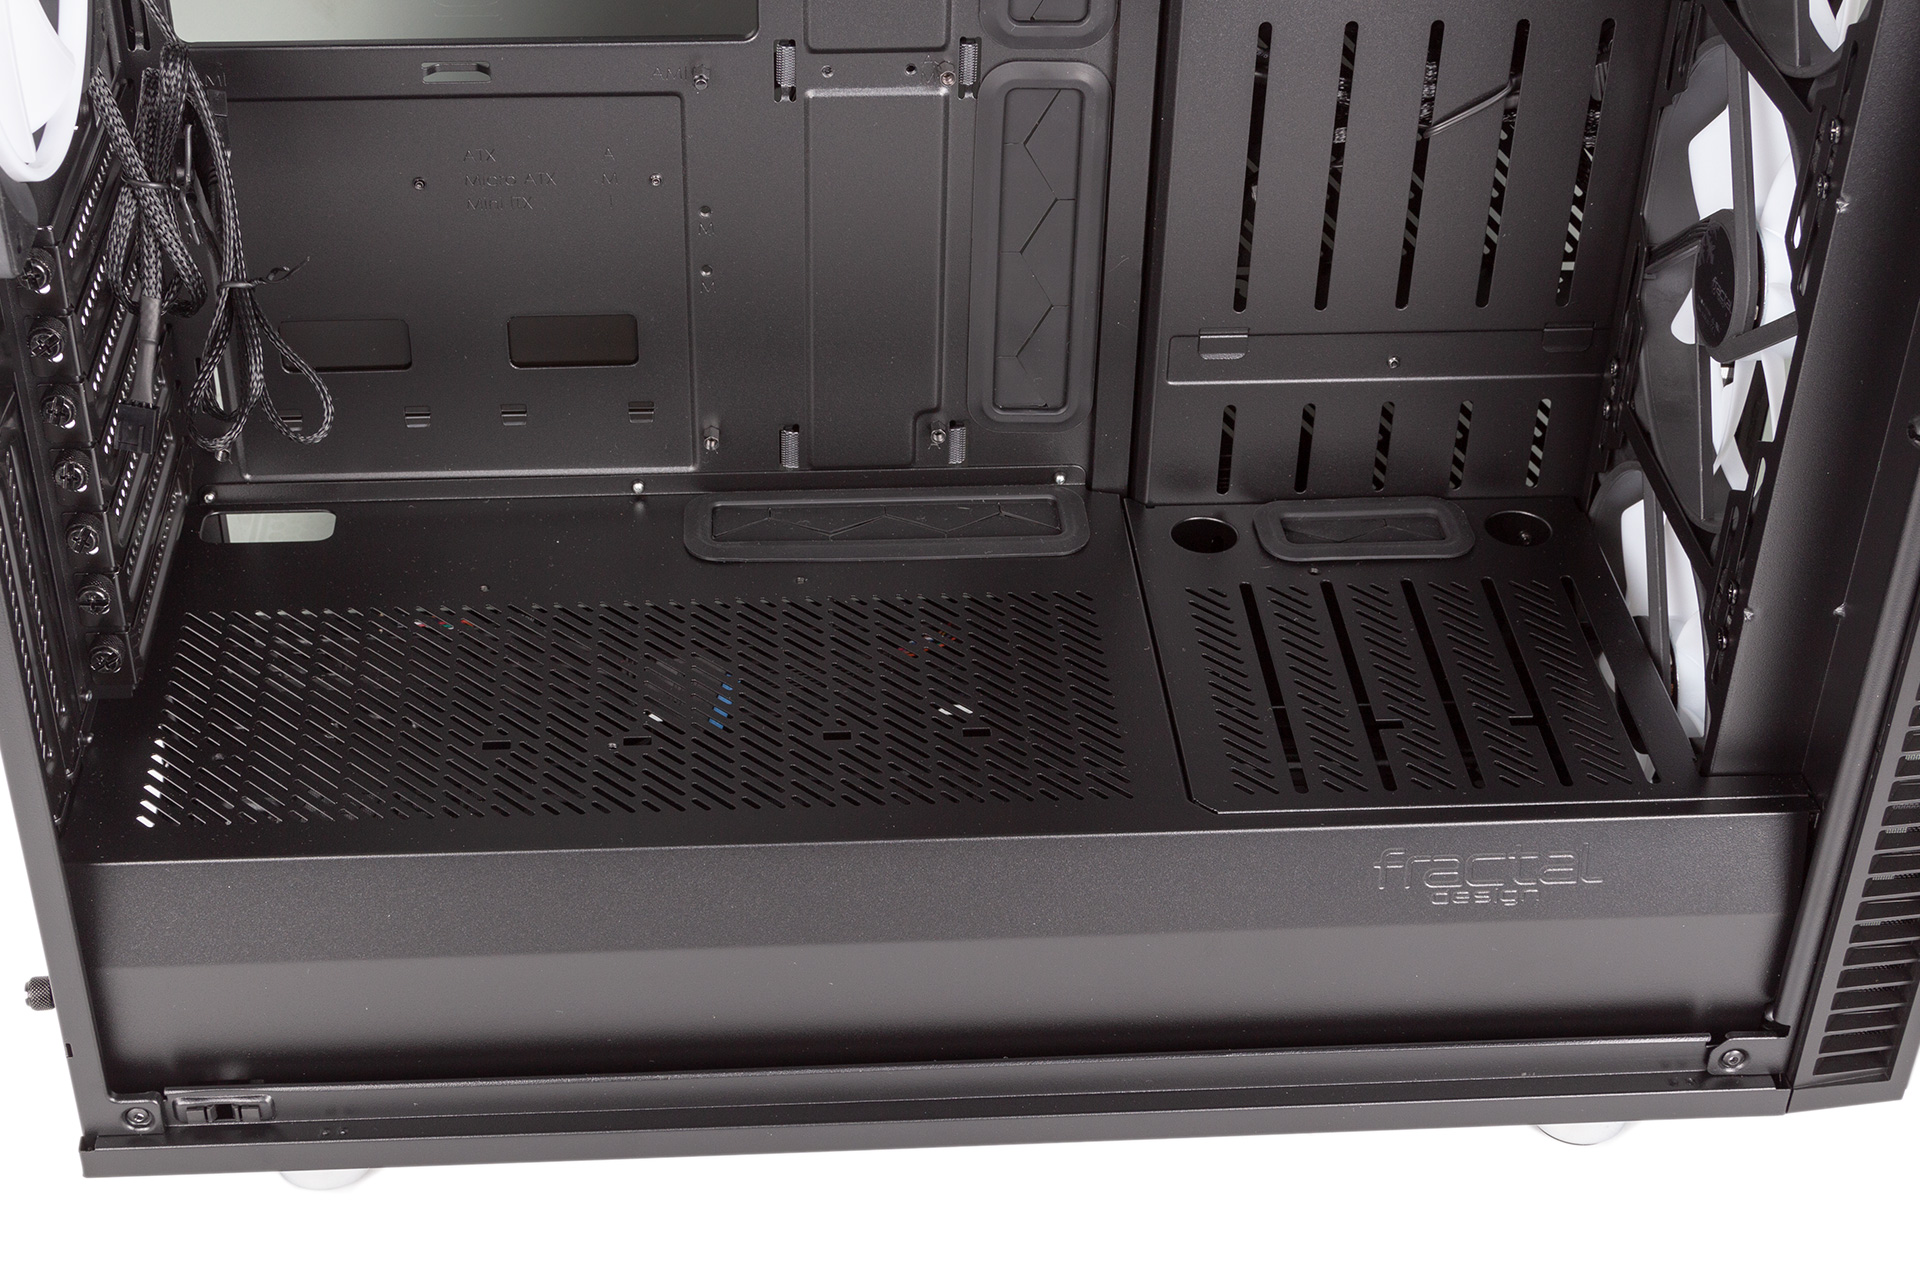
The Define S2 Vision continues a positive trend in looking out for those who want to install custom water-cooling. Starting with radiator support, the front supports 360mm and 280mm (latter cannot exceed 147mm width) and the roof with the cooling bracket installed supports the same, though if using a 140mm fan-based radiator up here your motherboard components including RAM cannot exceed 35mm in order to avoid conflict. The bottom supports 240mm models as well, and there are new tubing pass-through holes cut into the front section of the PSU shroud as well.
That front PSU shroud section has other water-cooling uses, as it now includes mounting rails for reservoirs/pumps, giving you another option along with the vertical struts above that are carried over from the previous design. The roof cooling bracket also includes a dedicated fill-port hole, so it’s clear plenty of thought has been given to this aspect of PC building.


MSI MPG Velox 100R Chassis Review
October 14 2021 | 15:04

Want to comment? Please log in.