Interior
Getting inside the Node 202 involves turning it upside down to remove four screws then flipping it back over to lift off the lid. This will be necessary every time you want to clean the CPU dust filter, which detaches from inside the panel. It's a little fiddly but not too big a deal. However, the same cannot be said when trying to reattach this top cover – it frequently took us multiple attempts to align all four screw holes properly and have the I/O ports resettle neatly in their cutouts. We even managed to damage the ports in our frustration. Admittedly, we could have exercised a little more anger management, but equally, we're far from convinced that this is an optimal design.You can also remove the bottom cover, which is held in place around all four edges with a series of clips. Sadly, this system also proved about as fun as a solo game of Risk to use. Releasing all the clips and keeping them from reattaching as you work your way around the case is another exercise in frustration, and again we ended up breaking at least one. This is also something you'll have to do to get at the two magnetic dust filters for the GPU and PSU on the underside. Thankfully, this is pretty much the only time you'll need to release it, and it actually clips back into place with ease. Still, we have to say that SilverStone's RVZ02, despite having a few panel realignment issues of its own, is far easier to open and close than the Node 202.
Click to enlarge
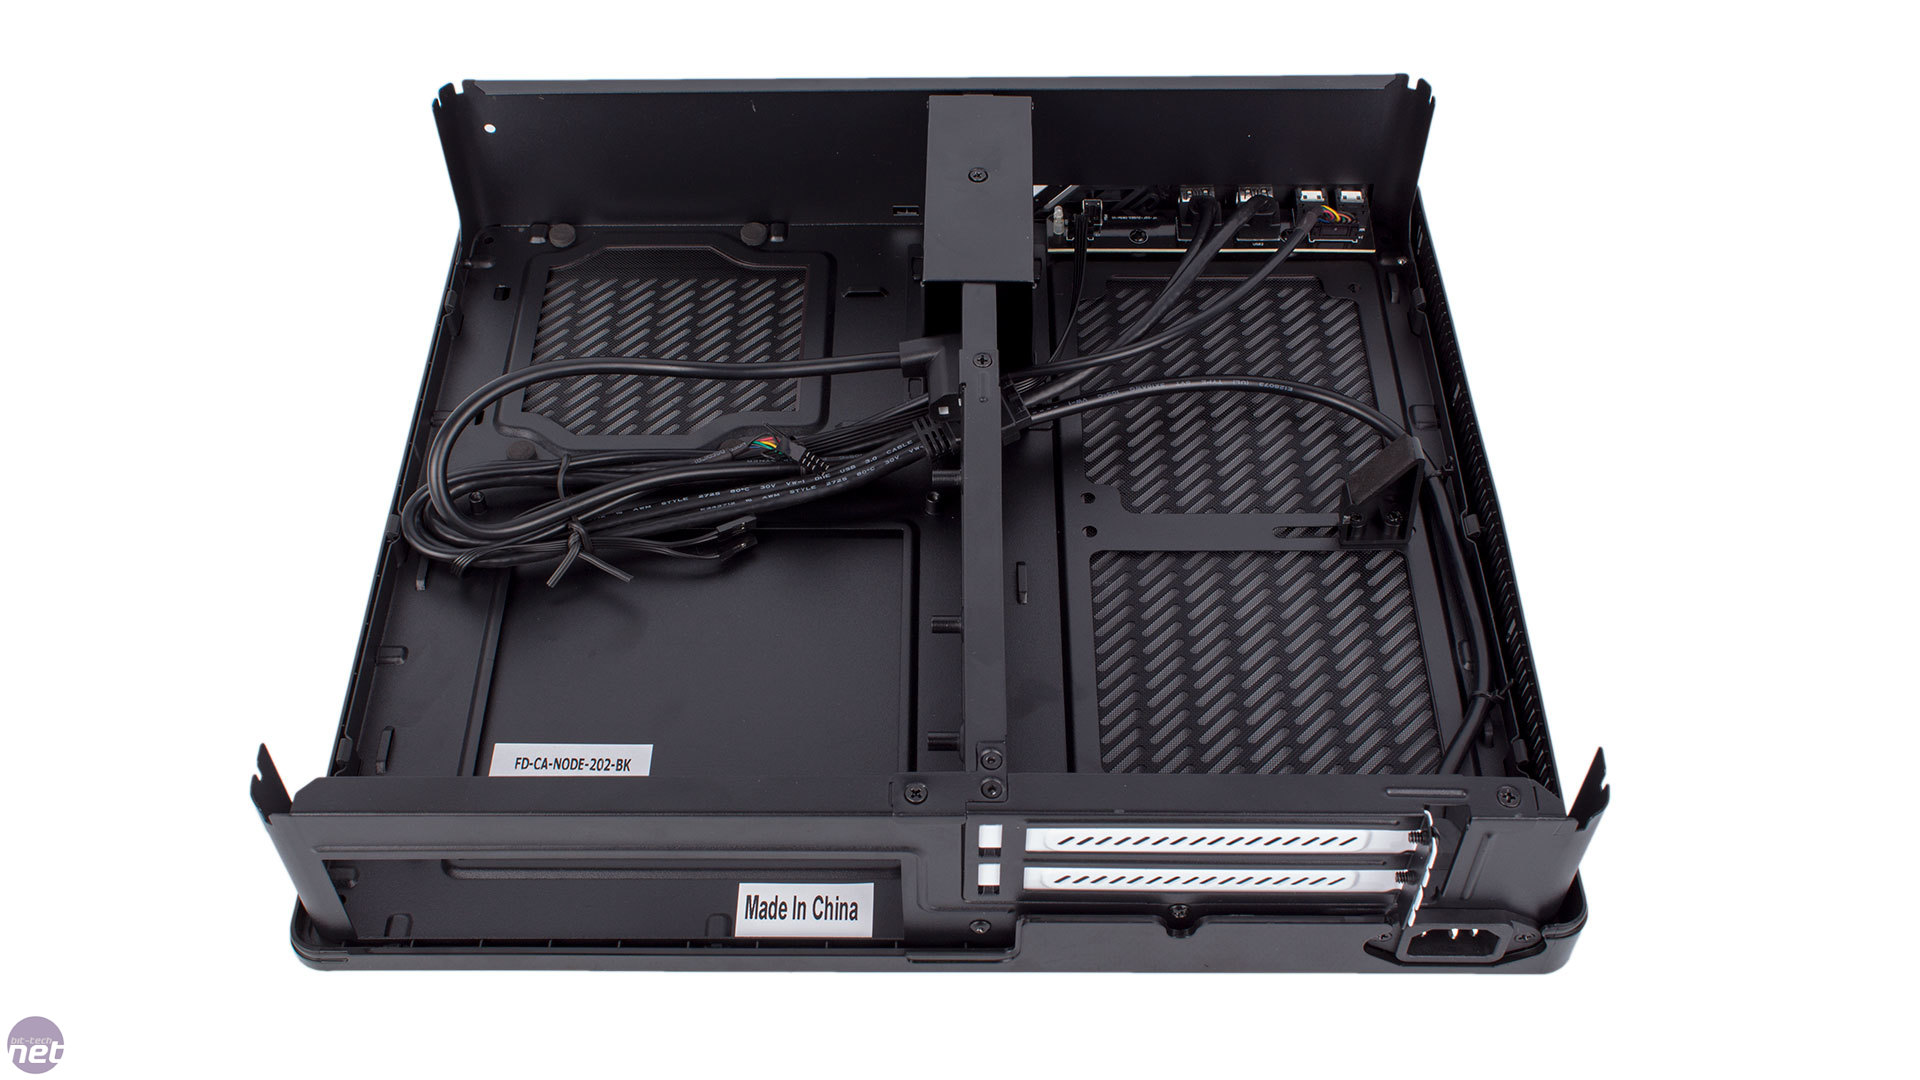
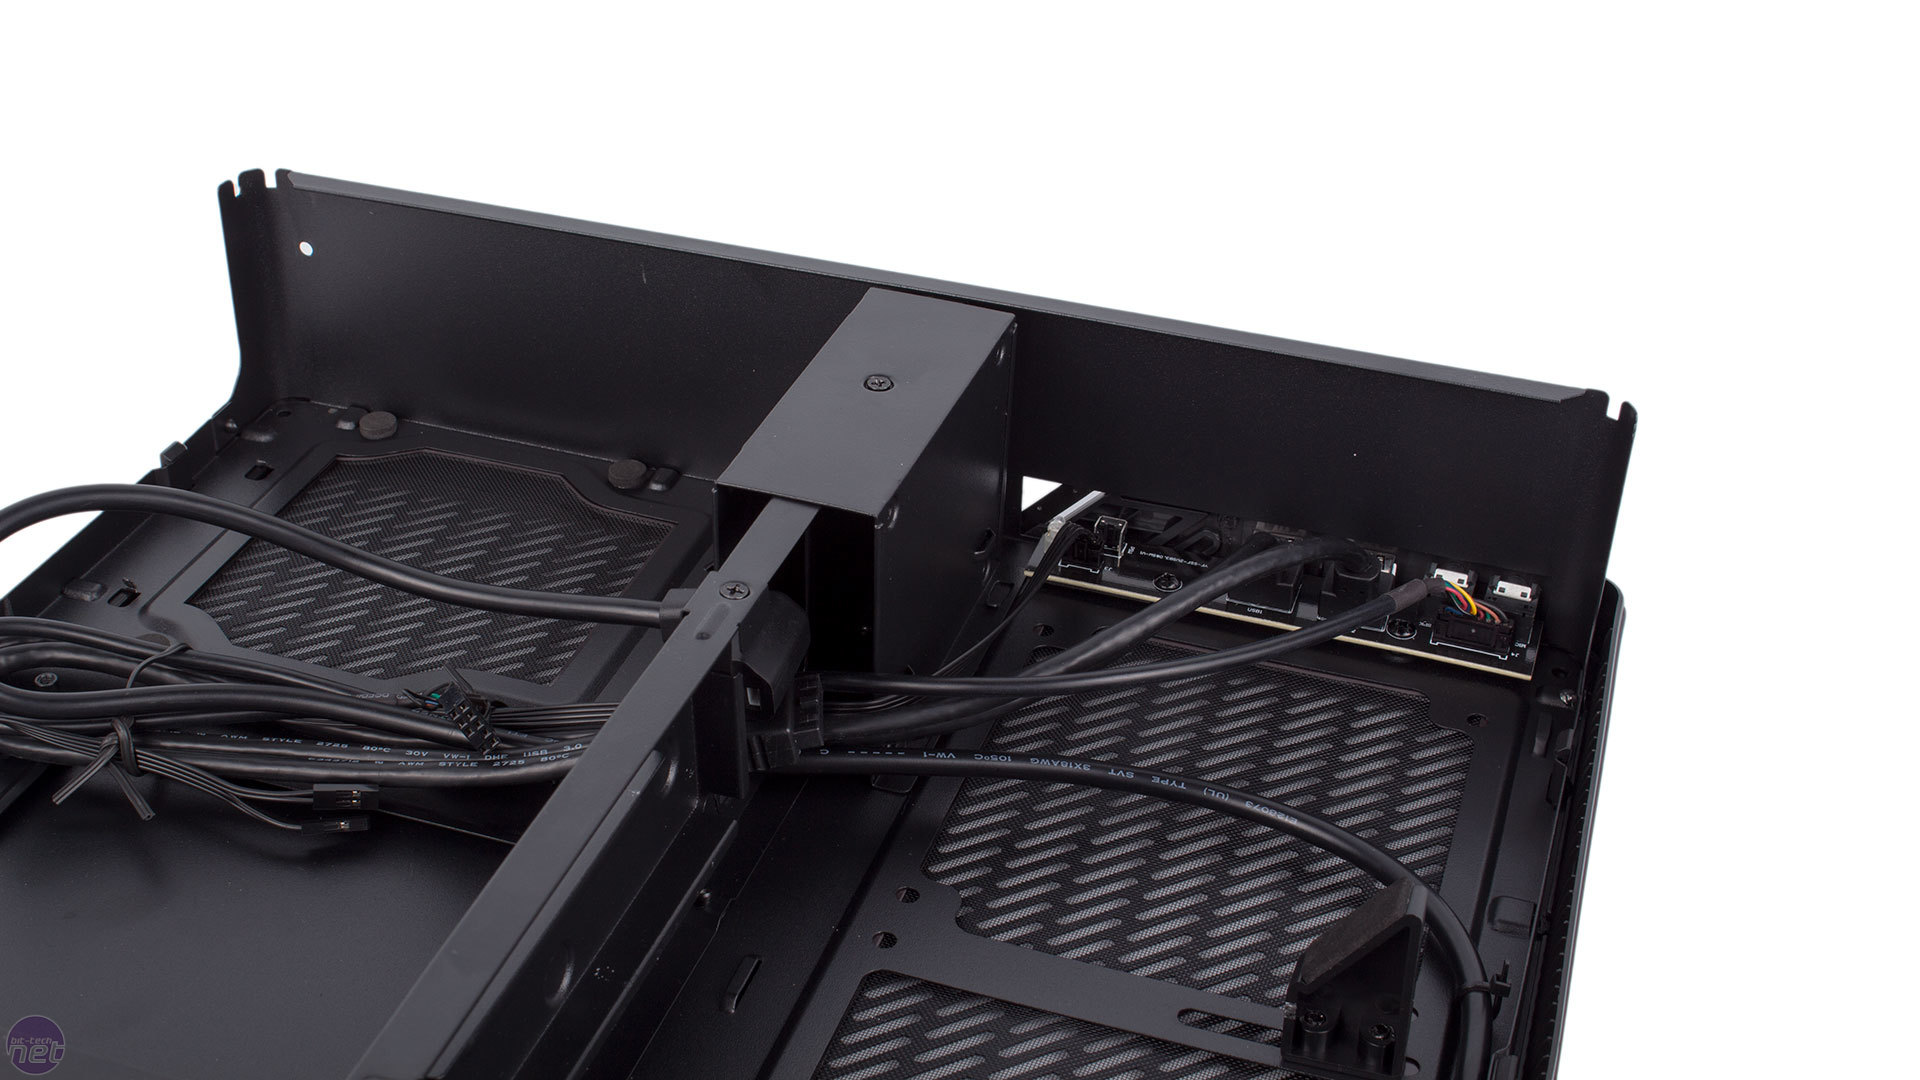
Nevertheless, once you are inside, the Node 202 is actually pretty easy to work with, although you'll want to keep your screwdriver handy as tool-free understandably does not apply here. The case is split into two main compartments; one for the motherboard and PSU and one for the graphics card. A dividing wall keeps them separate, the idea being to help isolate the components thermally as much as possible.
Our sample was supplied with the Integra SFX 450W PSU pre-installed, but if you opt for the empty chassis then installing the PSU on the supplied bracket is easy, and there are even little anti-vibration pads for it to rest on. A kettle lead is routed from the rear I/O area to the PSU so you'll also need to connect this. Note that this also means you'll have no access to the PSU power switch when the case is closed – something pretty common with such chassis.
The motherboard goes in next to the PSU onto the fixed standoffs and it is highly recommended to install your CPU, cooler and memory prior to this, though there is a cutout in the motherboard tray for accessing CPU cooler backplates in case you hate yourself. The CPU cooler limit is a measly 56mm; enough for a stock cooler and others of similar height but little else.

Click to enlarge
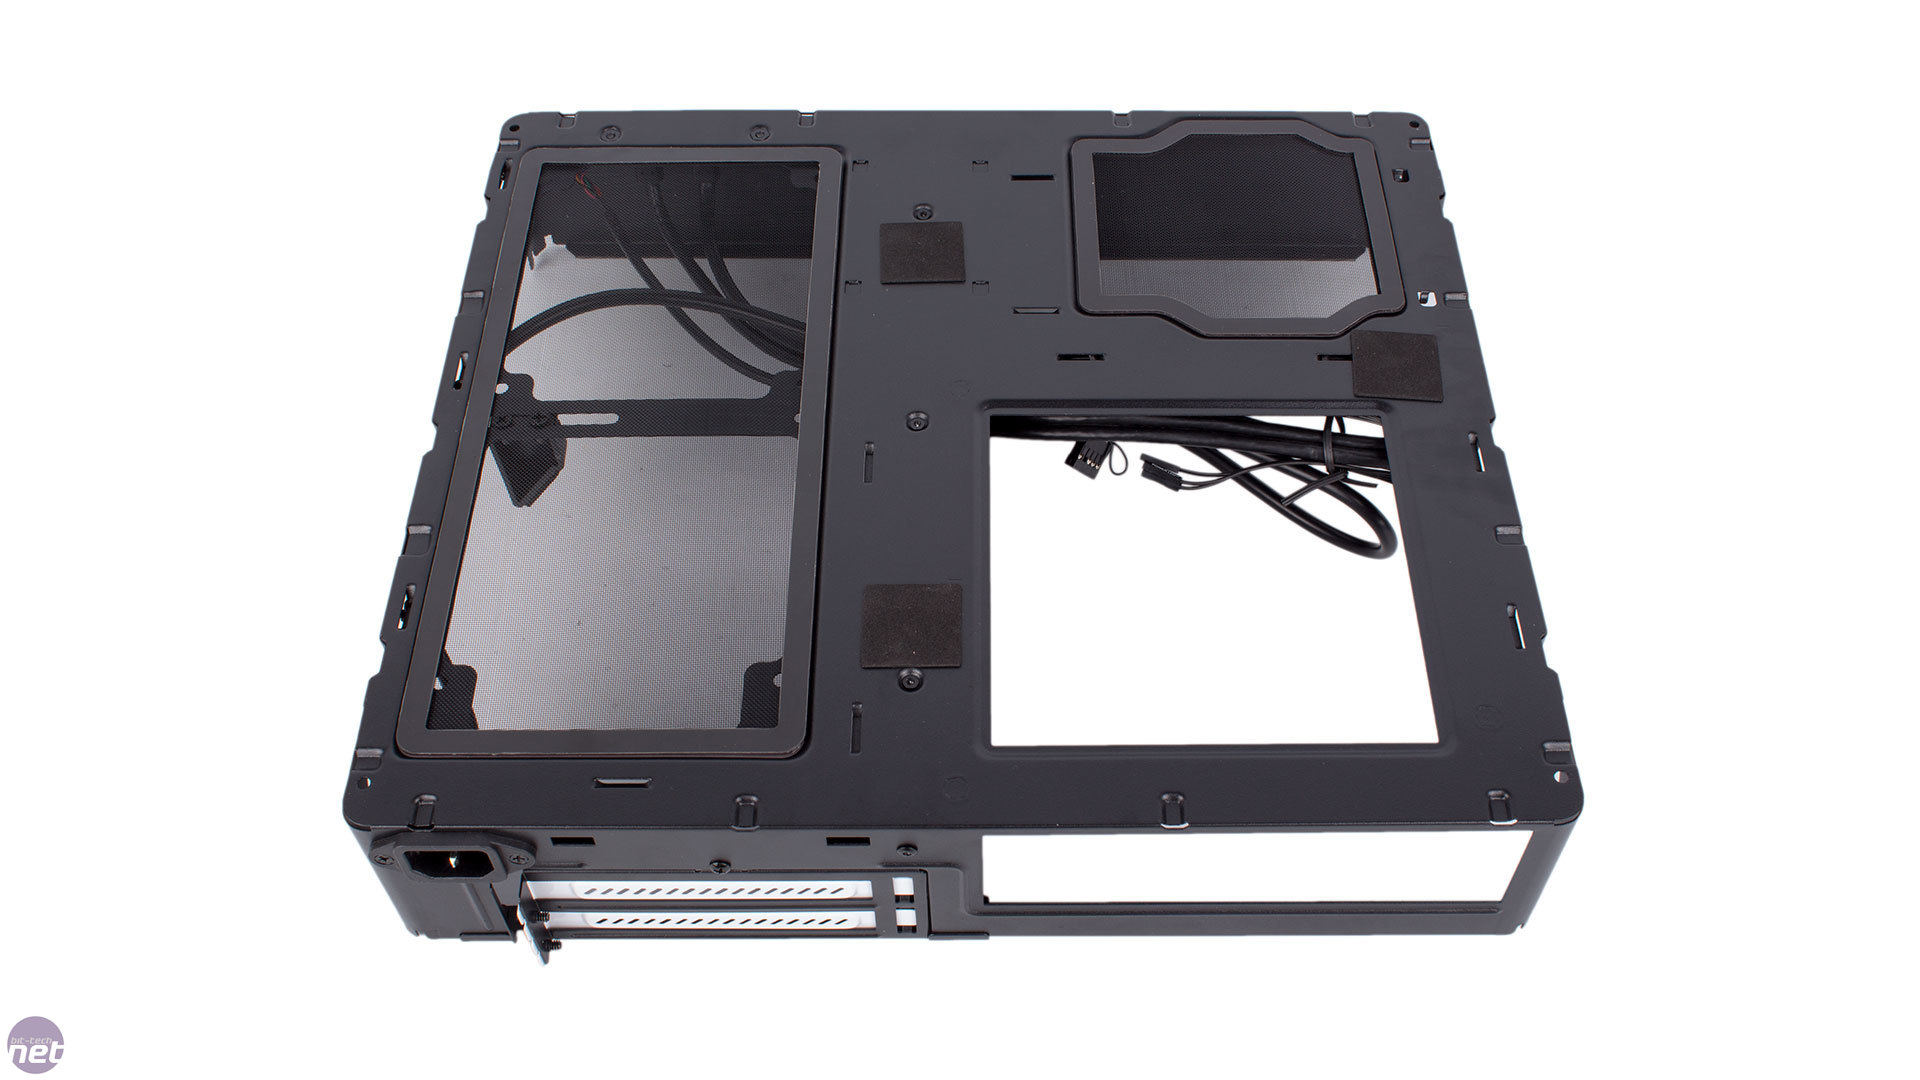
At the front is a 2.5in drive cage that overlaps the dividing wall and allows you to mount two SSDs inside. It's held in with a single screw and is simple to use and secure as well. That said, it isn't as handy as the pop-up trays that the RVX02 deploys. There are no anti-vibration mounts in case you want to use hard disks instead of SSDs here.
The graphics card uses a pair of PCI riser PCBs in order to connect to the motherboard while being placed flat next to it in the other chamber. Installation involves removing four screws to lift out the entire expansion slot assembly, connecting the card to the risers and then slotting everything back in – a bit more time consuming than usual but not difficult. There's also a padded GPU support column which you can adjust the position of from underneath in case your GPU is especially large, which it may well be – the Node 202 supports cards up to 310mm long, so a monster gaming rig is very much plausible.

Click to enlarge
As mentioned, you can also install a pair of 120mm fans underneath the graphics card to bolster its intake airflow. Note, however, that if your graphics card is thicker than 35mm (which applies to most dual slot cards e.g. a reference GTX 980), standard 25mm fans won't fit and you'll be relegated to slimline only.
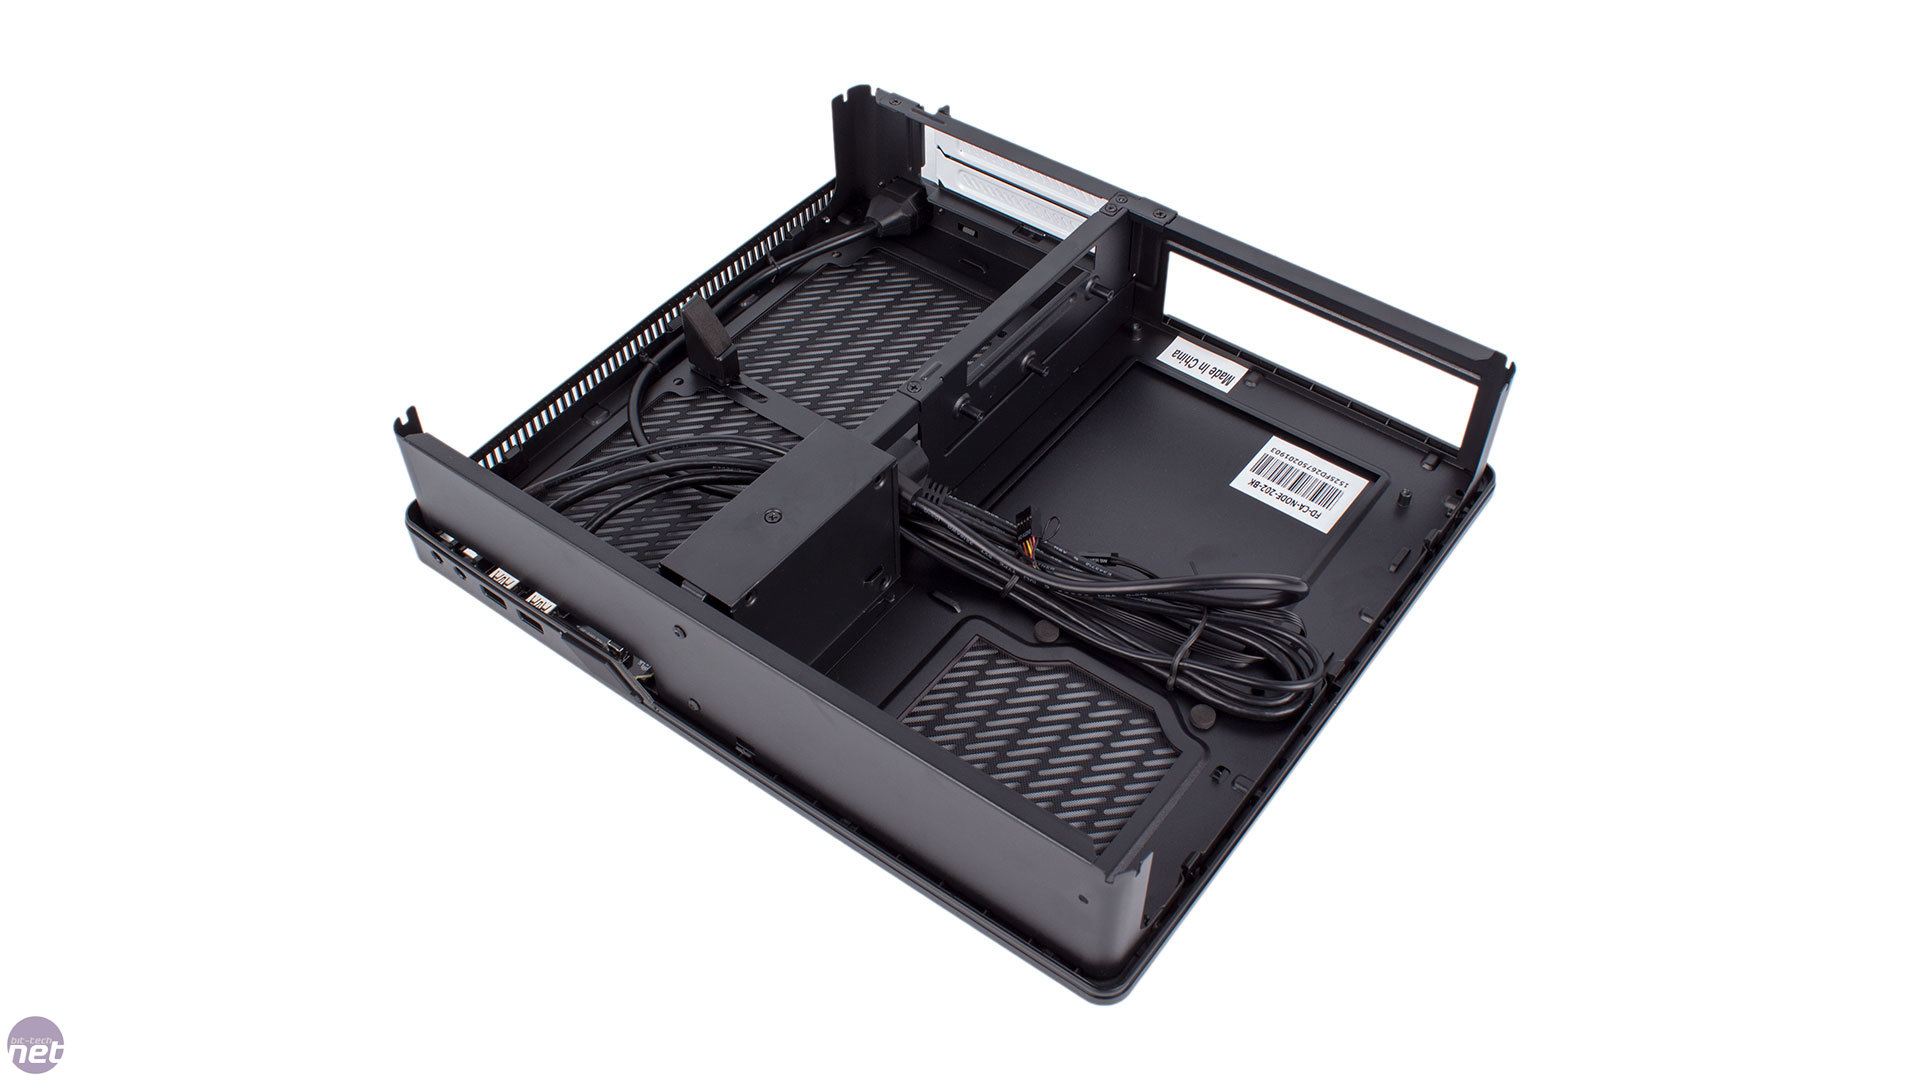
As you've probably worked out by now, space is very much at a premium. This means a short cable set for the PSU (which the bundled one has) is basically an essential. That said, you do get a bit of space between the PSU and 2.5in drive cage to stash excess cabling, and the main channel between the PSU and motherboard functions pretty well for most cables too. The hole in the dividing wall is plenty big enough for the I/O and PCI-E cables that will be going through it, and there are also lots of supplied zip ties and hooks to tie things down. Cable routing in a case this small will never be easy but Fractal has done a good job with the space available.
RELATED ARTICLES


MSI MPG Velox 100R Chassis Review
October 14 2021 | 15:04

Want to comment? Please log in.