
System Installation
Looks and wobble-free buttons aren’t everything, you know. To get in our good books we want to see a case that we can access easily, tinker with a bit and get a decent amount of performance out of. By performance I mean we want something designed to help increase airflow and reduce noise.You already know that when I unboxed the Hiper I had a massive mixture of feelings and thoughts and a lot of those didn’t go away quickly.
By the time I got around to installing a system inside the machine, I knew the case looked sexy enough to impress me, despite my original thoughts, and I often caught myself stroking the fins on top of the case with an envious hand. Already, I wanted this case in my tiny living room.
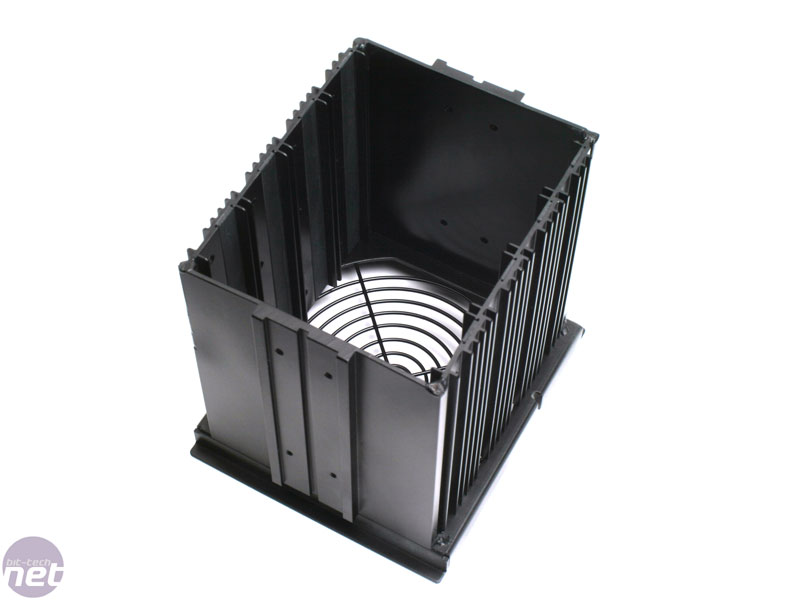
But I still had my reservations. With all these holes in the front and back, plus only a single 120mm fan located in the top of the case, I was worried that cooling would be a problem.
Noise too could potentially be an issue and although the aluminium construction was thicker than most aluminium cases, nothing was double lined and the large hole in the front of the case where there should have been a fan could end up leaking a lot of decibels.
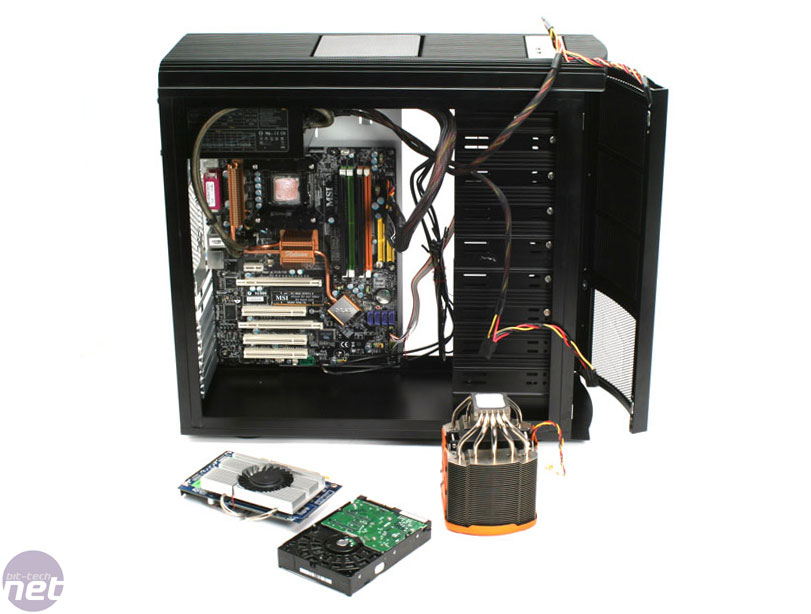
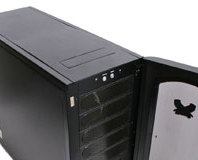
Installing the test rig, click to enlarge
Still, there’s only ever one way to be sure in these situations so we installed our standard test rig for PC cases and heatsinks to get a good idea for how the case performs. We use the same system in all our case reviews so we can be sure to remain consistent in our results and the system is deliberately designed to generate a lot of heat and a respectable amount of noise. Check out the specs below.
CPU: Intel Pentium XE 955 (dual-core, 3.46GHz)
Graphics Card: Sapphire Radeon X1600 XT Ultimate
Motherboard: MSI P6N SLI Platinum
RAM: 2x 512MB Corsair XMS2-667
Hard Drive: 1x 250GB Western Digital WD2500 7200RPM
Heatsink: Asus Silent Square Pro
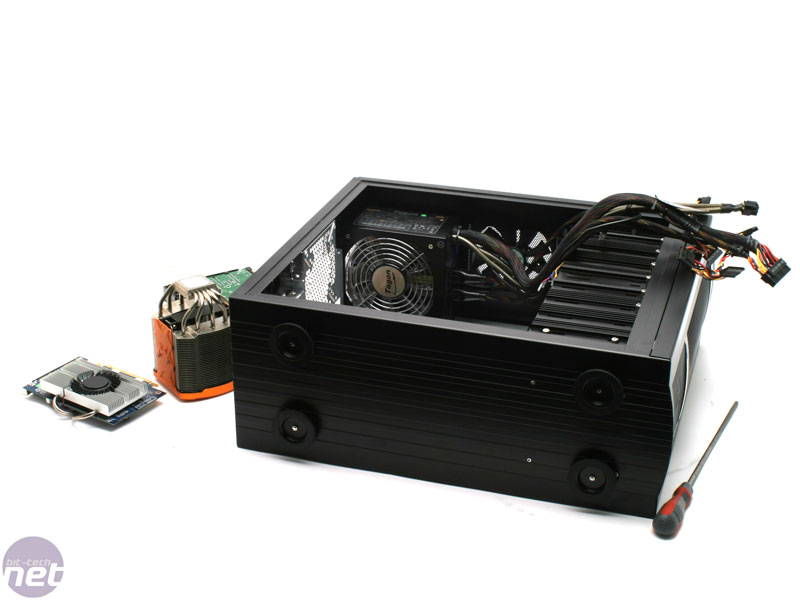
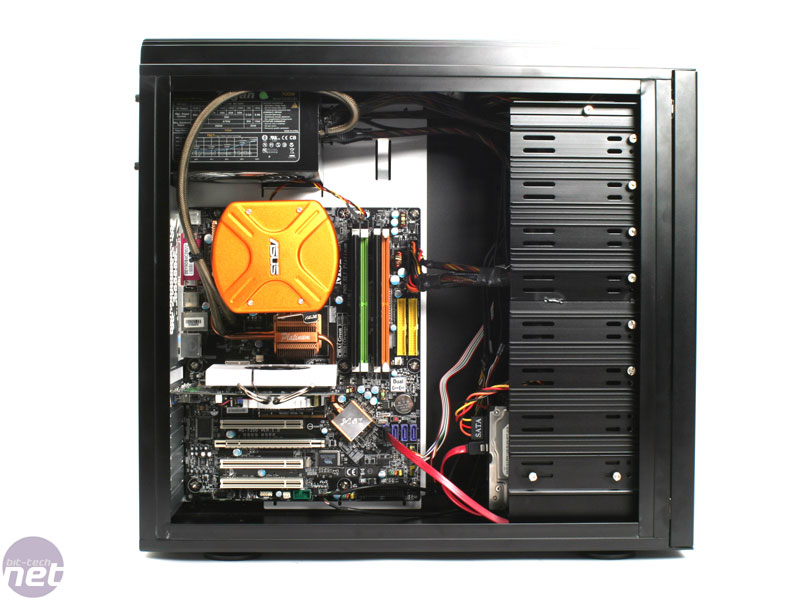
The actual system installation itself was incredibly easy, possibly one of the easiest ever. There’s plenty of room inside the case and in the process of mounting the PSU we spotted a strip of foam on the shelf designed to dampen noise.
Click to enlarge
The most impressive thing though is still the side panels. When you’ve accidentally left your screwdriver inside the case then it’s a great feeling to know you don’t have to fiddle with thumbscrews to get it back. Just pull the latches down, pull the panel off and grab your forgotten bits. No problem.
Now, with all that said and done and the system properly installed and set-up, it’s time to move on to the proper testing and run some software stress tests to try and increase the heat as far as possible. Check the next page for the full low-down on how hot under the collar the Anubis can get.
RELATED ARTICLES


MSI MPG Velox 100R Chassis Review
October 14 2021 | 15:04

Want to comment? Please log in.